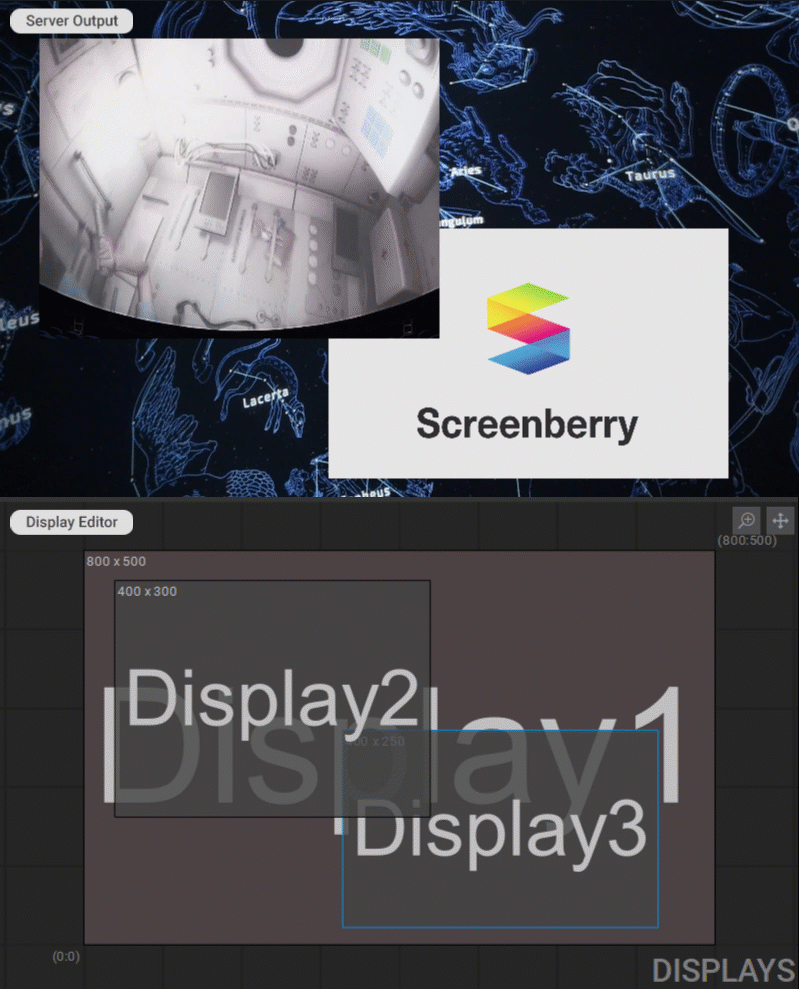
Display Editor
Overview
Displays define the resolution and pixel coordinates of media sources on the output canvas of the media server.
The Display Editor allows users to add new displays, set display dimensions, position, and stack order, create display arrays, swap displays, and adjust other display settings. The Display Editor can be accessed within the Canvas (or RenderTarget) widget.
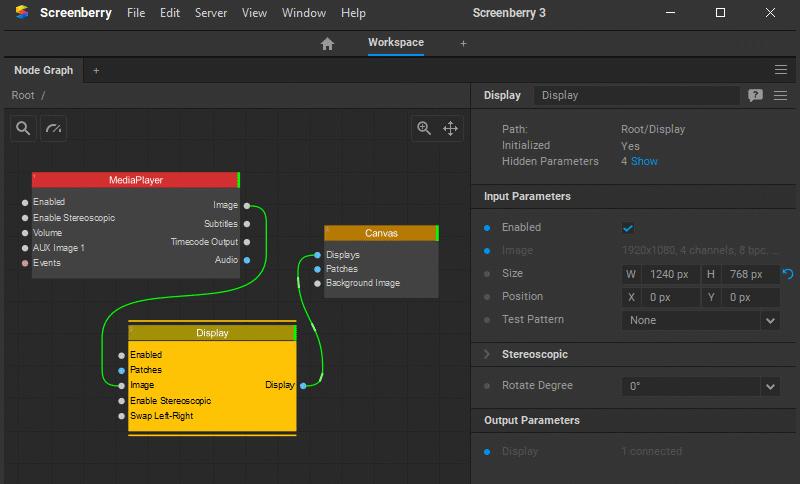
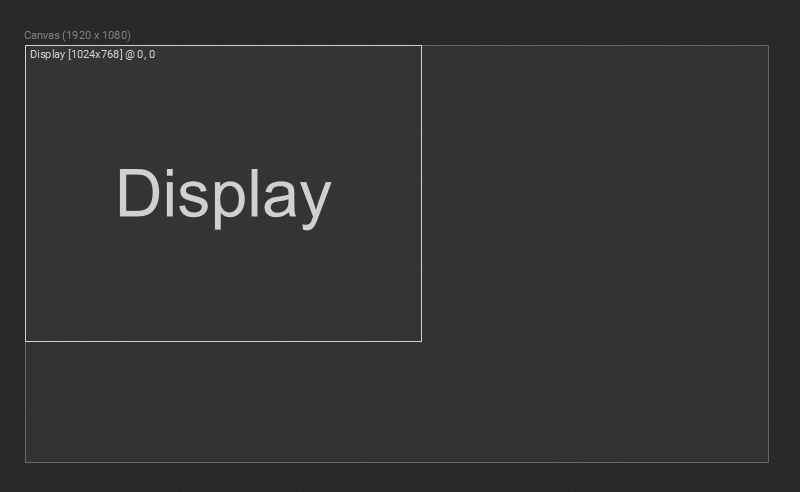
An example of a basic media playback pipeline and its view in the Display Editor:
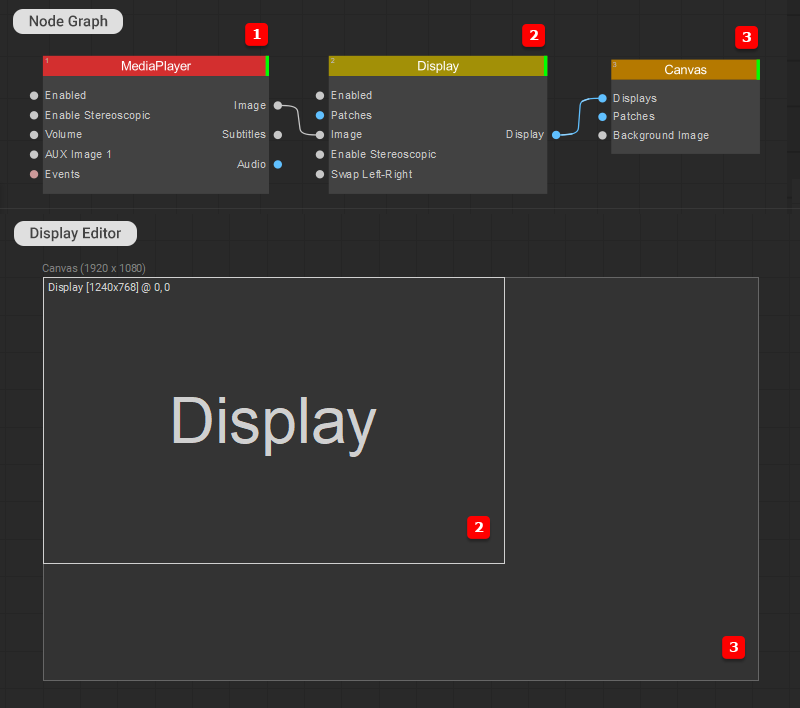
The Media Player node (1) sends an image to the Display node (2) that has a resolution of 1240 x 768 pixels and is positioned at (0,0) coordinates of Canvas node (3), which defines the server output area with a resolution of 1960 x 1280 pixels.
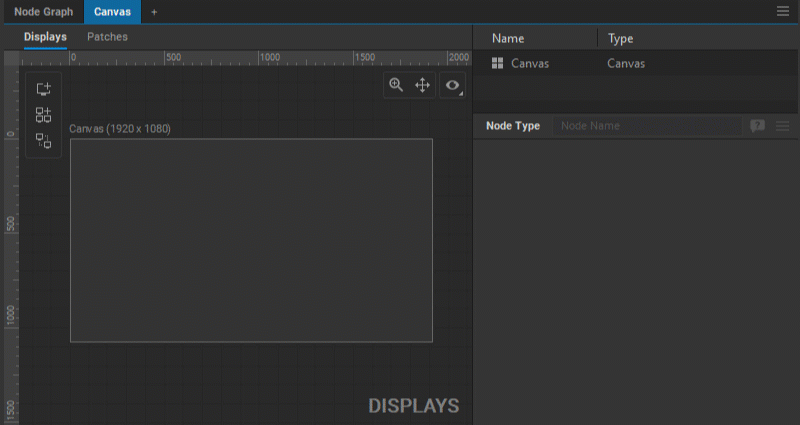
To access the Display Editor, add the Canvas (or Render Target) widget to your workspace, then click the Displays tab on the top left of the widget to switch to the Displays view.
Adding Displays
To add a new display, do the following:
- Open the Canvas (or RenderTarget) Editor widget.
- Click the Displays button on the top left of the widget to switch to the Displays view.
- Click the Add Display icon in the toolbar at the top left, or right-click an empty area in the Display window and select Add Display from the dropdown menu.
- Enter a new display name in the opened dialog box and press OK.
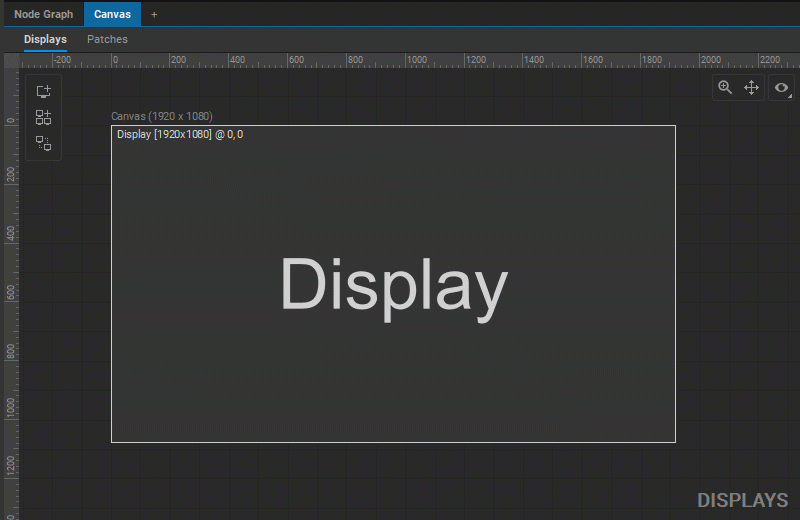
By default, the added display will have the same dimensions as the Canvas.
The corresponding Display node will be created in the Node Graph and linked to the related Canvas (or RenderTarget) node automatically.
Reversely, a new display can be added by adding a new Display node in the Node Graph and linking it to the Canvas (or RenderTarget) node of the relevant canvas.
Creating Display Arrays
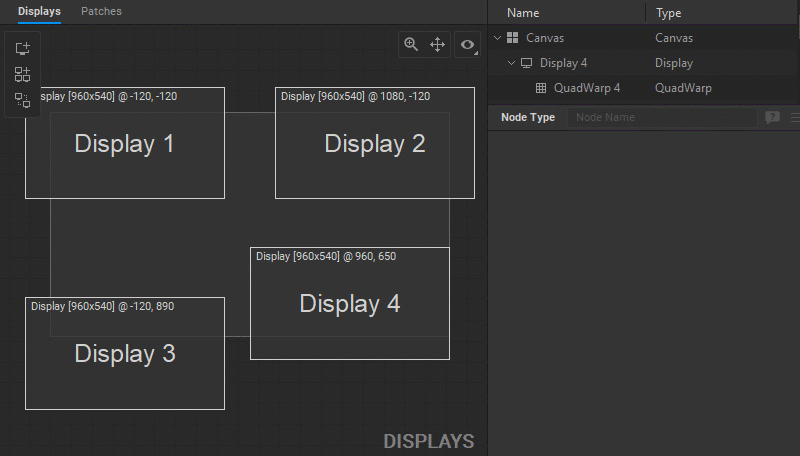
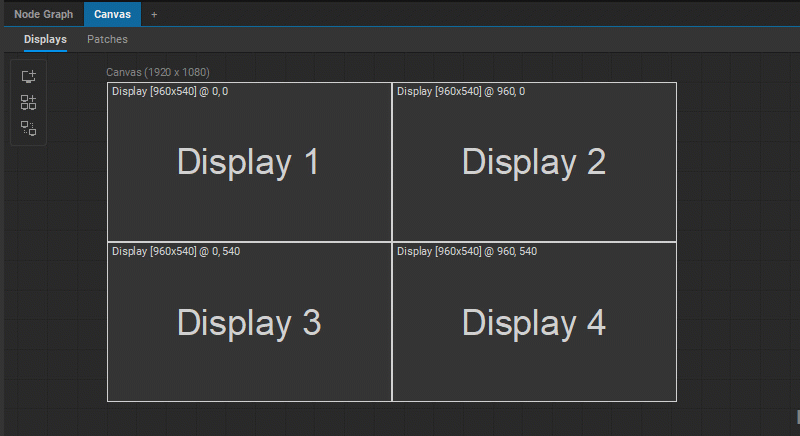
A display array allows splitting the video output into a set of virtual displays with identical dimensions where every display defines the resolution and pixel coordinates of an individual video card output (or video device).
To create a display array, do the following:
- Open the Canvas (or RenderTarget) Editor widget.
- Click the Displays button on the top left of the widget to switch to the Displays view.
- Click the Create Display Array icon in the toolbar at the top left, or right-click an empty area in the Display window and select Create Display Array from the dropdown menu.
- In the opened dialog box, enter the numbers of Rows and Columns for a display array, select the type of the patch to be connected to the displays, and press OK.
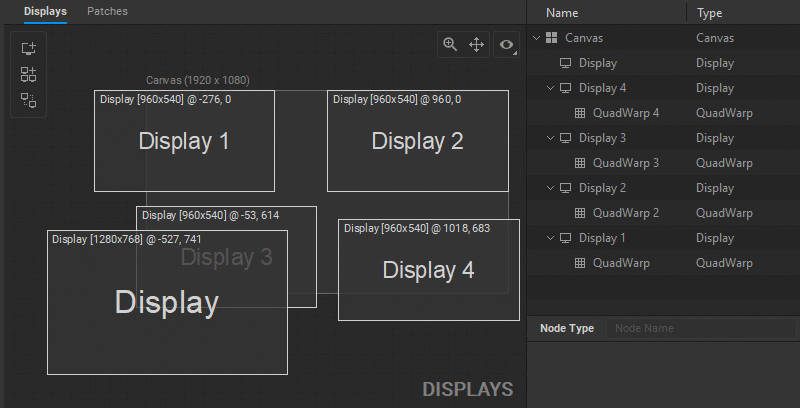
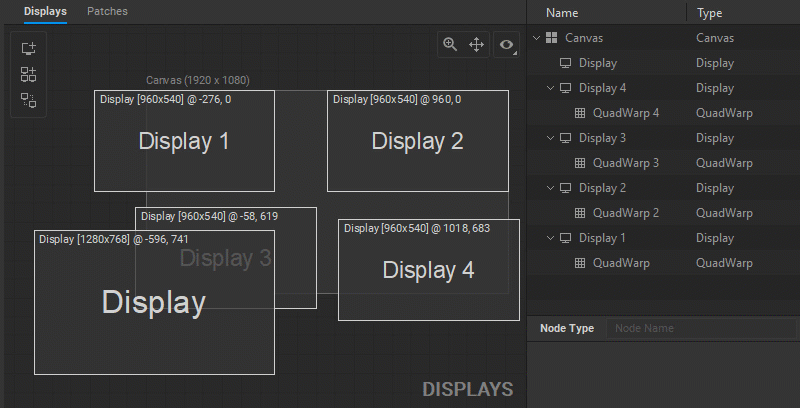
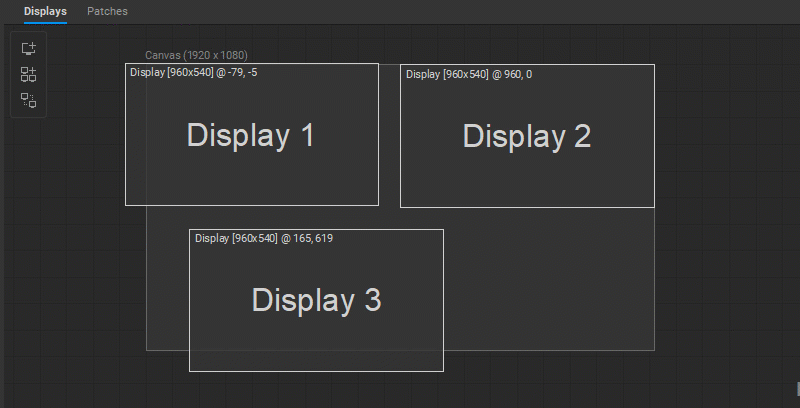
As a result, an array of displays will be created splitting the canvas into equal sections. The displays will be named Display 1, Display 2, Display 3, etc. left to right, top to bottom. Simultaneously, the corresponding Display nodes and related Patch nodes will be added and linked in the Node Graph.
Note: The creation of a display array removes all the displays previously added to the current canvas.
Renaming Displays
To rename a display, do one of the following:
- Right-click on the display, select Rename from the dropdown menu, enter a new display name in the opened dialog box, and press OK.
- Select display and change the display name in the header of the display’s Settings panel.
Selecting Displays
To select a display, left-click the display in the Display Editor, or the display name in the navigation tree.
Multiple displays can be selected by Shift-clicking on displays in the Display Editor, or display names in the navigation tree.
Multiple displays can also be selected at once by left-clicking an empty area in the Display Editor and dragging the mouse to create a marquee.
If dragging is done from right to left, all the displays touched by the rectangular marquee will be selected.

If dragging is done from left to right only the displays inside the rectangular marquee will be selected.

Display Position and Dimensions
To move a display in the Display Editor, left-click on a display and drag it. If multiple displays are selected, then the entire group of selected displays will be moved.
By default, the automatic snapping option is enabled. When you change the position of a display, its borders snap to the borders of other existing displays and output canvas edges if placed near them. To disable snapping temporarily, hold down the Shift key while dragging a display.
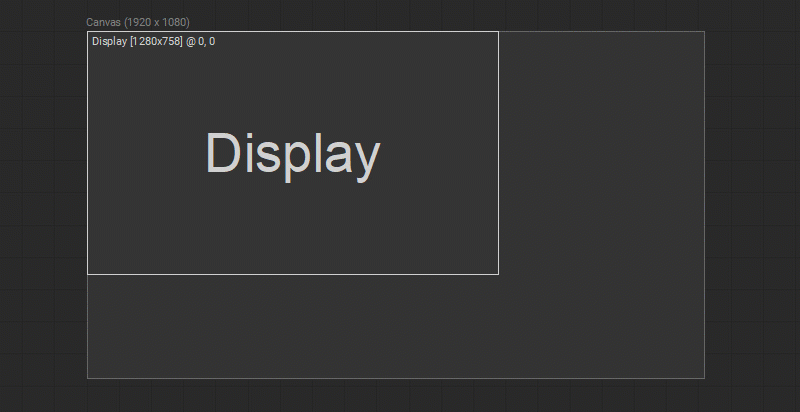
Another way to change the position of a display is to select a display in the Display Editor or the display name in the navigation tree and modify the X and Y values for the Position parameter in the Settings panel.
You can also adjust the display dimensions in the Settings panel by changing the W and H values for the Size parameter.
Copying and Pasting Displays
To copy and paste displays in the Display Editor, select one or more displays and do one of the following:
- Right-click on a display (or a group of selected displays) and choose either Copy or Cut and then Paste from the dropdown menu.
- Use the following keyboard shortcuts:
Ctrl+Cto copy orCtrl+Xto cut andCtrl+Vto paste.
Deleting Displays
To delete a display, do one of the following:
- Right-click on the display and select Delete from the dropdown menu (or press the
Delbutton). - Delete the corresponding Display node in the Node Graph.
Disabling Displays
Disabling a Display node in the Node Graph (see Node Status) will disable the corresponding display in the Display Editor. To indicate that a node has been disabled, the display will be crossed off.
Swapping Displays
To swap displays, click the Swap Displays icon in the toolbar at the top left, or right-click an empty area in the Display window and select Swap Displays from the dropdown menu. In the opened dialog box do the following:
- Select a display from the dropdown menu in the Swap field, or press the Skip button or the
Enterkey to move on to the next display in the list. - When the desired display is selected, in the With field, enter the name of the display with which it is to be swapped, and press the Apply button.

Note: This procedure is particularly useful during the setup. There is no need to follow a particular order when connecting output devices to the server, as this order can be easily changed later by using the Swap Displays method.
Changing the Stack Order of Displays
To change the stack order of a display, right-click on it in the Display Editor, and select one of the following in the dropdown menu:
- Arrange > Bring To Front to move a display to the topmost position.
- Arrange > Bring Forward to move a display one level to the front of a stack.
- Arrange > Send Backward to move a display one level to the back of a stack.
- Arrange > Send To Back to move a display to the bottom-most position.
Alternatively, the stack order of displays can be modified by reordering the links connecting Display nodes to the Canvas node in the Node Graph (see Reordering Node Links).
The displays are stacked top-down in relation to the order in which Display nodes are linked to the Canvas node, which means that the display with the succeeding node link will overlay the one with the preceding link.
Turning on Display Test Pattern
To show the test pattern on a display, select a display to access its Settings, and choose one of the following options for the Test Pattern parameter: Name, Digits, Grid, Color Bars, or Gradient.

Rotating Display Output Image
When one or more projectors or displays are oriented vertically or upside down, it might be useful to change the orientation of the corresponding display output images so the operations that require onscreen movement upward, downward, right, and left on the particular display correspond to the directions on the physical screen.
To rotate a display output image, select a display to access its Settings, and choose one of the following options for the Rotate Degree parameter: 0°, 90° CW, 90° CCW, or 180°.

Zooming and Panning in Display Editor
Тo zoom in and out of a specific area in the Display Editor, place the mouse cursor over the area, and use the mouse scroll wheel. Alternatively, click the button ![]() in the top right corner of the panel and move the mouse to change the magnification.
in the top right corner of the panel and move the mouse to change the magnification.
To pan a view, hold down the left mouse button while moving the mouse, or click the button ![]() in the top right corner of the panel and move the mouse.
in the top right corner of the panel and move the mouse.
