

Run Your First Screenberry Project
In this tutorial, you will connect Screenberry Panel to Screenberry Server, create a blank project, build a basic node graph, add media, and confirm that it plays on the Screenberry Server output.
The instructions follow the official Running Your First Screenberry Project video tutorial . The video demonstrates Screenberry Server and Screenberry Panel running on one Windows computer; the same applications can run on separate computers connected through the same network.
Start Screenberry
-
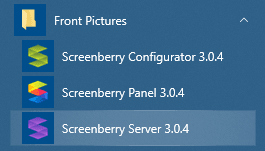
Start Screenberry Server on the Media Server computer. Its window displays the graphical output produced by the project.
-
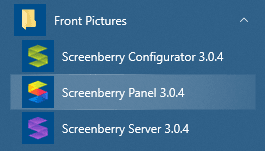
Start Screenberry Panel. If a language-selection window appears on first launch, choose your preferred language.
-
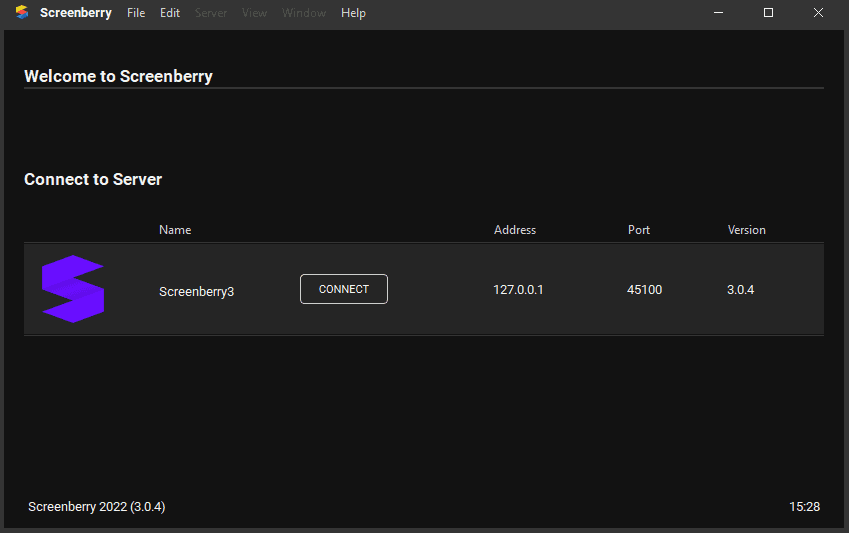
On the Welcome screen, select the Screenberry Server connection. The first time you use Screenberry, select New Server Connection.
-
Select New Project.
-
Enter a descriptive project name and create a blank project.
After the project is created, Screenberry Panel connects to Screenberry Server and opens the default workspace with an empty Node Graph widget.
Build the node graph
Screenberry projects are built from nodes. Nodes define the operations in a project, and the links between them define how data flows.
-
Add a Canvas node to the Node Graph. You can drag it from the node list or right-click the Node Graph and search for it by name.
The Canvas creates the graphical context used for output. After it is added, the Screenberry Server output window is initialized and appears black until image content reaches the Canvas.
-
Add a Media Player node.
-
Connect the Image output of the Media Player node to the corresponding image input on the Canvas node.
Add and play media
-
Add the Media Player widget to the workspace.
-
Drag one or more media files from a system folder to the default playlist in the Media Player widget.
Screenberry uploads the files to Screenberry Server and converts them when required. Uploaded files are also available in the Media Library.
-
Use the Play, Pause, and Stop controls at the bottom of the Media Player widget to control the media.
-
Check the Screenberry Server output window. On a two-computer system, check the output on the Media Server computer.
Preview the output in Panel
To monitor the output without switching to the Screenberry Server window:
- Add a Video Preview node to the Node Graph.
- Connect the same Image output from the Media Player node to the Image input of the Video Preview node.
- Add the Video Preview widget to the workspace.
The widget can remain in the workspace or be used as a floating window. If you close it, double-click the Video Preview node to open it again.
Save the project
Select File > Save Project before closing Screenberry. You can also configure automatic save intervals in Preferences.
You now have a Screenberry project that sends Media Player output to a Canvas and can be monitored from Screenberry Panel.
Last updated on