Adding and Managing Nodes
Adding Nodes
There are multiple methods for adding nodes to the node graph:
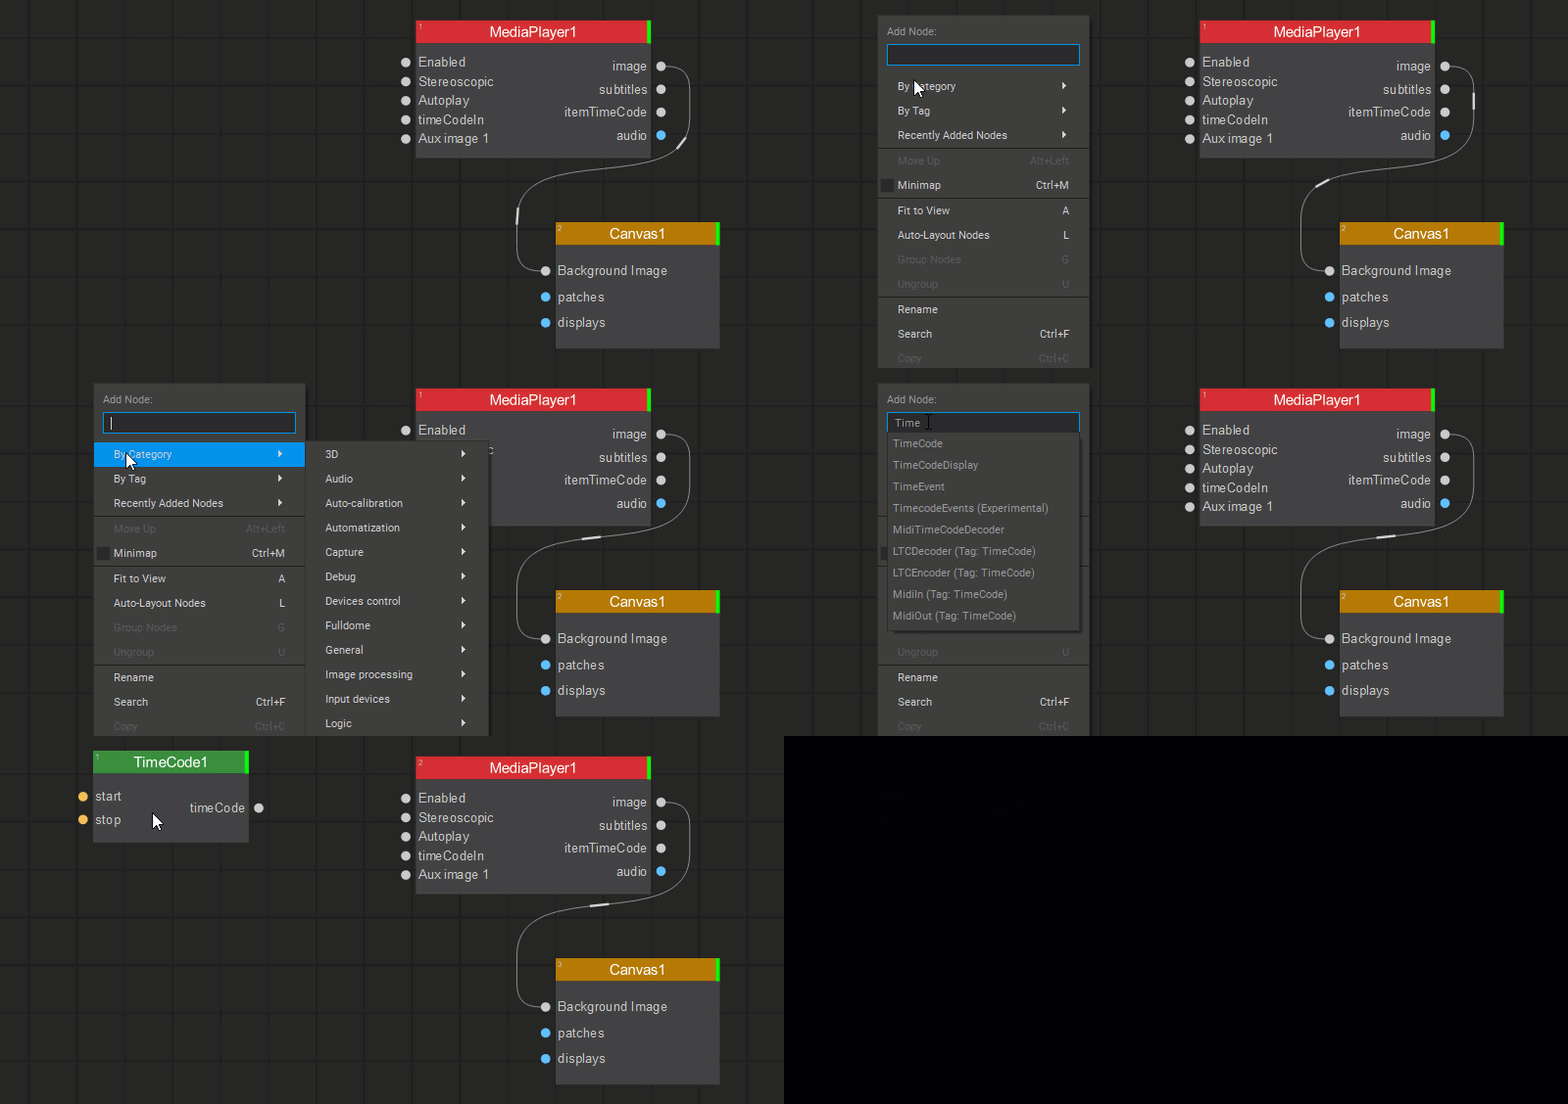
Context Menu: Right-click on an empty area in the Node Graph window to open the Add Node dropdown menu and do one of the following:
- Begin typing the node name in the Search box at the top of the menu to see the list of nodes that match your search criteria, then select the desired node from the list, or press Enter to add the first node from the list.
- Select a node by browsing the Category or Tag submenus.
- Select a node from the Recently Added Nodes list.
The selected node will be placed at the cursor location where the Add Node menu was activated.
Side Panel: Open the side panel in the Node Graph to access a list of nodes sorted by category. To add a node from this list, click and drag it into the node graph.
This panel also contains a Search field that allows you to filter nodes. As you begin typing the node name, only the nodes that match your filter criteria will be left in the side panel.

Node Classification
All nodes are conveniently organized into categories and also labeled with one or more tags for easy identification and selection. The node selection can be carried out by either Category or Tag interchangeably.

Note: Display and Patch type nodes are automatically added to the node graph when new displays or patches are created within the Display Editor or the Patch Editor.
Selecting Nodes
To select a node, left-click on it in the Node Graph.

Multiple nodes can be selected by Shift-clicking on nodes in the Node Graph, or by left-clicking and dragging a marquee around them.
If dragging is done from right to left, all the nodes touched by the rectangular marquee will be selected.
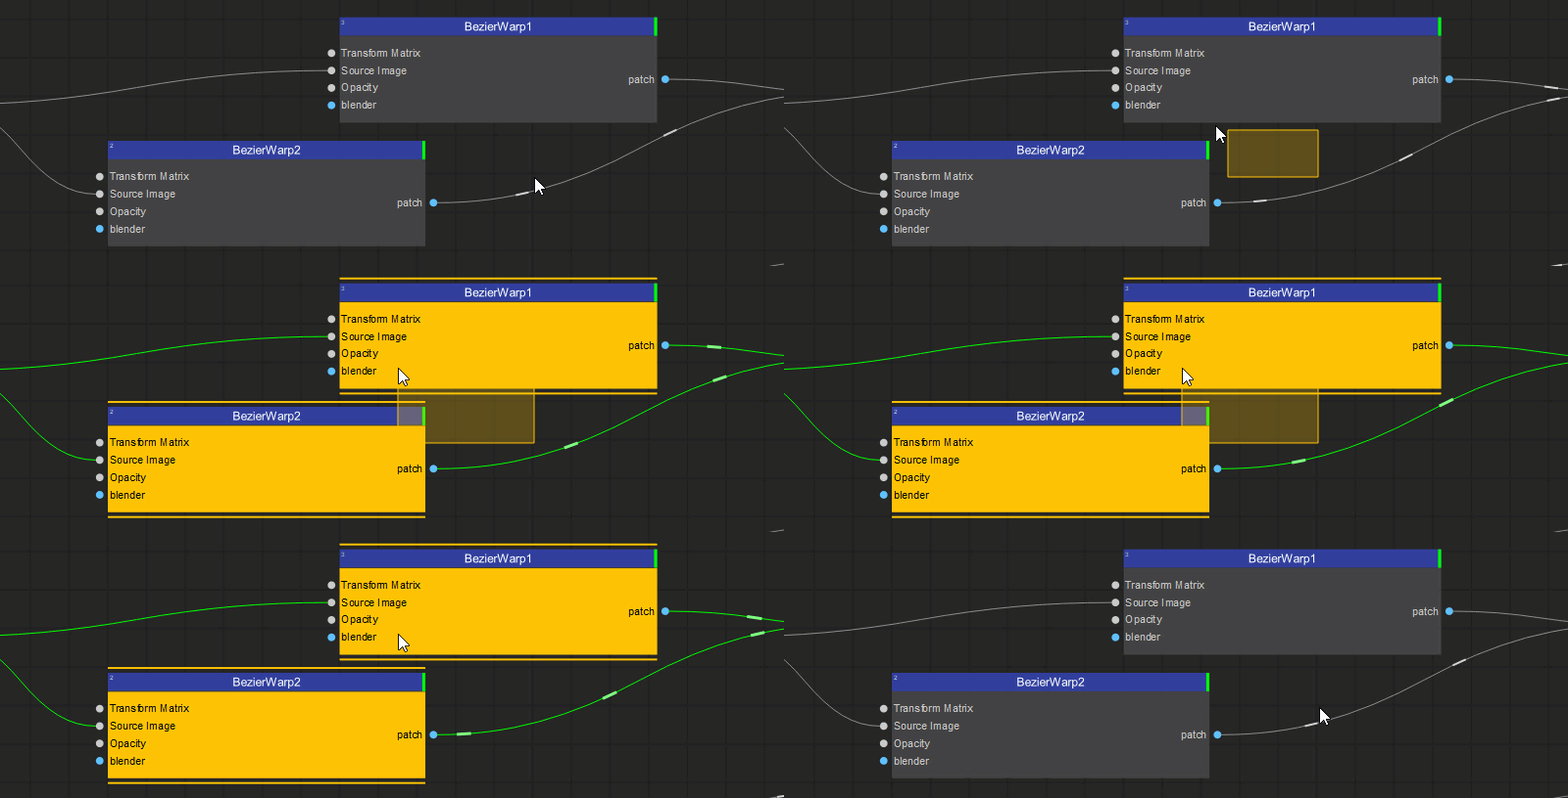
If dragging is done from left to right, only the nodes inside the rectangular marquee will be selected. This function is useful when selecting the nodes that are part of a complex node tree.
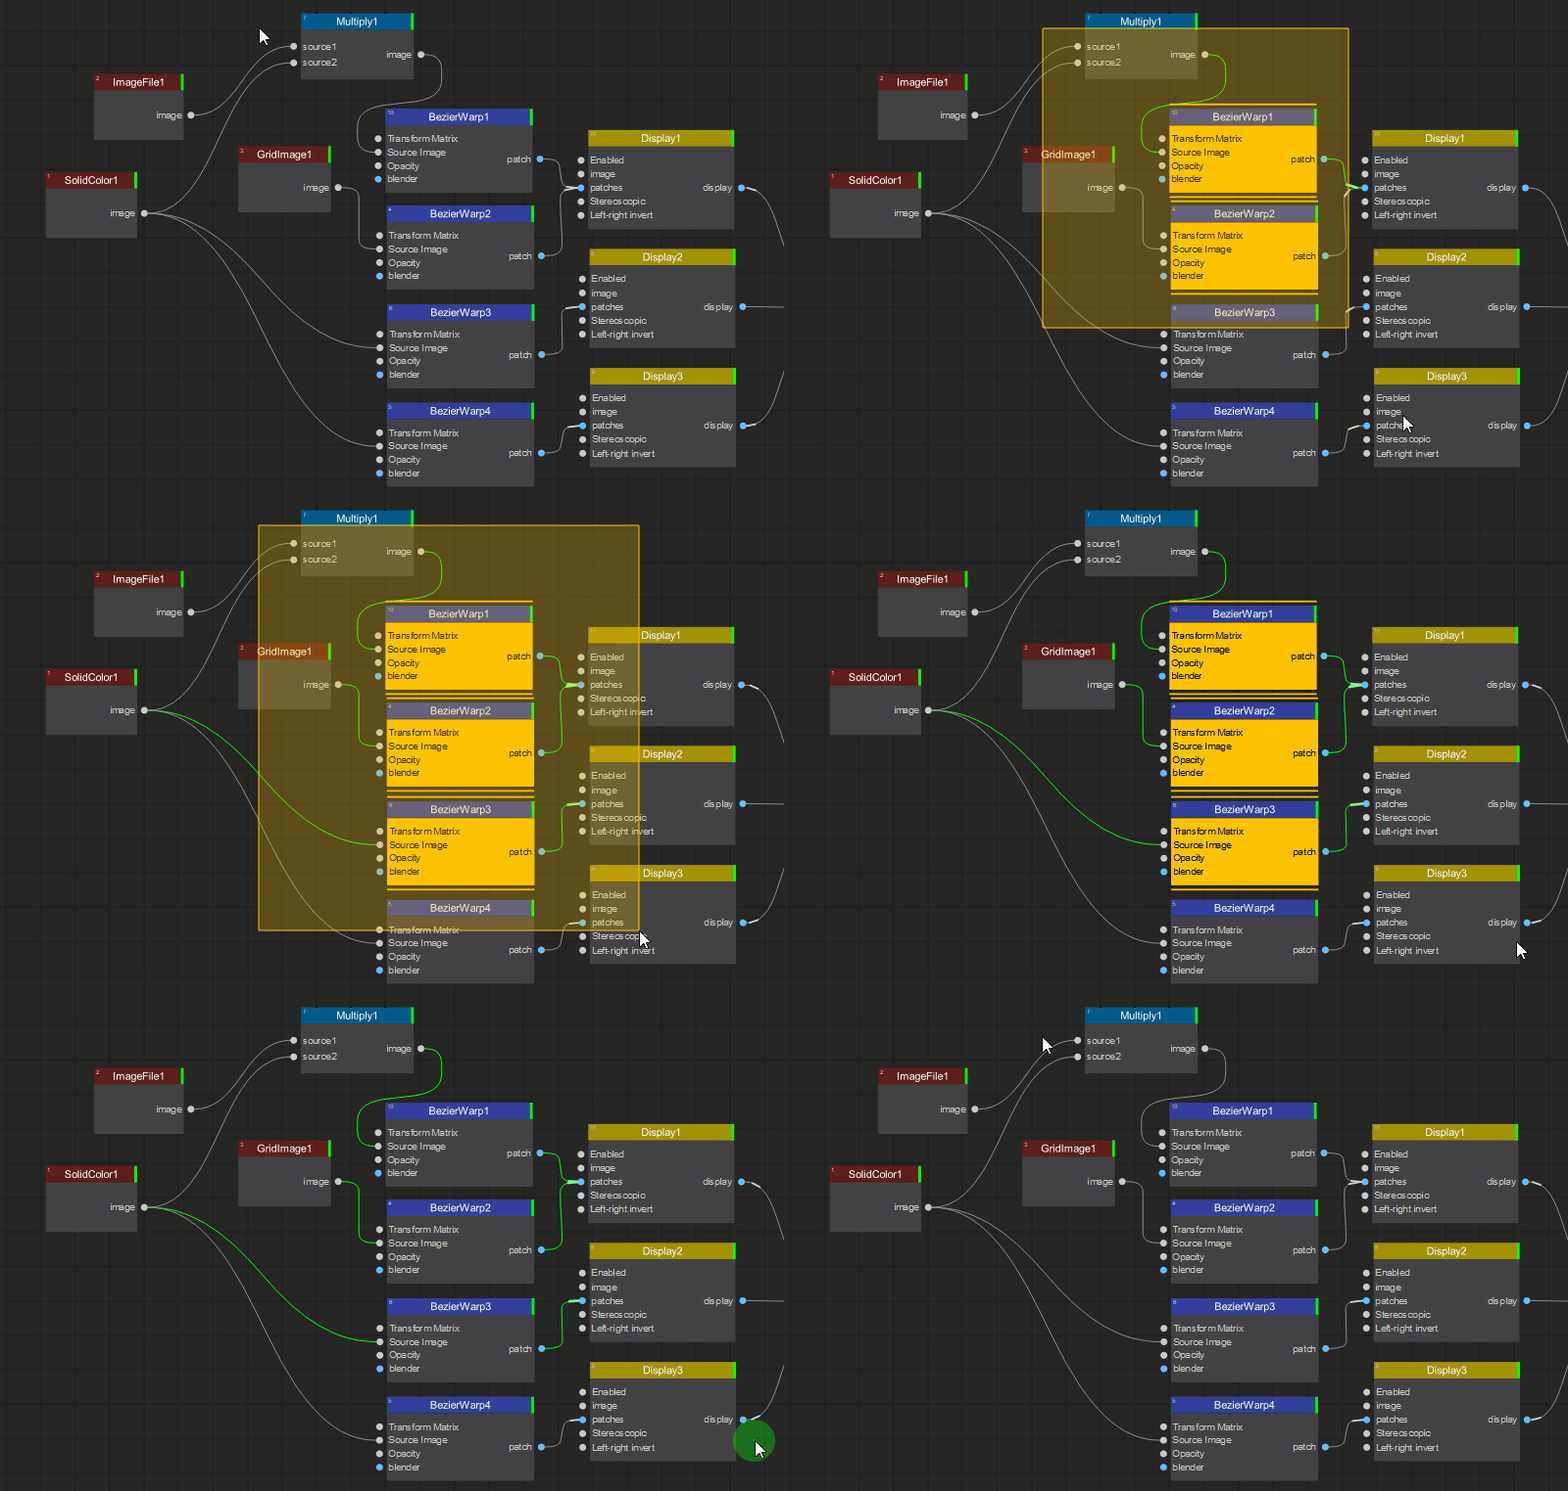
Double-clicking on any node will select all the nodes connected to that particular node.

Also, see Settings of Multiple Selected Nodes for information about selecting multiple nodes of the same type.
Moving Nodes
To move a node, left-click on the node and drag it. If multiple nodes are selected, then clicking on any node in the selection and dragging will move the entire selection.
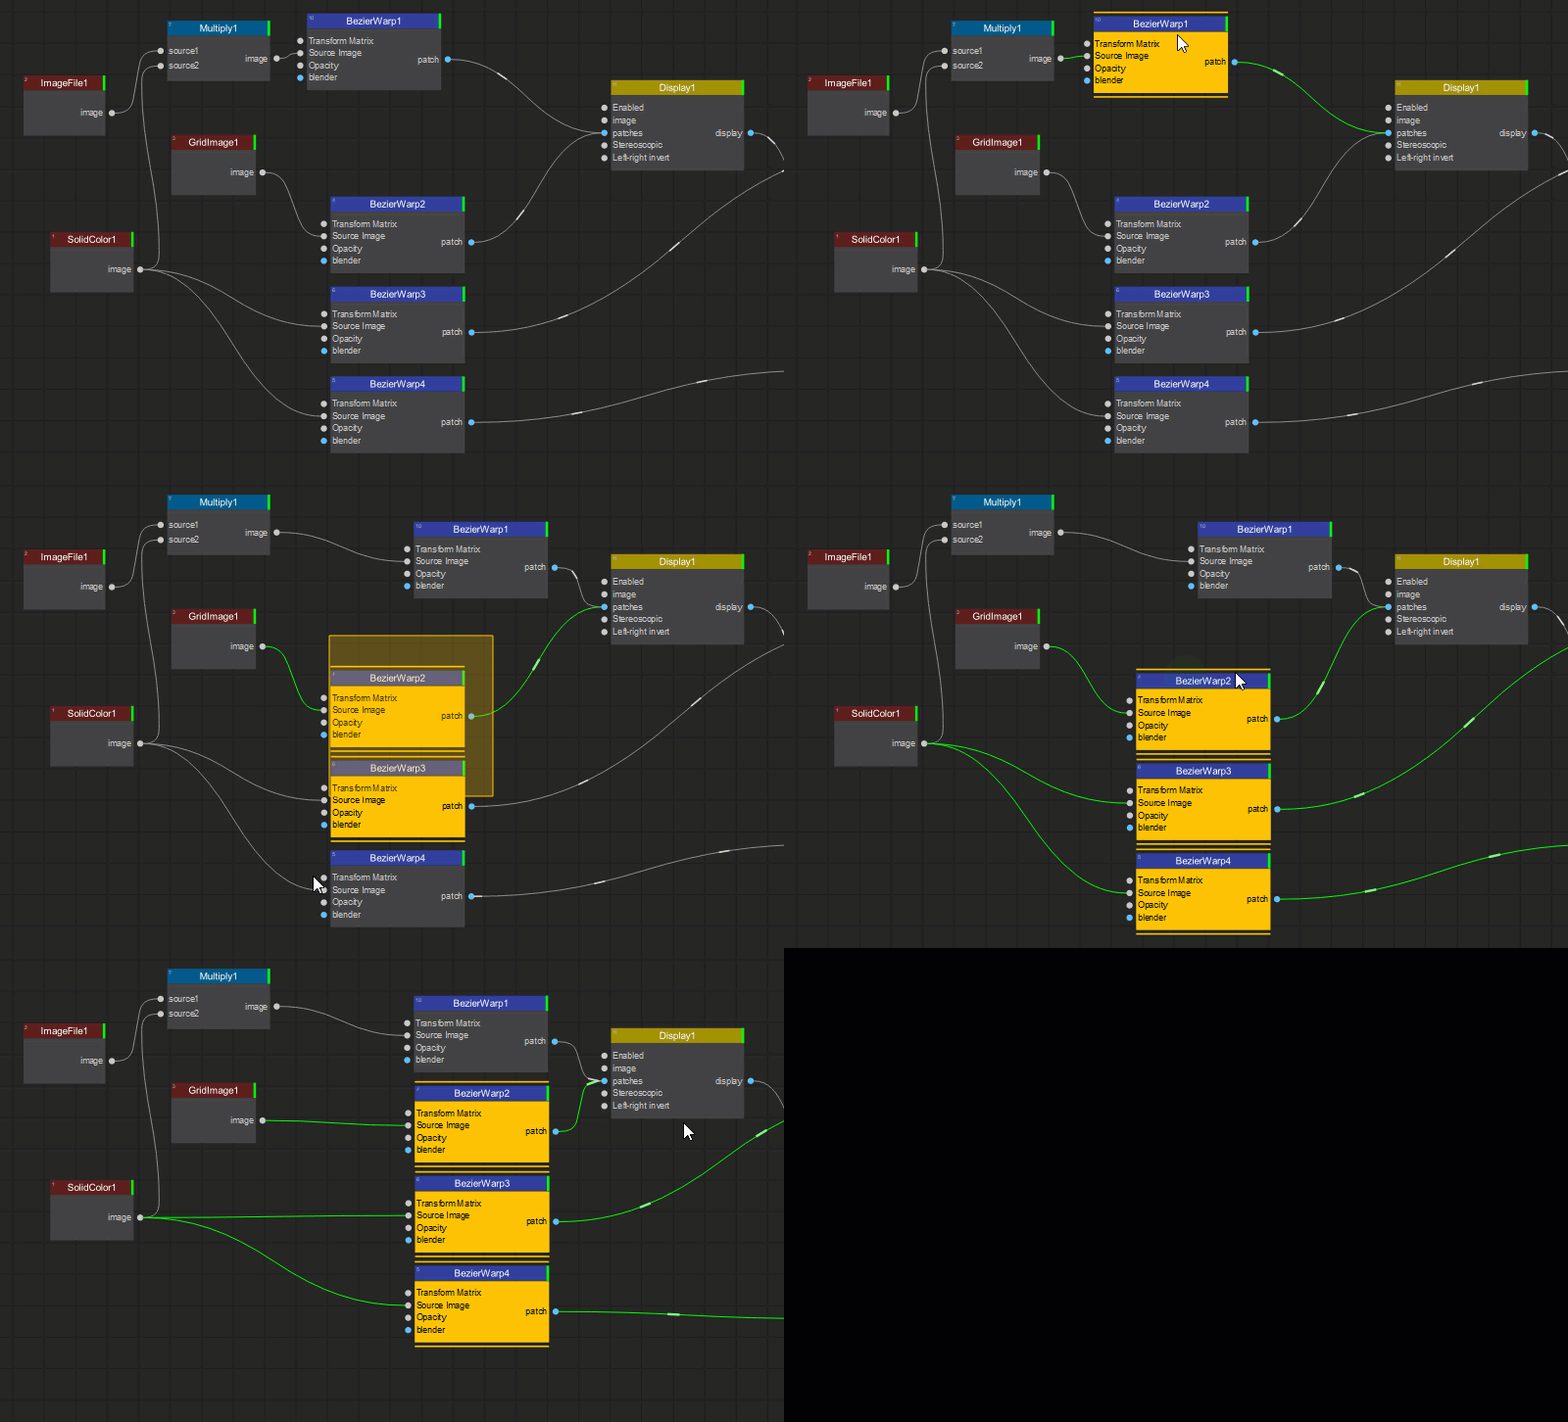
Copy, Paste, and Cut Operations with Nodes
To copy and paste nodes in the Node Graph, select one or more nodes and do one of the following:
- Right-click on a node (or a selected group of nodes) and choose either Copy or Cut and then choose Paste from the dropdown menu.
- Use the following keyboard shortcuts:
Ctrl+Cto copy orCtrl+Xto cut, andCtrl+Vto paste.
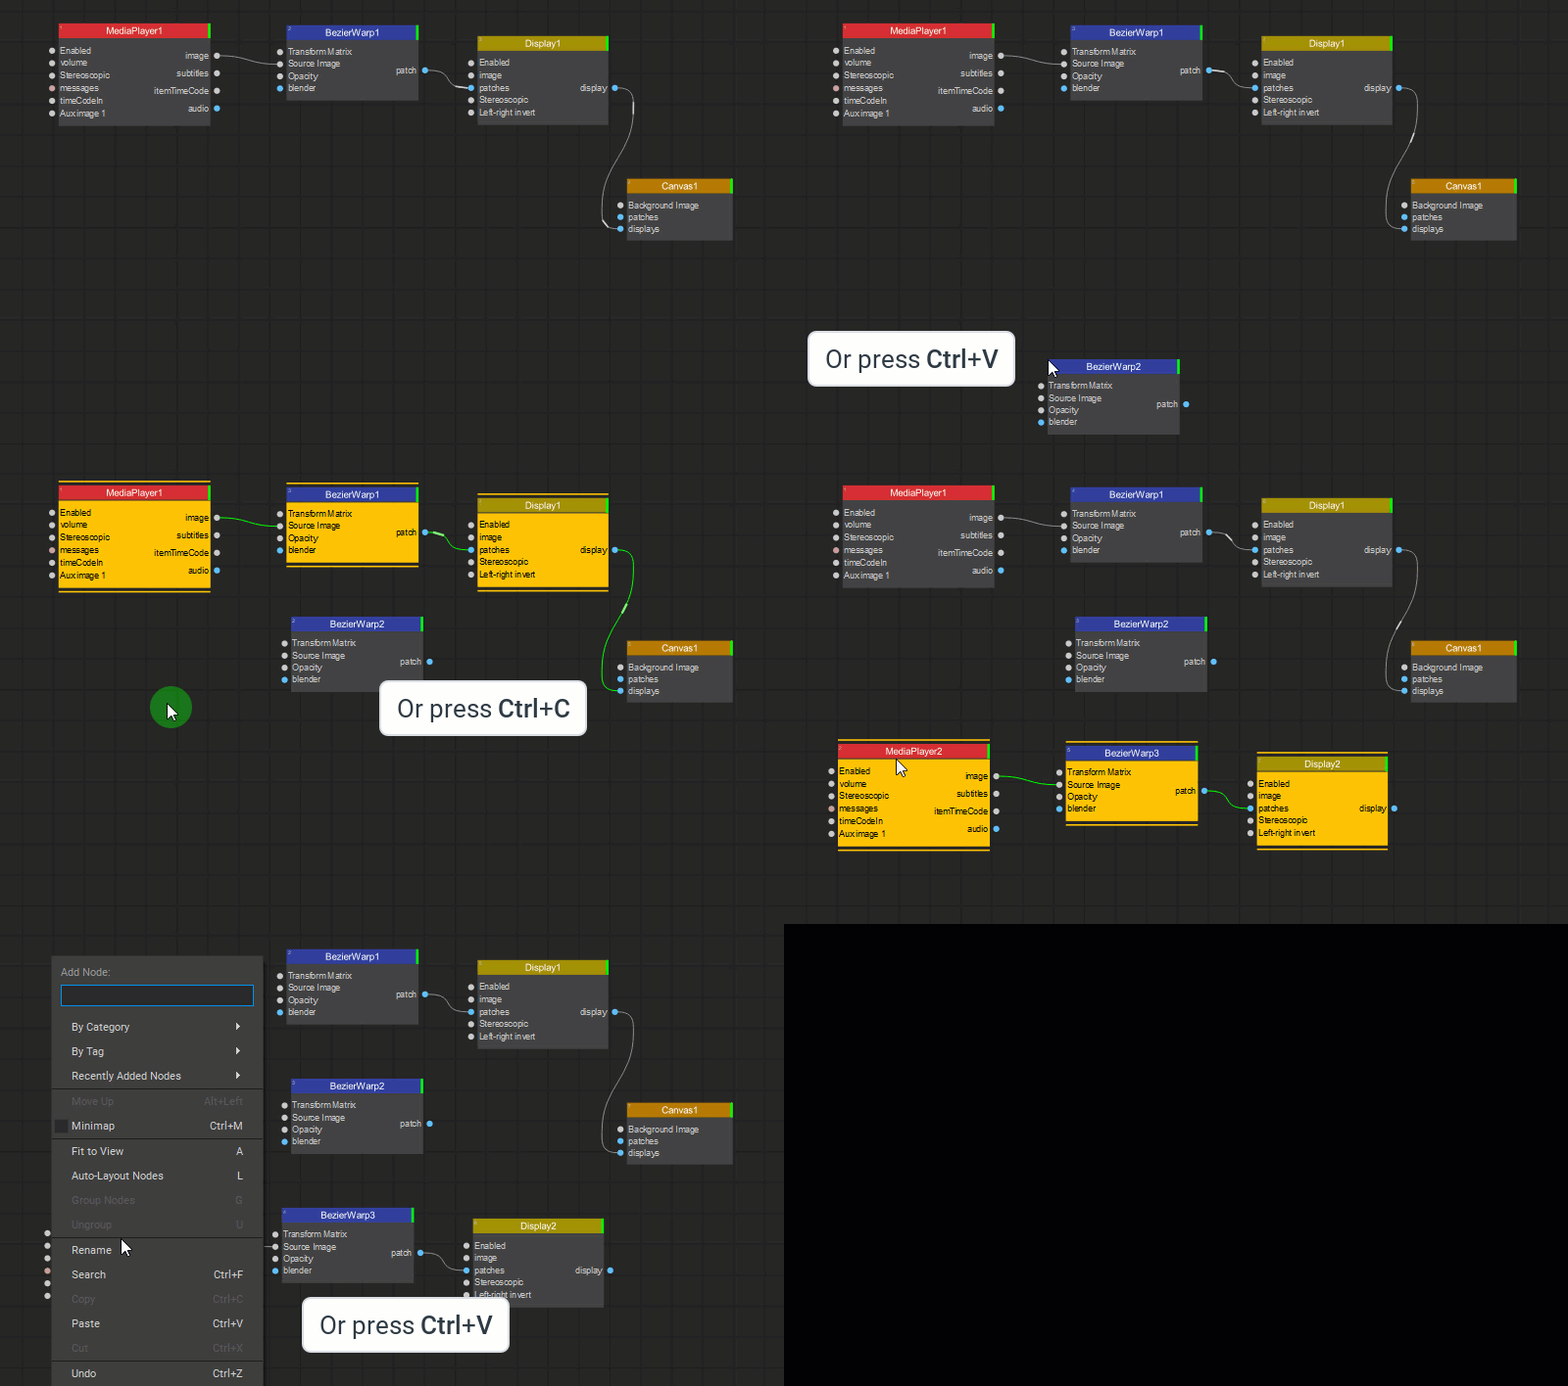
Note: The nodes from one Screenberry project can be copied and pasted into another.
Deleting Nodes
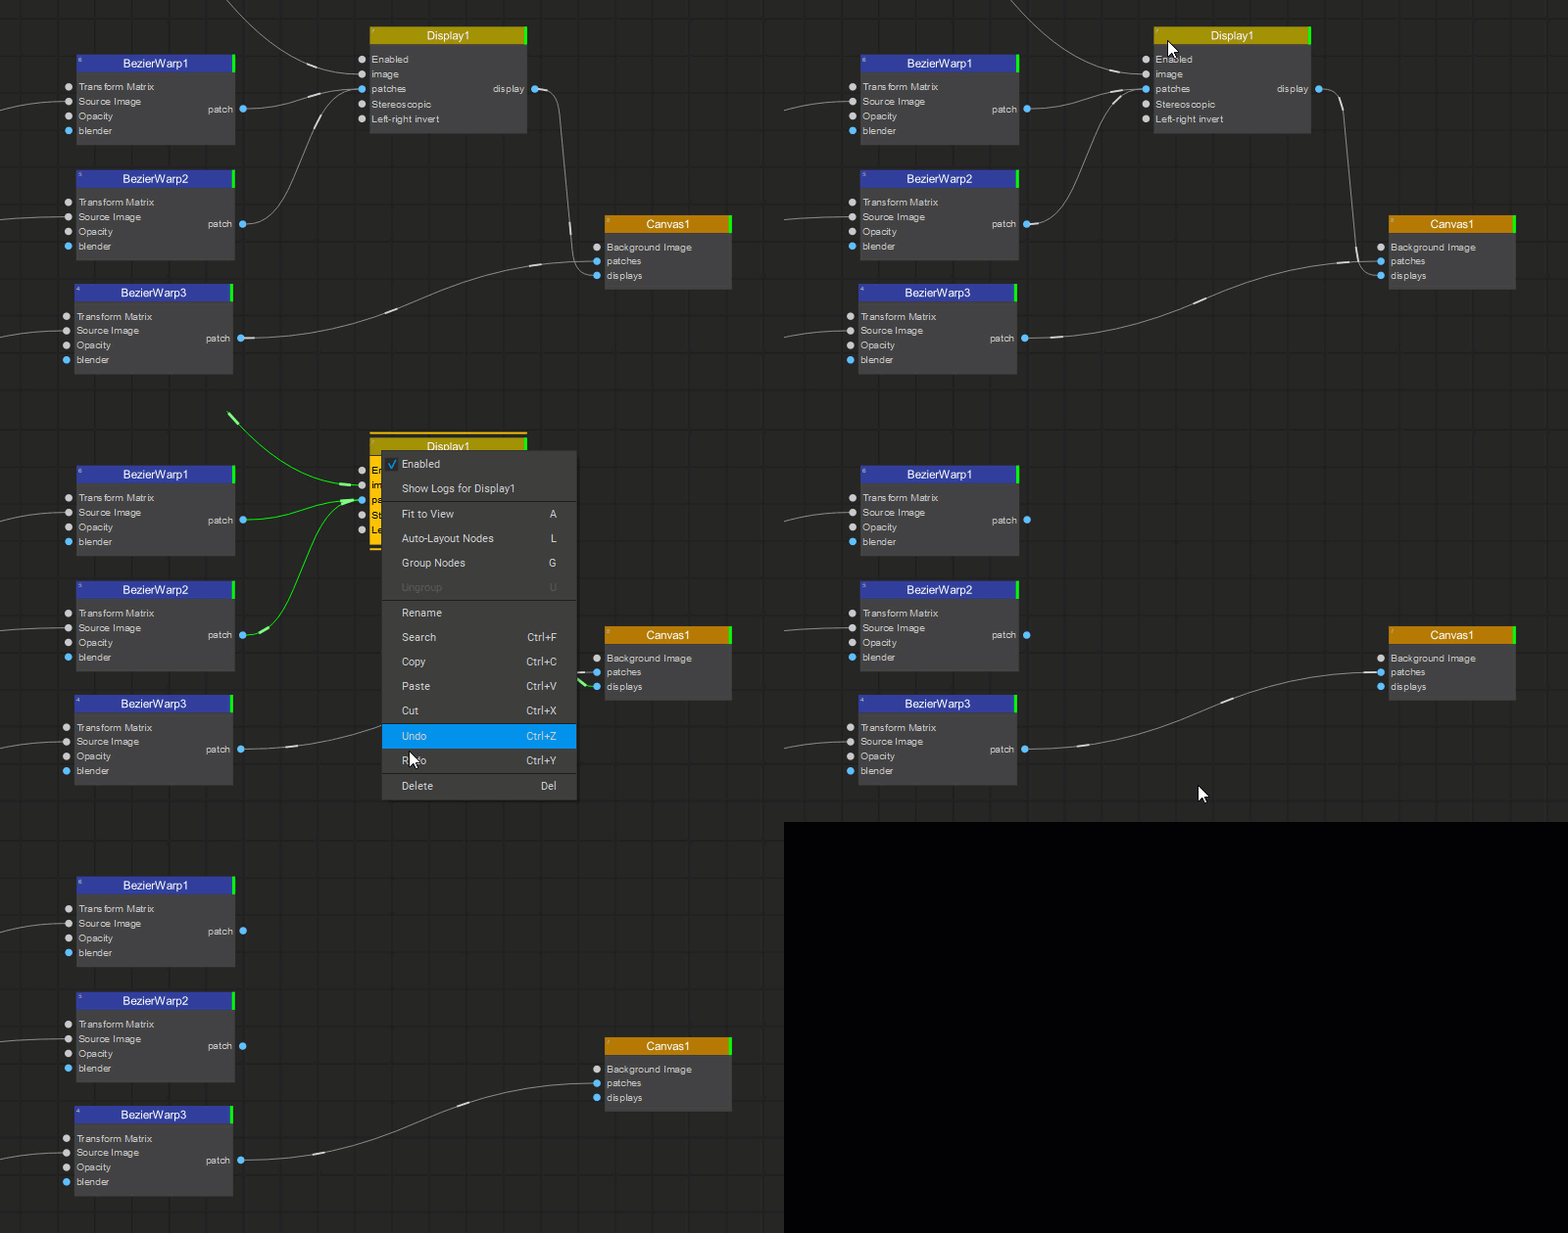
To delete a node or a group of selected nodes, right-click on a node (or a group) and select Delete from the dropdown menu, or press the Del button. Deleting a node removes any links attached to it.
Renaming Nodes
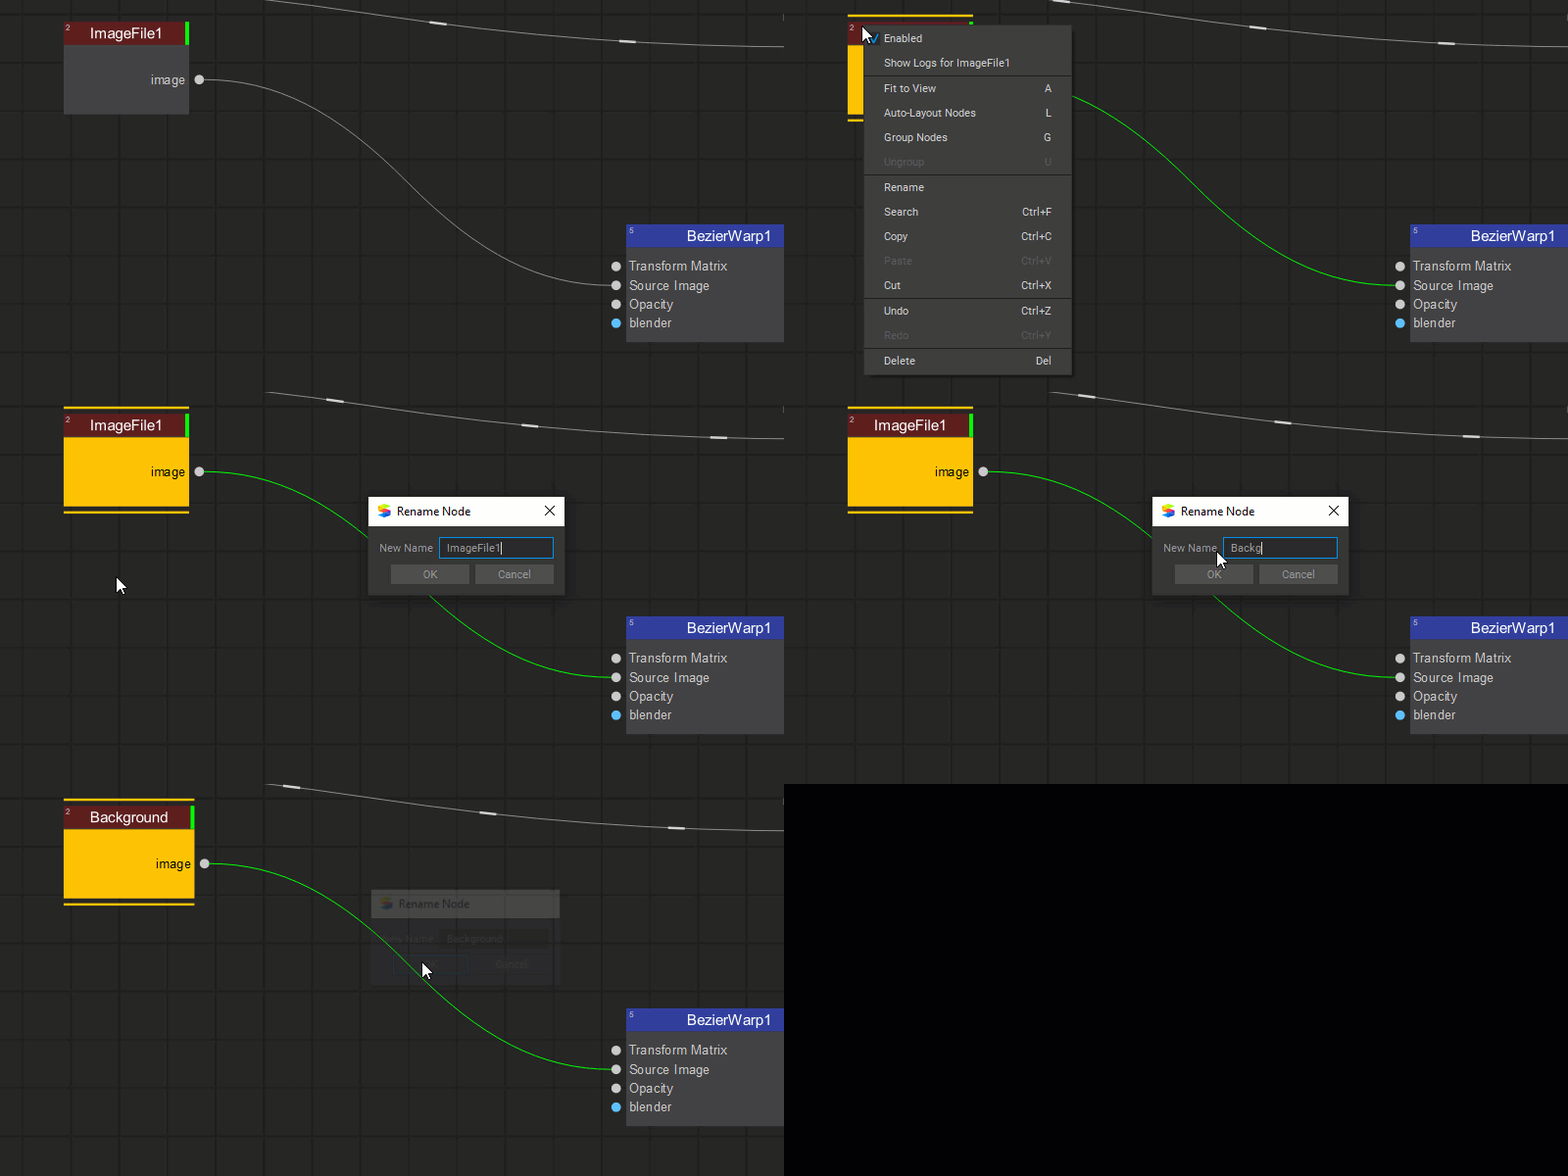
To rename a node, right-click on it, select Rename from the dropdown menu, and enter a new name in the opened dialog box.
Changing Node Size
To resize a node, select it and drag any one of its corner handles (which become visible on mouseover).

Grouping Nodes
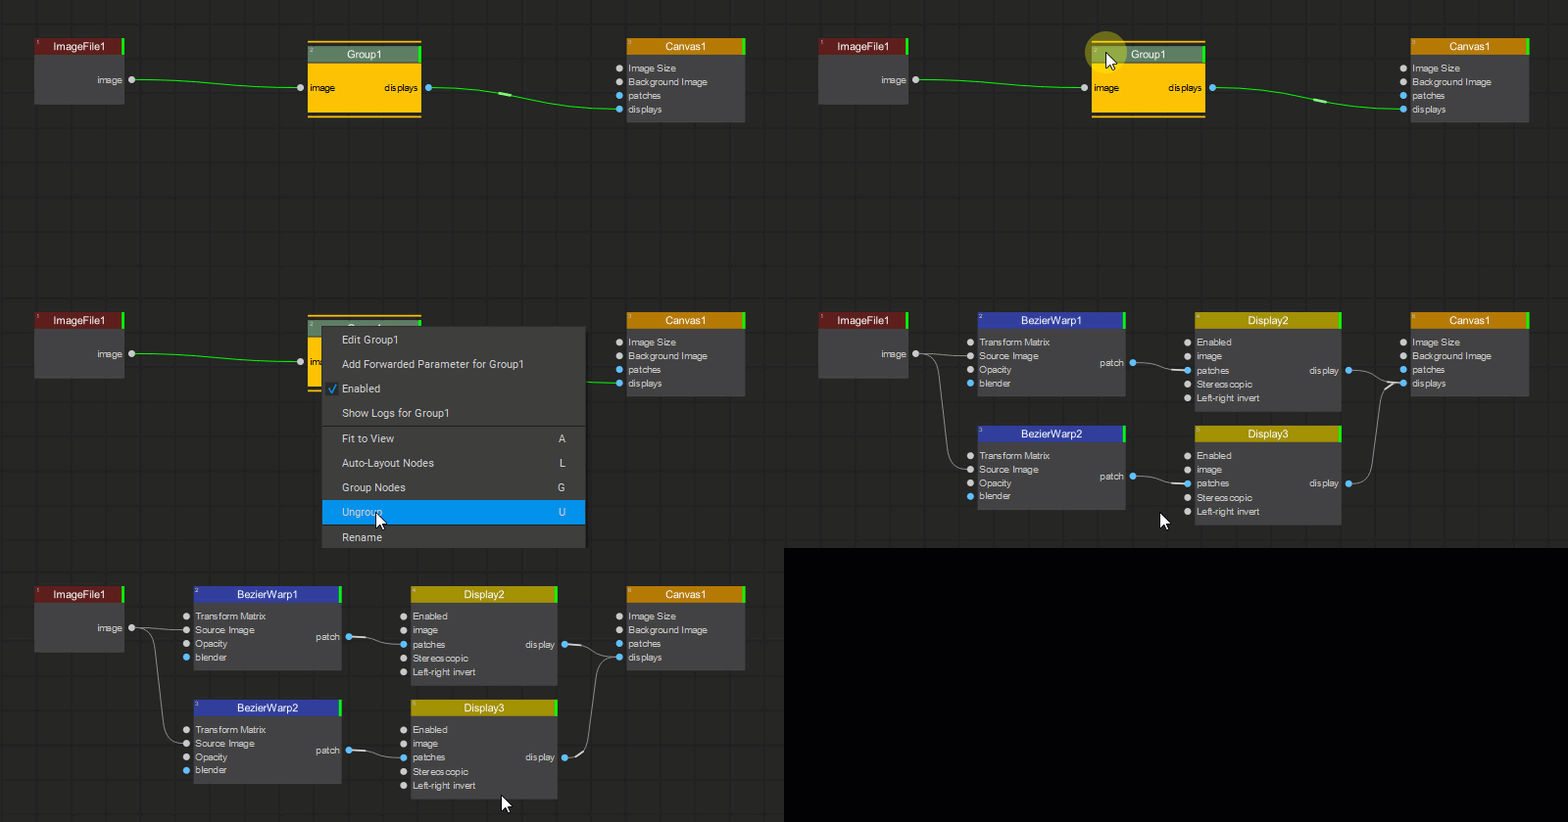
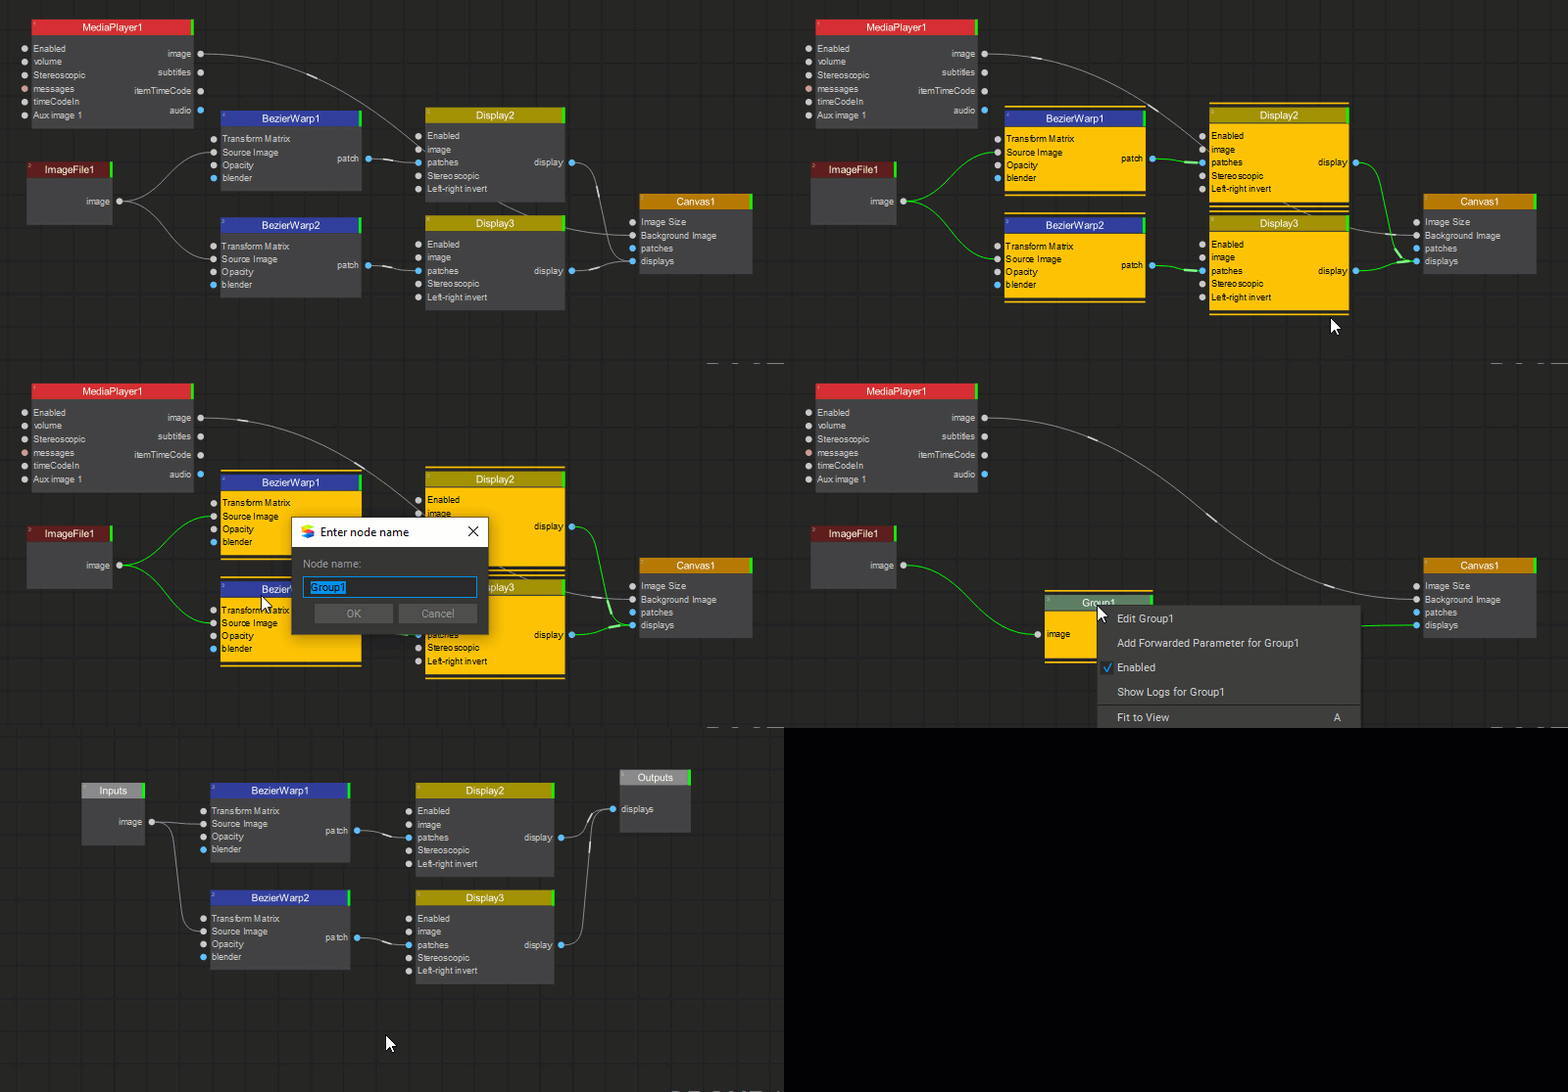
To visually simplify and better organize the layout of a node tree, parts of it can be collapsed into groups. To do this, right-click on a group of selected nodes, choose Group Nodes from the dropdown menu (or press the G key), and enter a name for the created group in the opened dialog box. The selected nodes will be combined into a specialized Group node with input and output parameter pins that match the currently linked input and output parameters for the entire group of nodes.
To view and edit the nodes contained in a Group node, right-click on it and select Edit [Group Name] from the dropdown menu or double-click the Group node.
Switching between the contents of different Group nodes and the main node tree is accomplished by clicking on the buttons with the group names that are located on the navigation bar at the top of the Node Graph window (where Root indicates the main node tree).
![]()
To ungroup nodes contained in a Group node, right-click on the Group node and select Ungroup from the dropdown menu (or press the U key).
