Animation and Keyframing
You can animate certain parameters of media items on the timeline, which means defining changes in parameter values that occur over time during playback. This is achieved by assigning keyframes to a parameter value. A keyframe marks a point in time where a specific parameter value is set. To create a parameter value change over time, it’s necessary to set at least two keyframes: one for the parameter value at the beginning of the change and another for the value at the end of the change. Then, a gradual change in the values between the set keyframes, called interpolation, will be created automatically.
Currently, the following media item parameters can be animated:
- Transformation properties: Anchor Point, Position, Scale, and Rotate
- Image Opacity
- Audio Volume
Note: To animate transformation properties, select the Custom Transformations for the Position Method parameter in the media item’s Settings.
To add a keyframe, follow these steps:
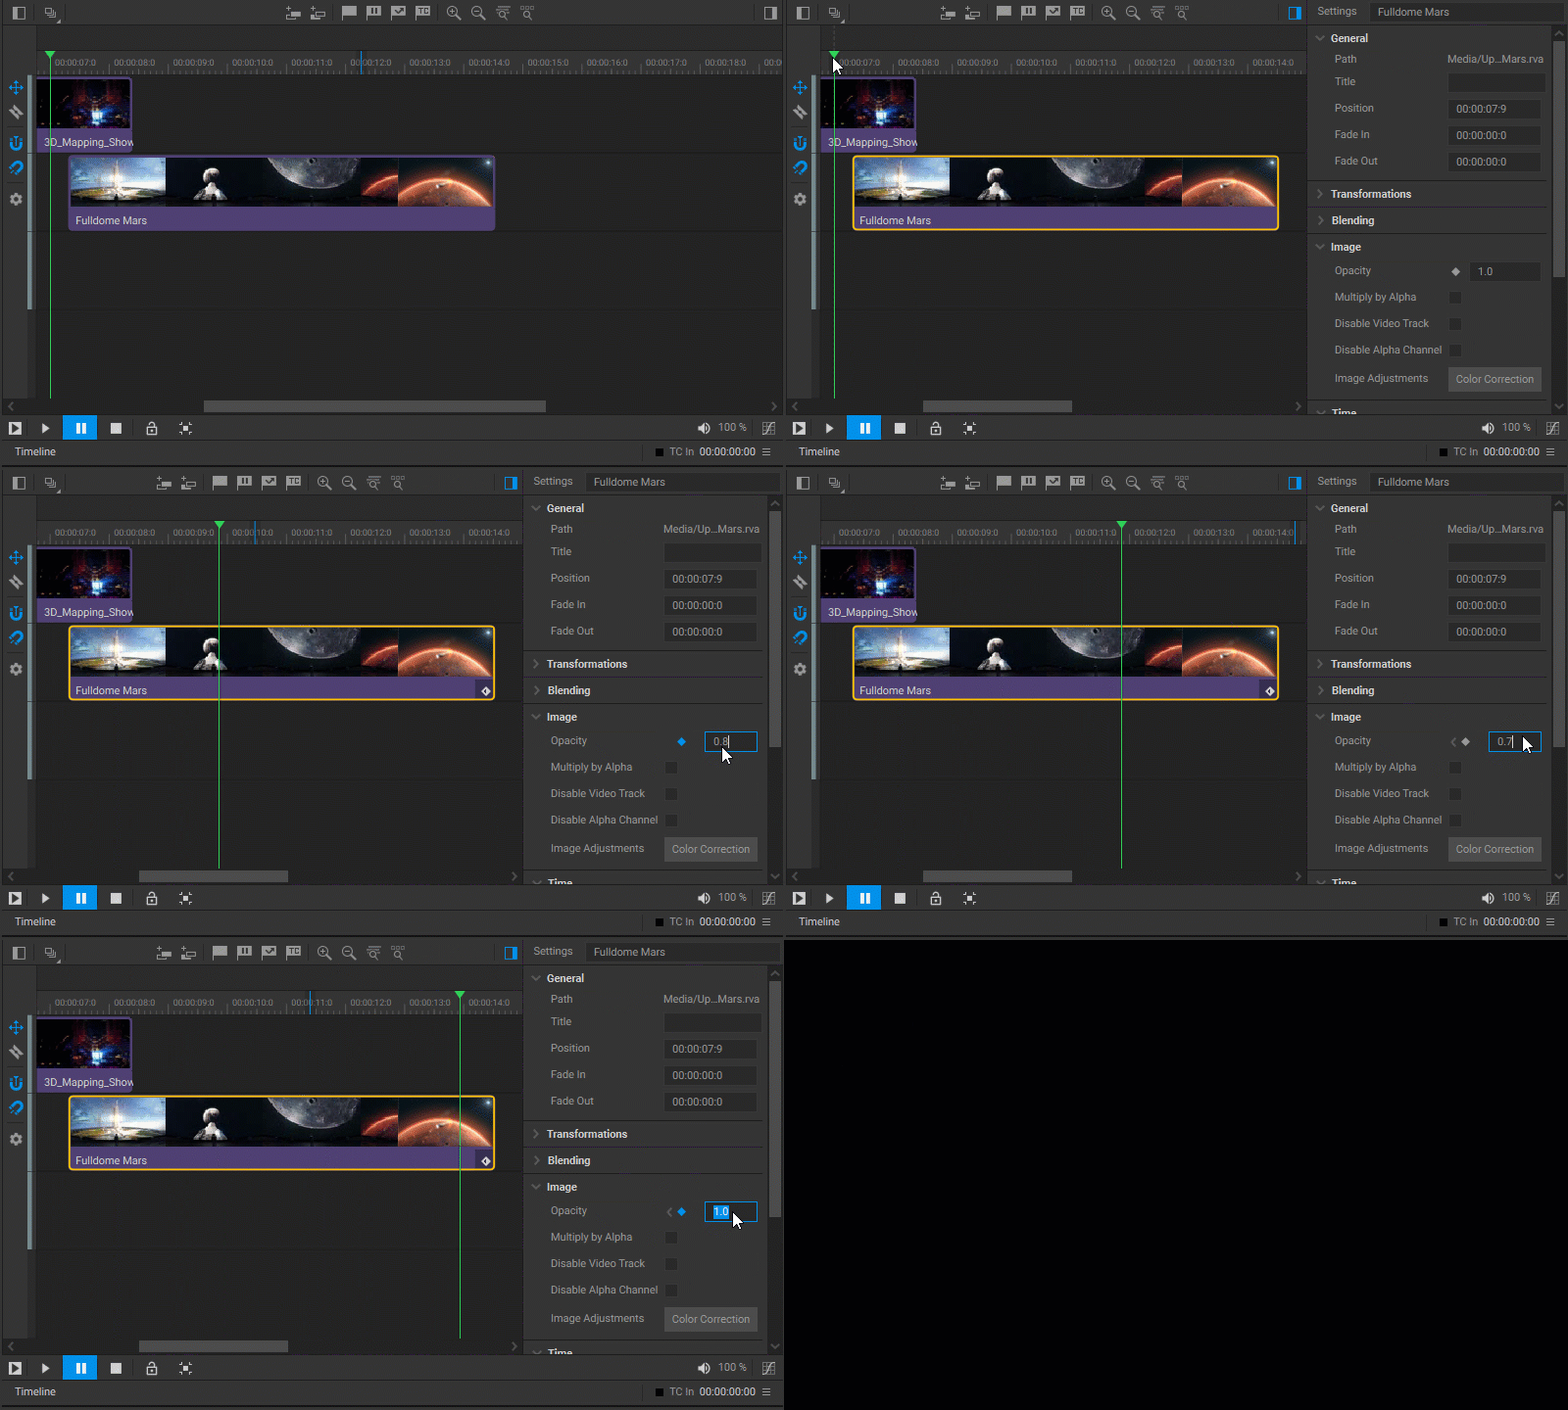
- Select the media item on the timeline track containing the parameter you want to animate.
- Move the playhead to the point in time where you wish to add a keyframe.
- In the Settings panel, specify the parameter you want to animate by clicking on the rhombus icon
 next to its name.
 - Enter the desired value(s) into the parameter value field(s).
When you set keyframes for a media item on the timeline, a rhombus icon ![]() will appear on the media item’s name bar to indicate as much. Clicking on this icon will expand or collapse the list of parameters for the media item with set keyframes.
will appear on the media item’s name bar to indicate as much. Clicking on this icon will expand or collapse the list of parameters for the media item with set keyframes.
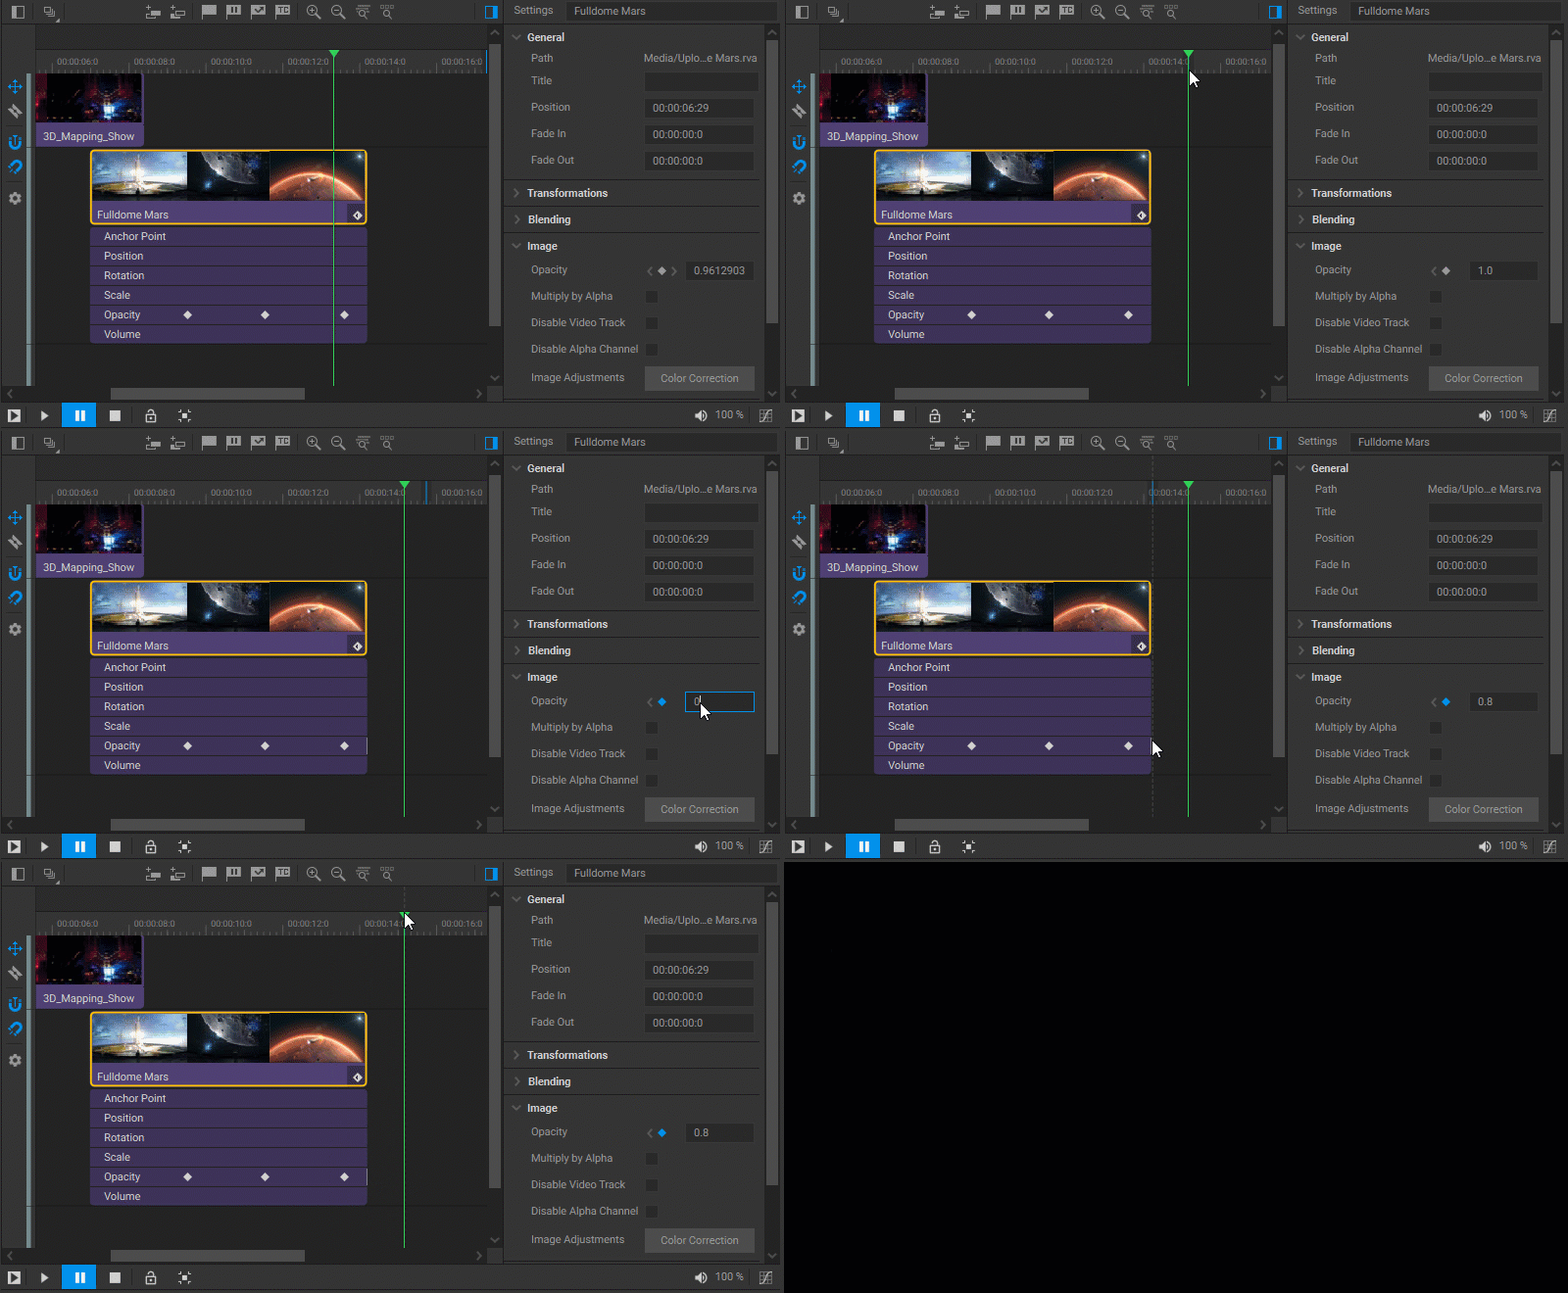
If the keyframes are positioned beyond the duration of the media item, the marks on the corresponding side of the parameter bar will indicate their existence and location.
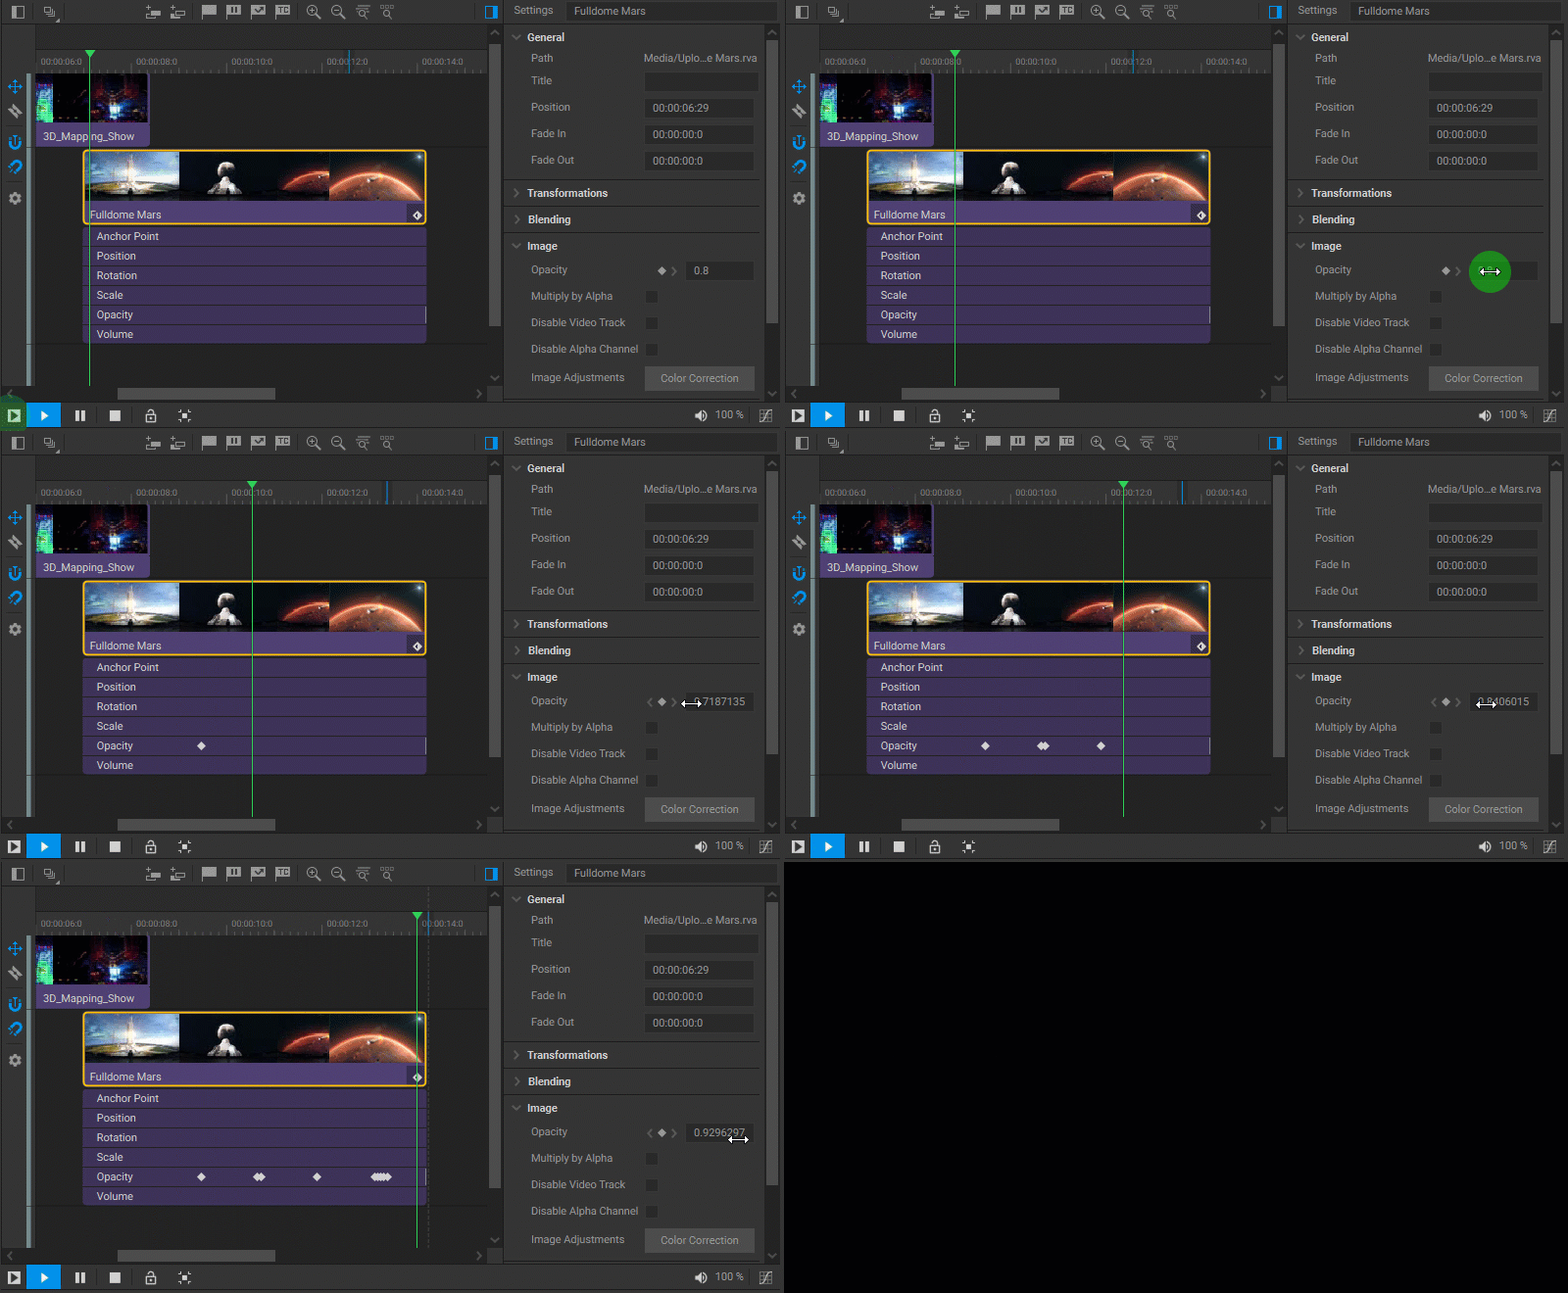
You can also set keyframes in real-time while the playhead is in motion during playback. In this case, whenever a value of the selected parameter is altered, a keyframe is automatically created at the current position of the playhead.
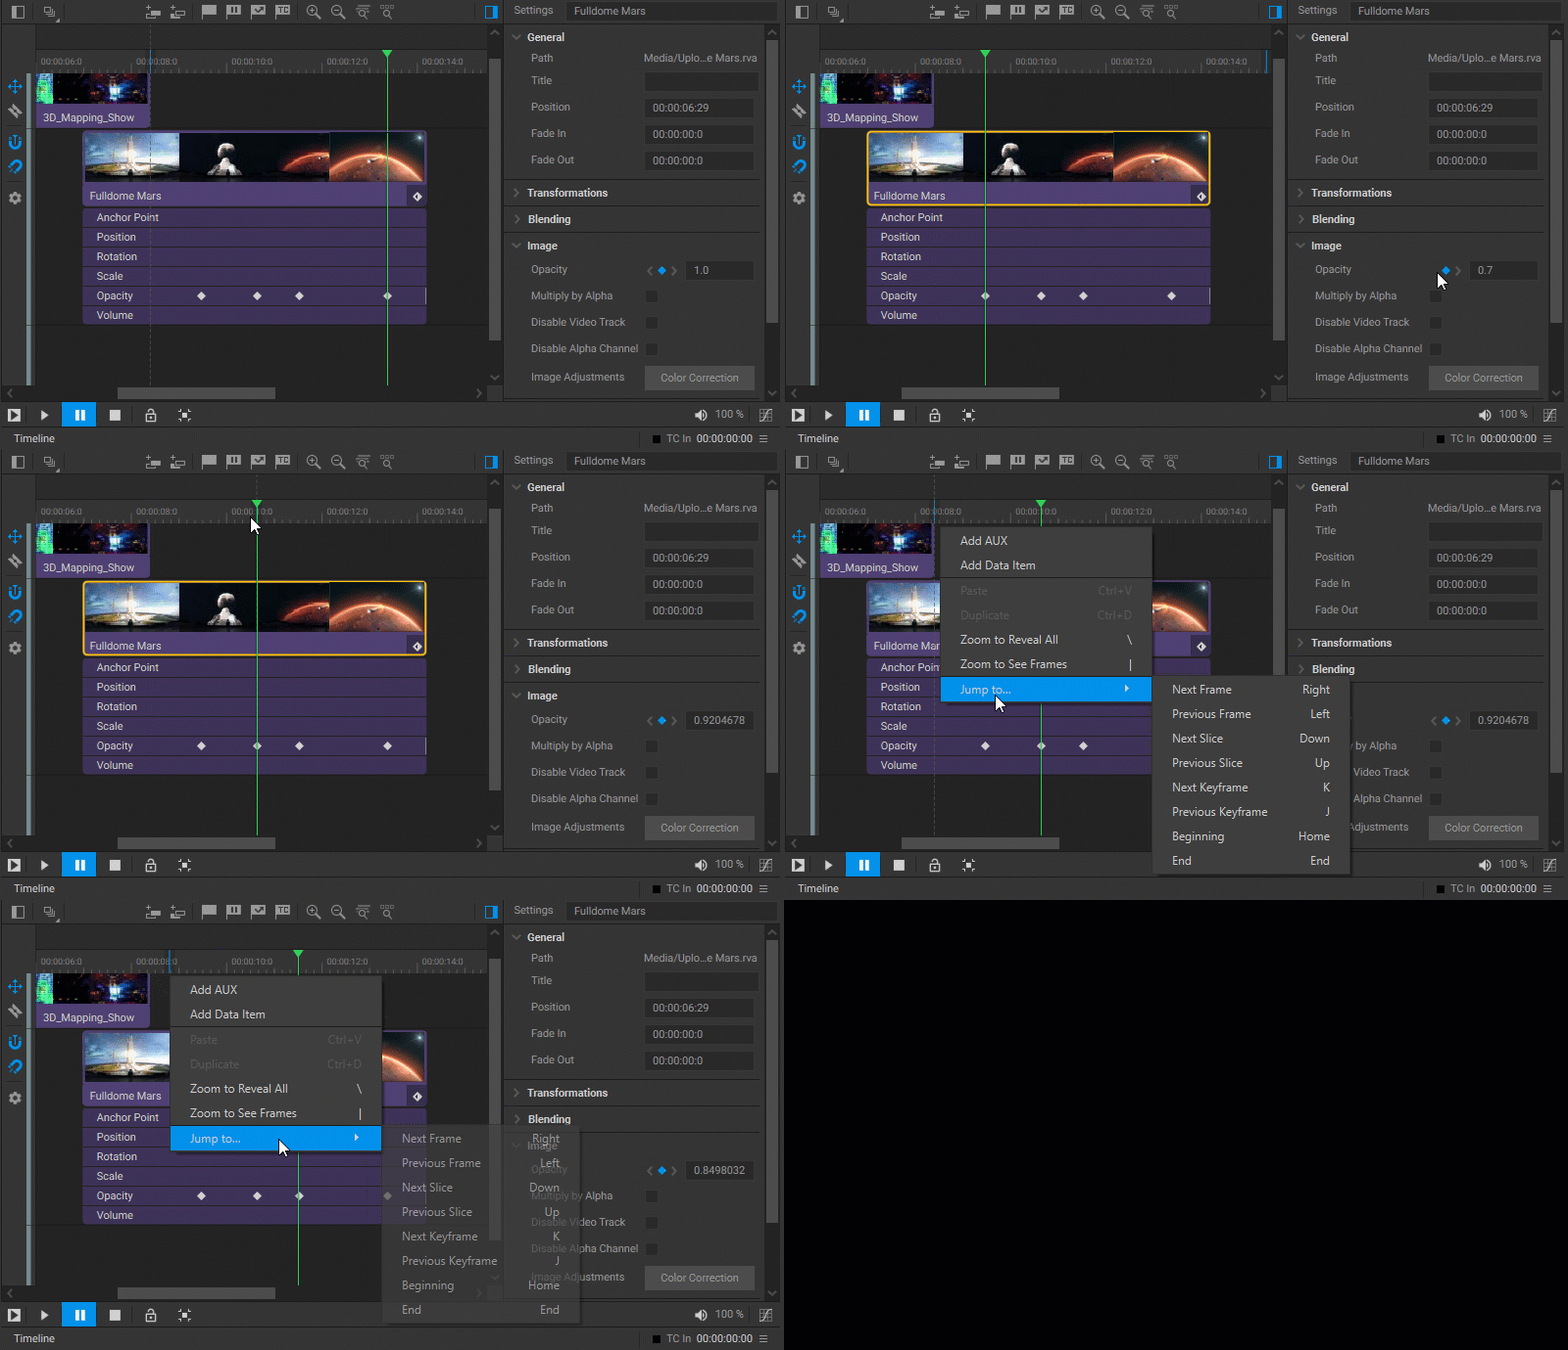
When more than one keyframe is added to a parameter, keyframe navigation arrows ![]() will appear on either side of the corresponding rhombus icon next to the parameter name in the Settings panel. These arrows enable you to navigate to the existing keyframes for the purpose of making further adjustments. When a keyframe is selected, the rhombus icon changes its color to blue
will appear on either side of the corresponding rhombus icon next to the parameter name in the Settings panel. These arrows enable you to navigate to the existing keyframes for the purpose of making further adjustments. When a keyframe is selected, the rhombus icon changes its color to blue ![]() .
.
Alternatively, you can navigate between keyframes in the timeline panel by expanding the list of parameters for the media item and moving the playhead. The playhead will automatically snap to the existing keyframes. Additionally, you can navigate keyframes by right-clicking anywhere on the timeline track and selecting the Jump to… > Next Keyframe (or Previous Keyframe) options from the dropdown menu.
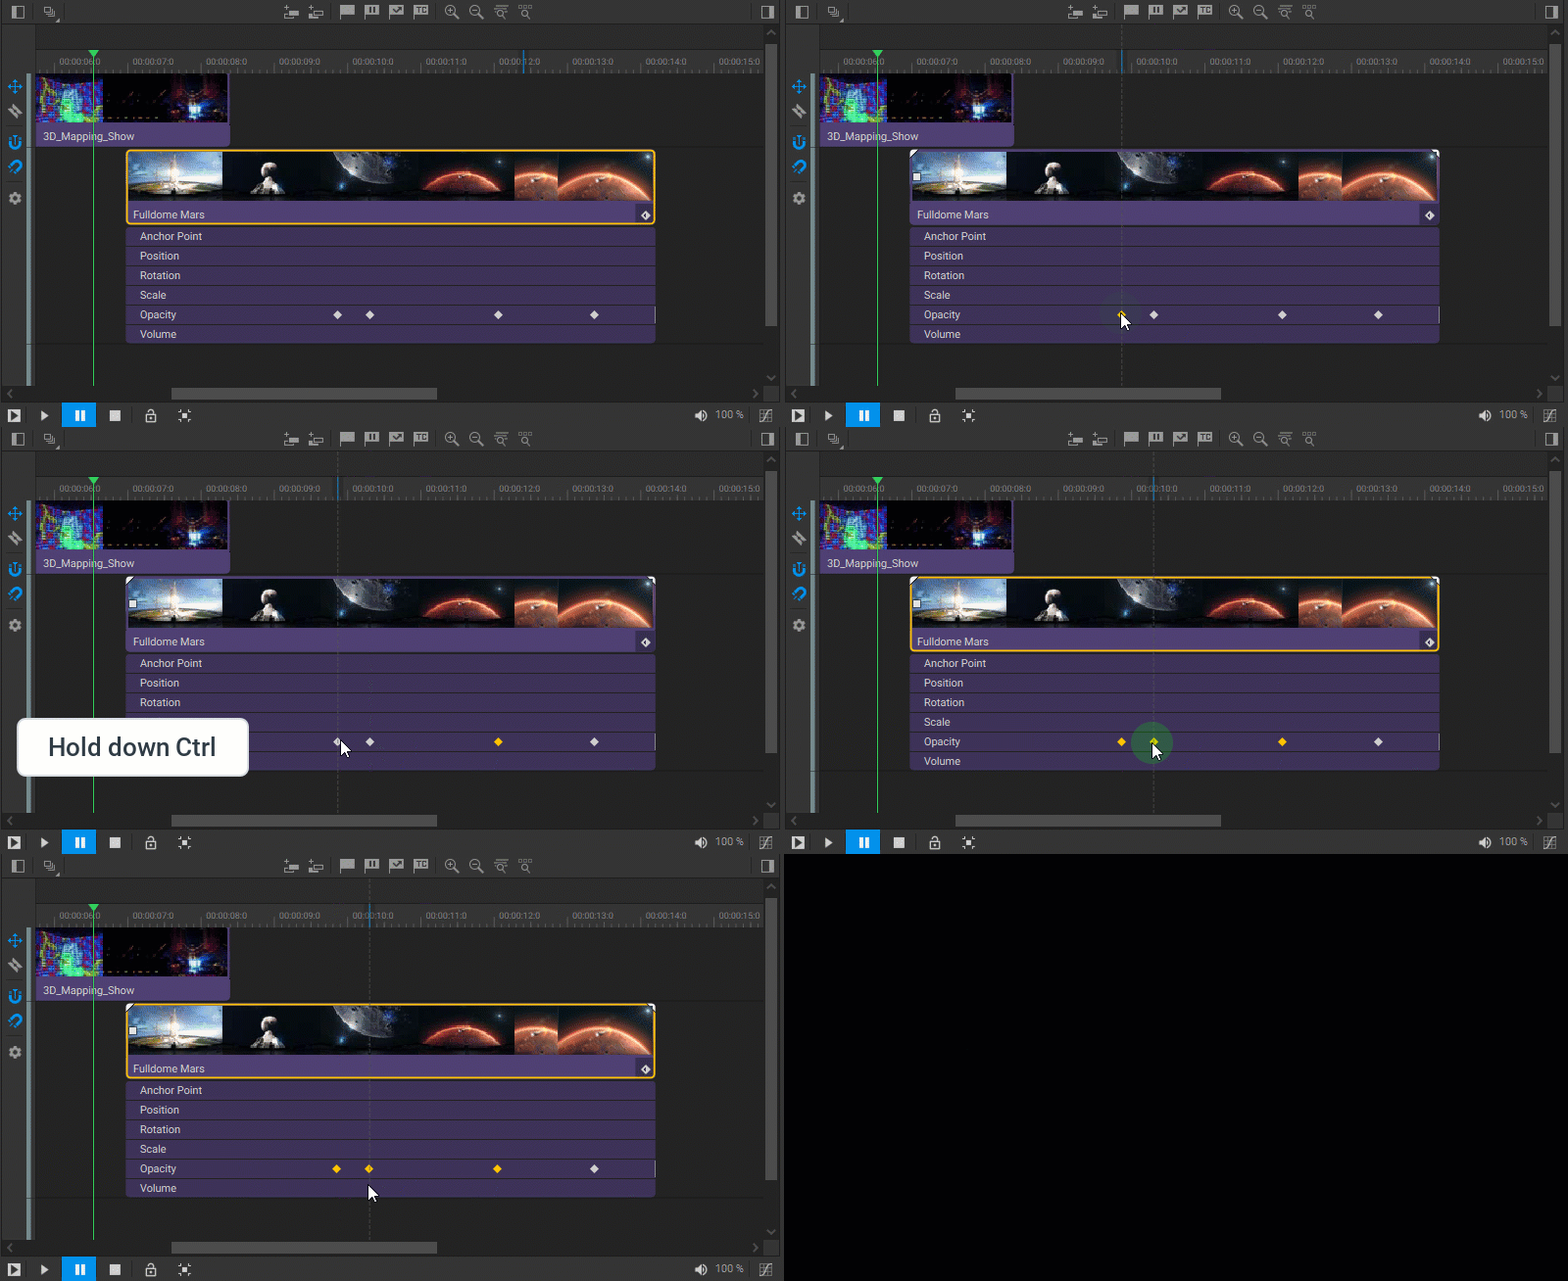
To select keyframes in the timeline panel, click on their icons in the expanded list of parameters for the media item. Selected keyframes will be highlighted in yellow ![]() , while unselected ones will remain gray
, while unselected ones will remain gray ![]() . You can select multiple keyframes at once by holding down the
. You can select multiple keyframes at once by holding down the Ctrl key and clicking on their corresponding icons.
To adjust the position (time) of selected keyframes, drag them to a desired location on the timeline tracks. The relative positioning between selected keyframes will remain unchanged as they are moved.
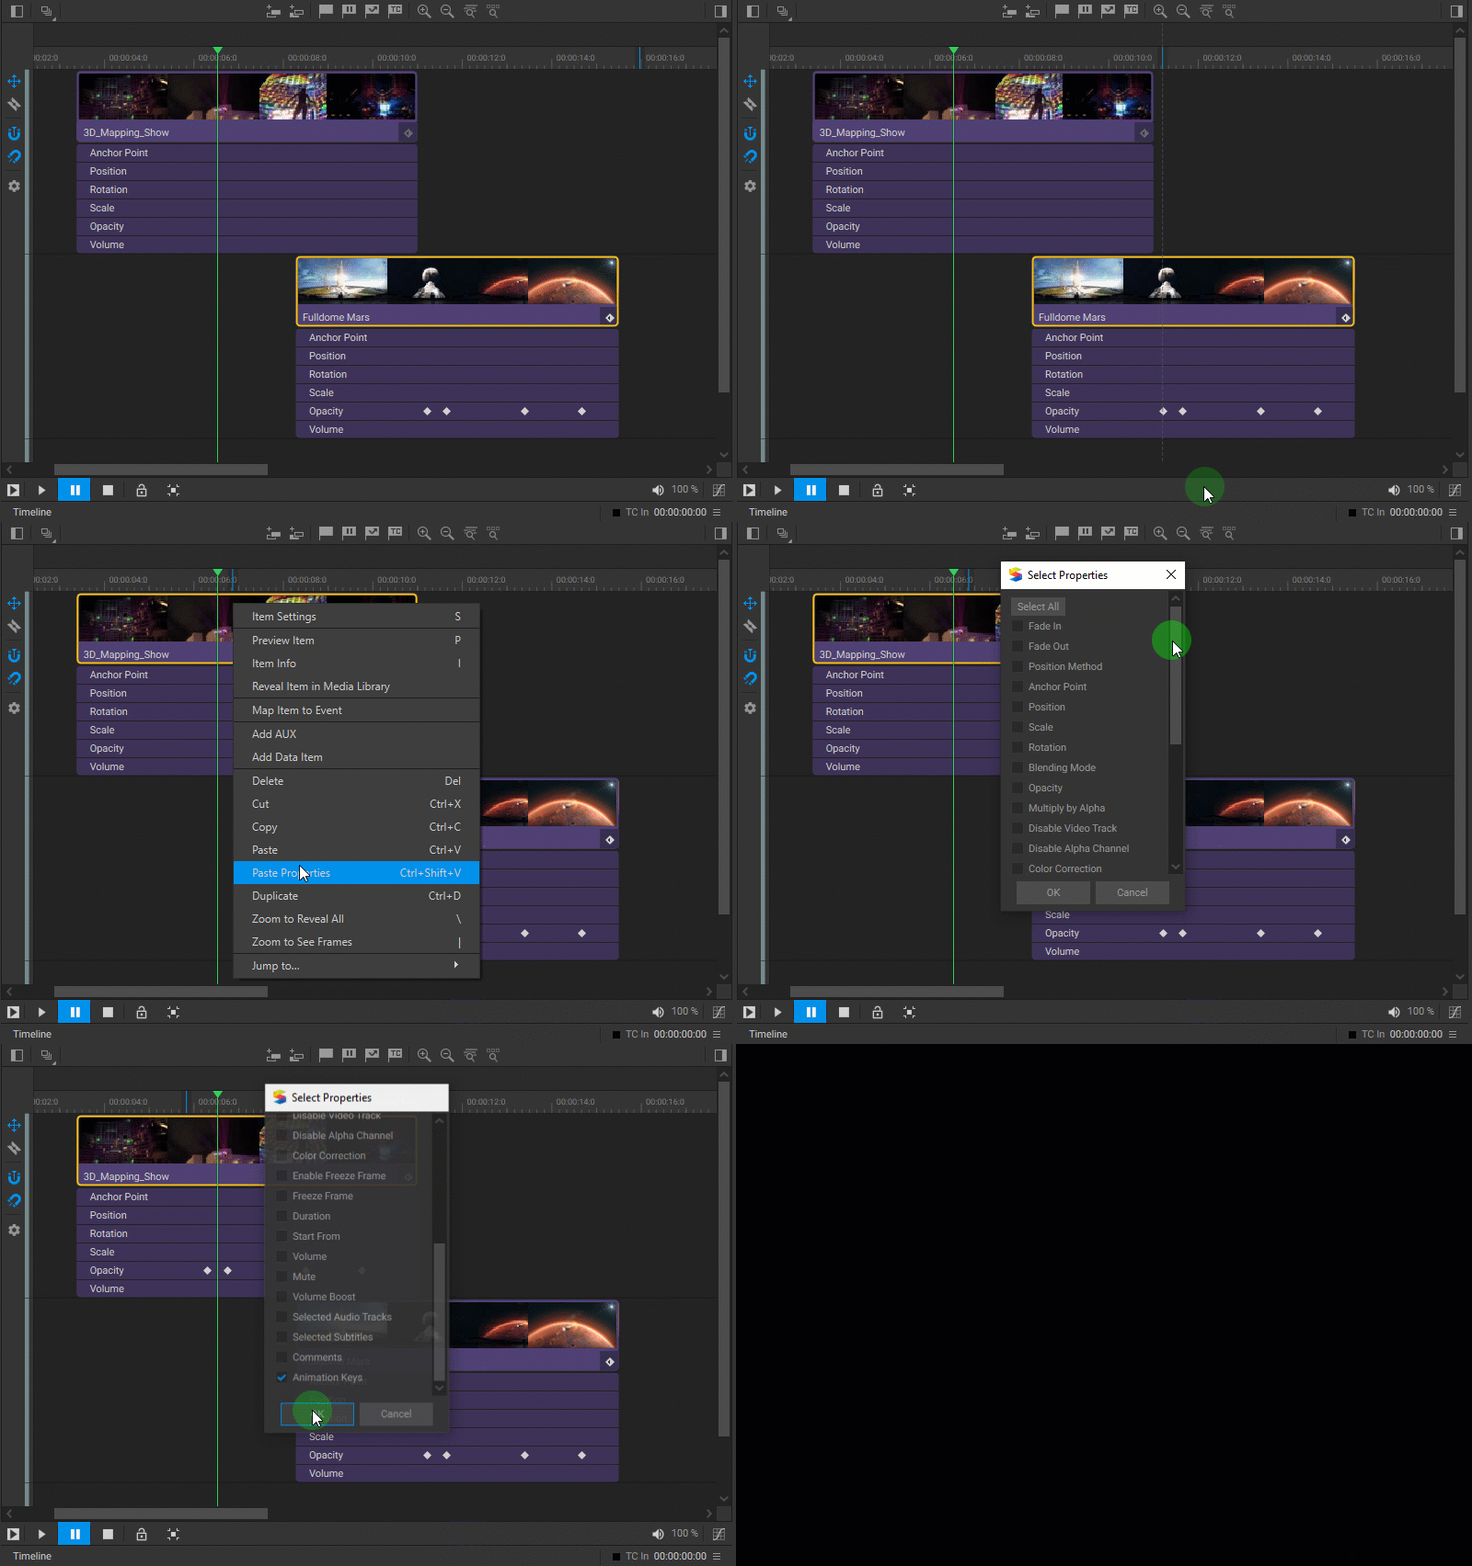
To copy keyframes from one media item to another, do the following:
- Right-click on the media item with the desired keyframes and select Copy from the dropdown menu. Alternatively, you can select the media item and use the
Ctrl+Ckeyboard shortcut. - Right-click on the target media item and select Paste Properties from the dropdown menu or use the
Ctrl+Shift+Vkeyboard shortcut. - In the window that appears, make sure the Animation Keys checkbox is selected.
- Click OK to apply the copied keyframes to the target media item.
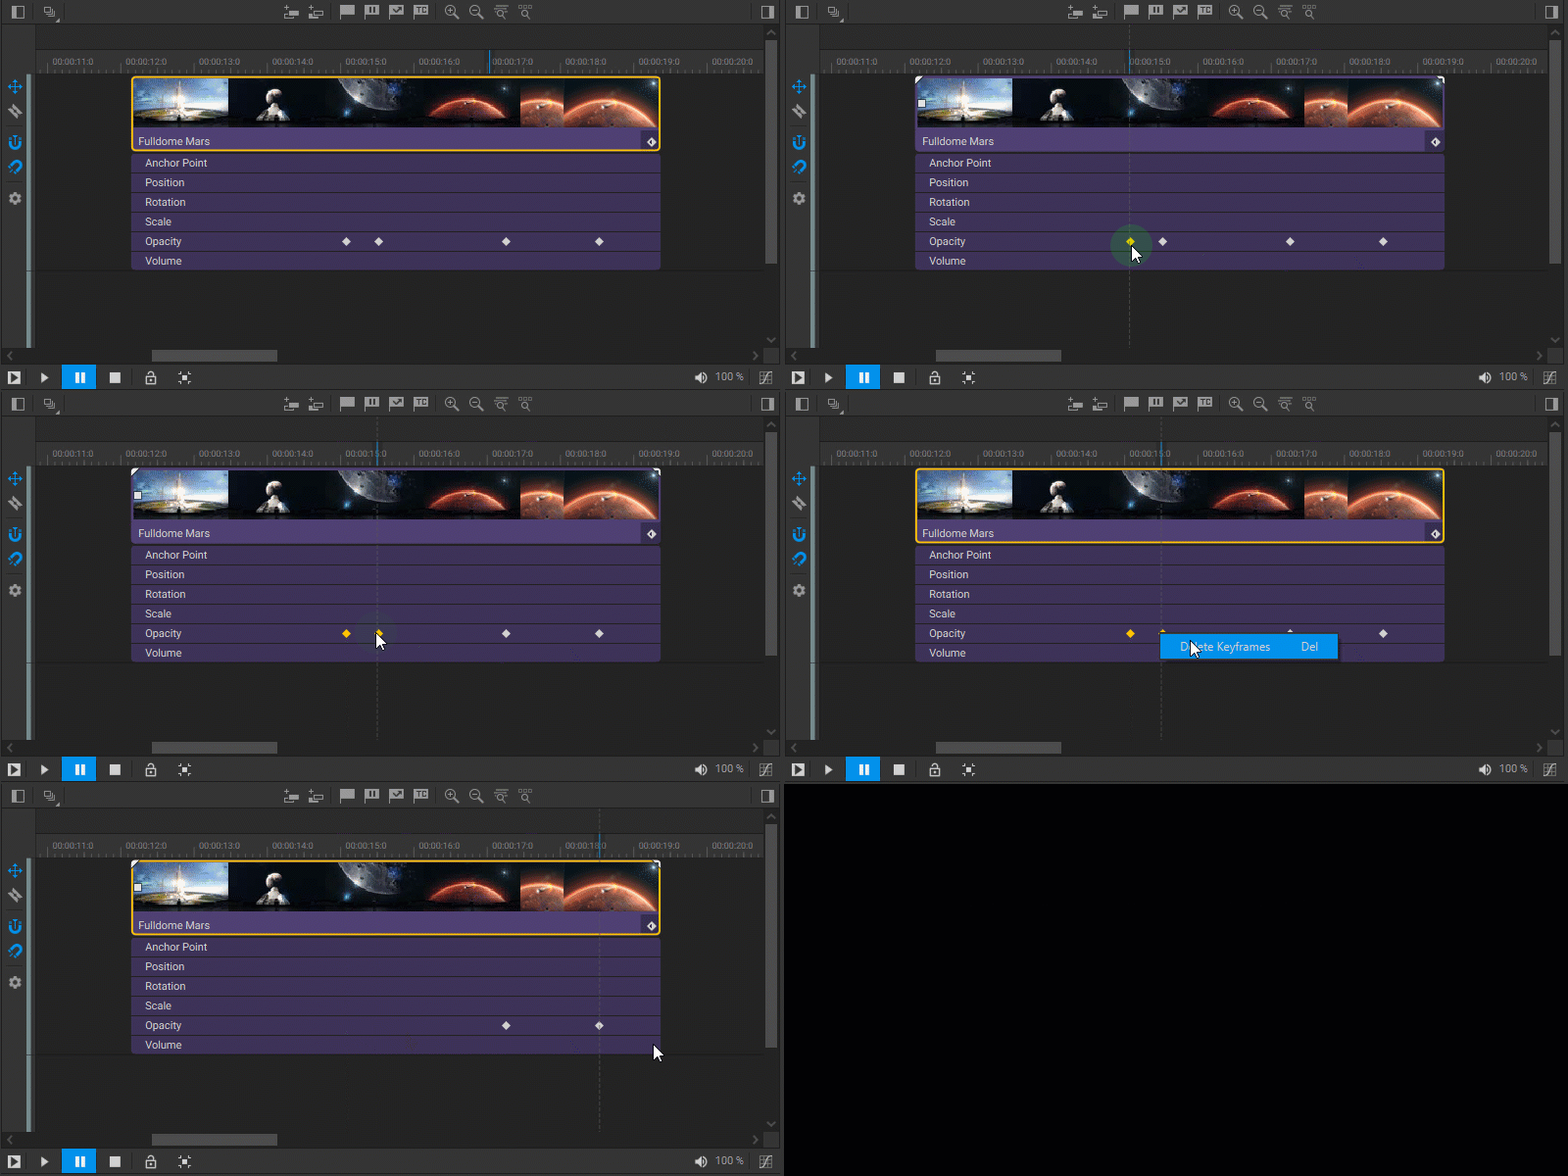
If a keyframe is no longer needed, it can be easily deleted by right-clicking on its icon in the expanded list of parameters for the media item and selecting Delete Keyframes from the dropdown menu.
Keyframing of Data Items
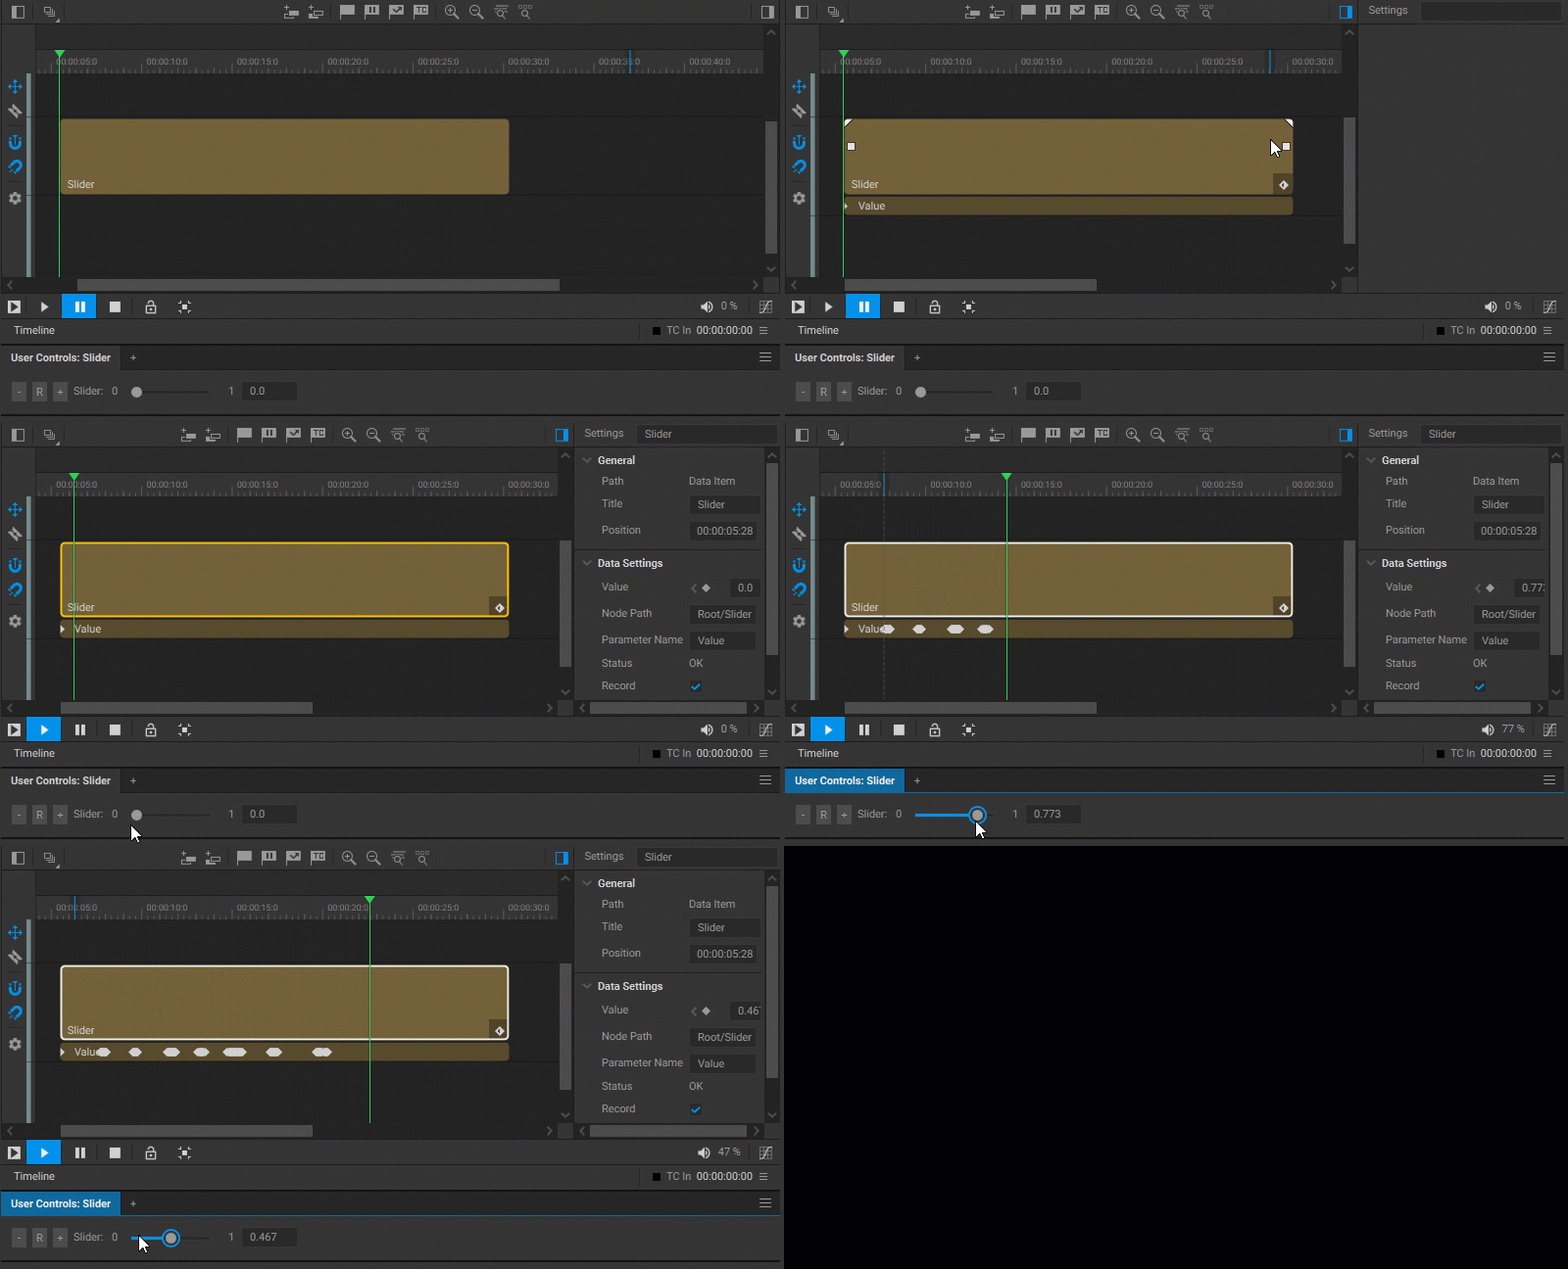
A Data Item enables the user to animate any floating-point value parameter of a node that has been added to the node graph. It can be placed on the timeline track, where its length can be adjusted to the desired duration. Setting keyframes to the Data Item allows for dynamic changes in the parameter value during playback.
Keyframes for a Data Item can be set manually, following the same process as for other media items on a timeline. Alternatively, you can use the recording function to automatically set keyframes. To enable this function, select the Record checkbox in the Data Item settings. Once enabled, all changes to the value parameter of the Data Item when it is played back will be automatically recorded using keyframes.
Note: It’s crucial to disable the record function by unselecting the Record checkbox to prevent all previously set keyframes for the Data Item from being erased the next time the Data Item is played back.
