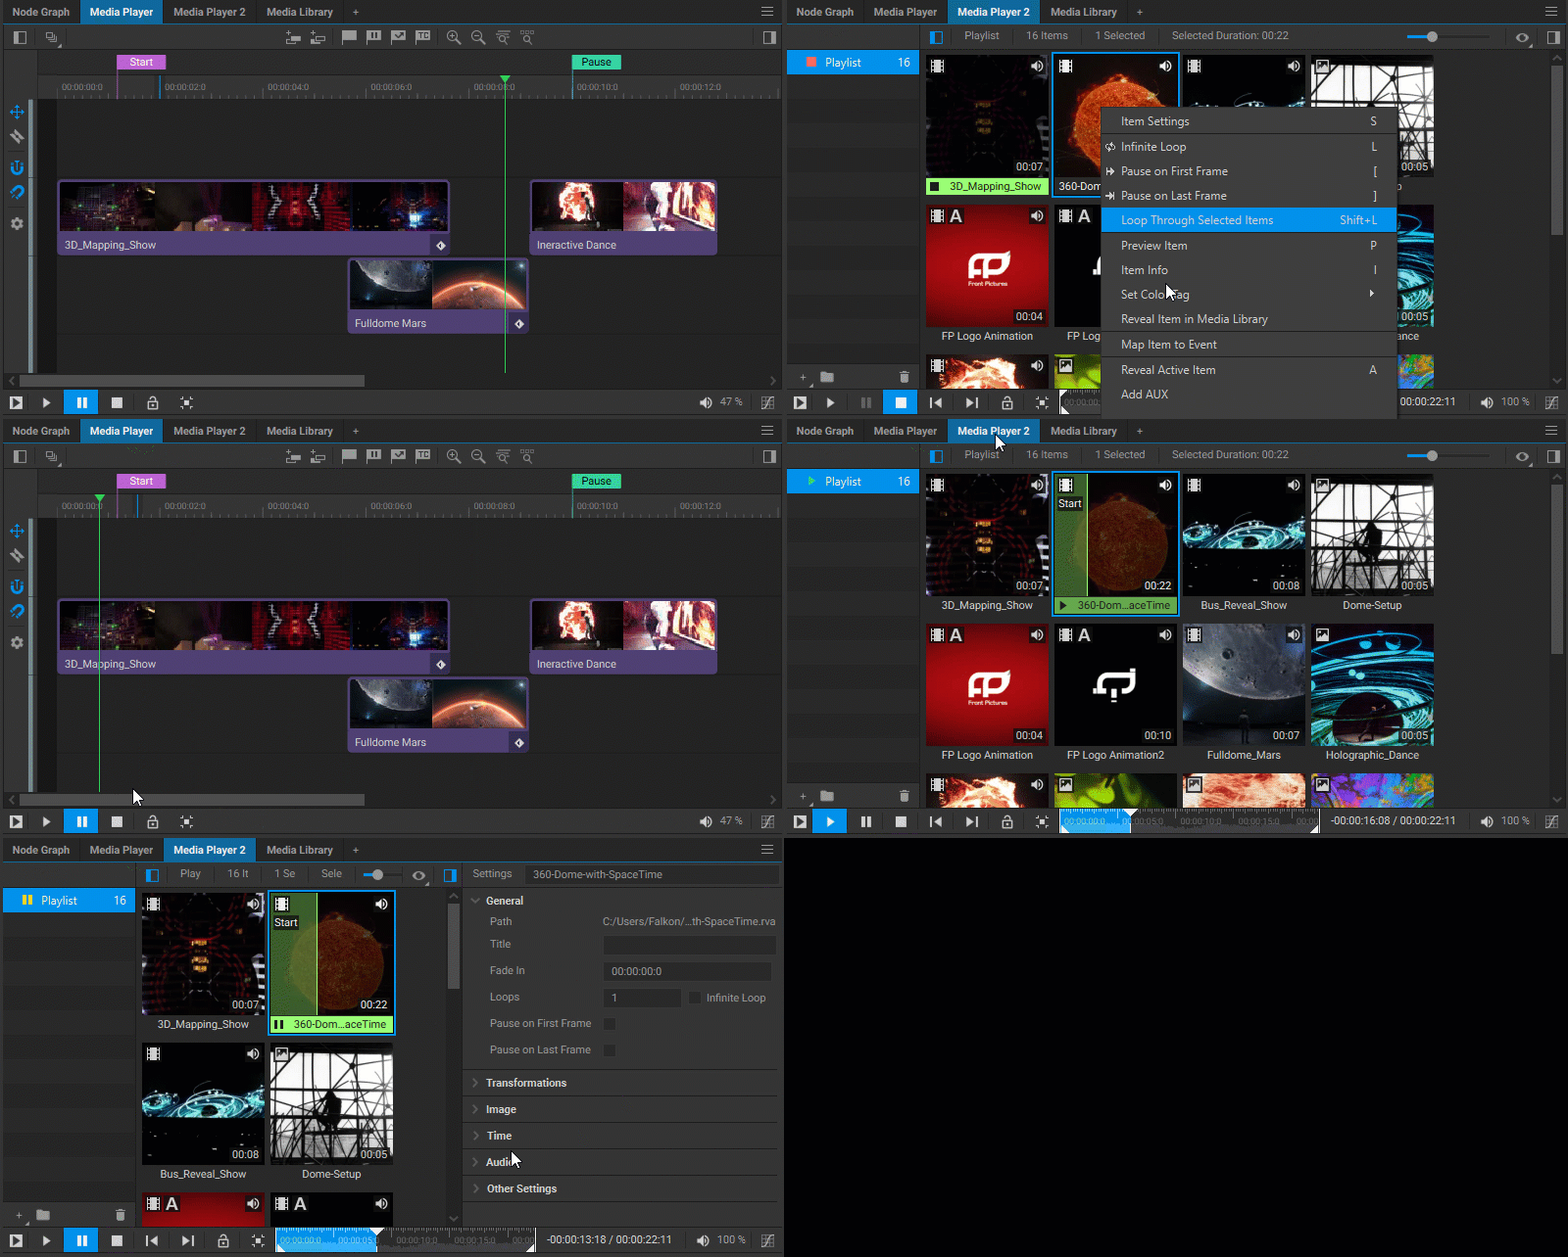
Timeline Markers
Overview
Markers are used to indicate specific points on a timeline. They serve a variety of purposes, including organizing the flow of playback, adding playback controls, synchronizing the playback of multiple media players, making the editing process more efficient, and snapping the playhead or media items to a specific point on the timeline. Markers are color-coded for easier identification.
There are four types of markers that can be currently added to the Screenberry timeline:
- Label Marker (
 *): Adds a text label to a specific point on the timeline.
 - Pause Marker (
 *): Halts playback at a specific point on the timeline.
 - Jump Marker (
 *): Skips ahead or back to a specific point on the timeline.
 - Timecode Marker (
 *): Marks a specific point on the timeline from which playback can be started upon receiving a matching timecode value.
* The icon represents a button in the top toolbox. Clicking this button adds its associated marker to the timeline.
Adding and Managing Markers
To add a marker, do one of the following:
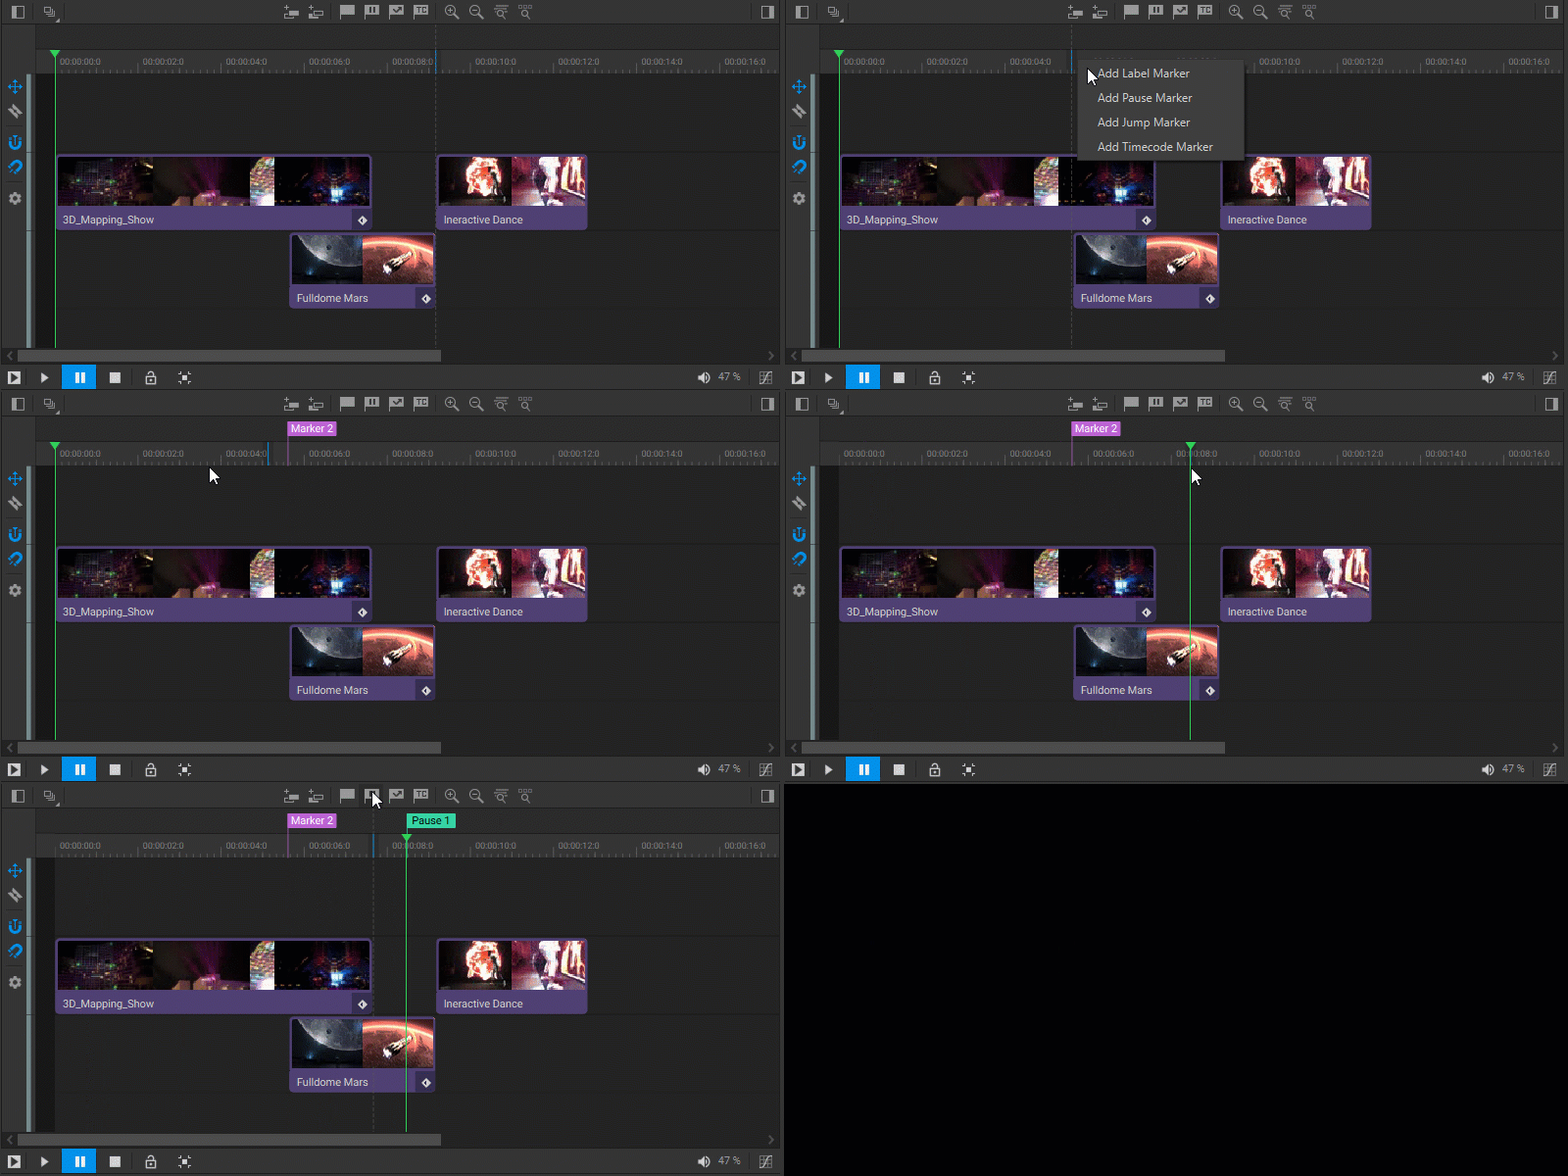
- Right-click on the time ruler, and select the desired type of marker from the dropdown menu.
- Place the playhead at the desired position, then click on the respective marker icon located on the top toolbar.
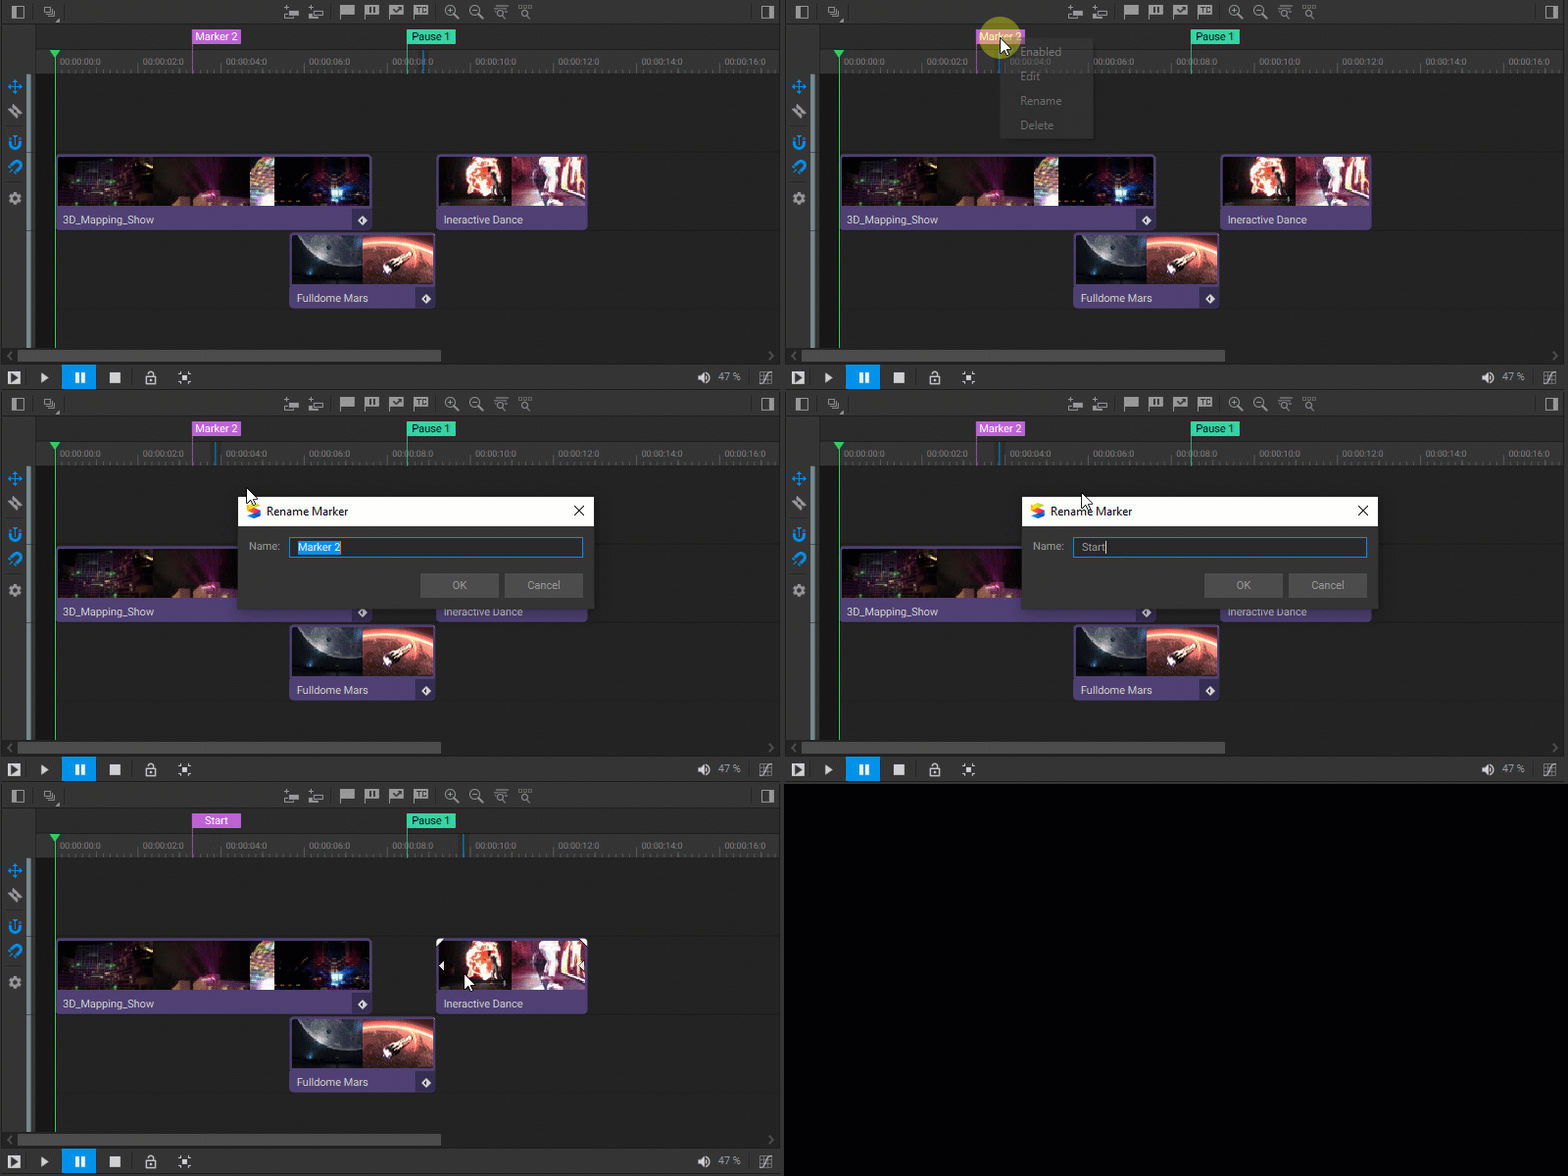
To rename a marker, right-click on it and select Edit from the dropdown menu. In the dialog window that appears, enter the desired value in the Name field.
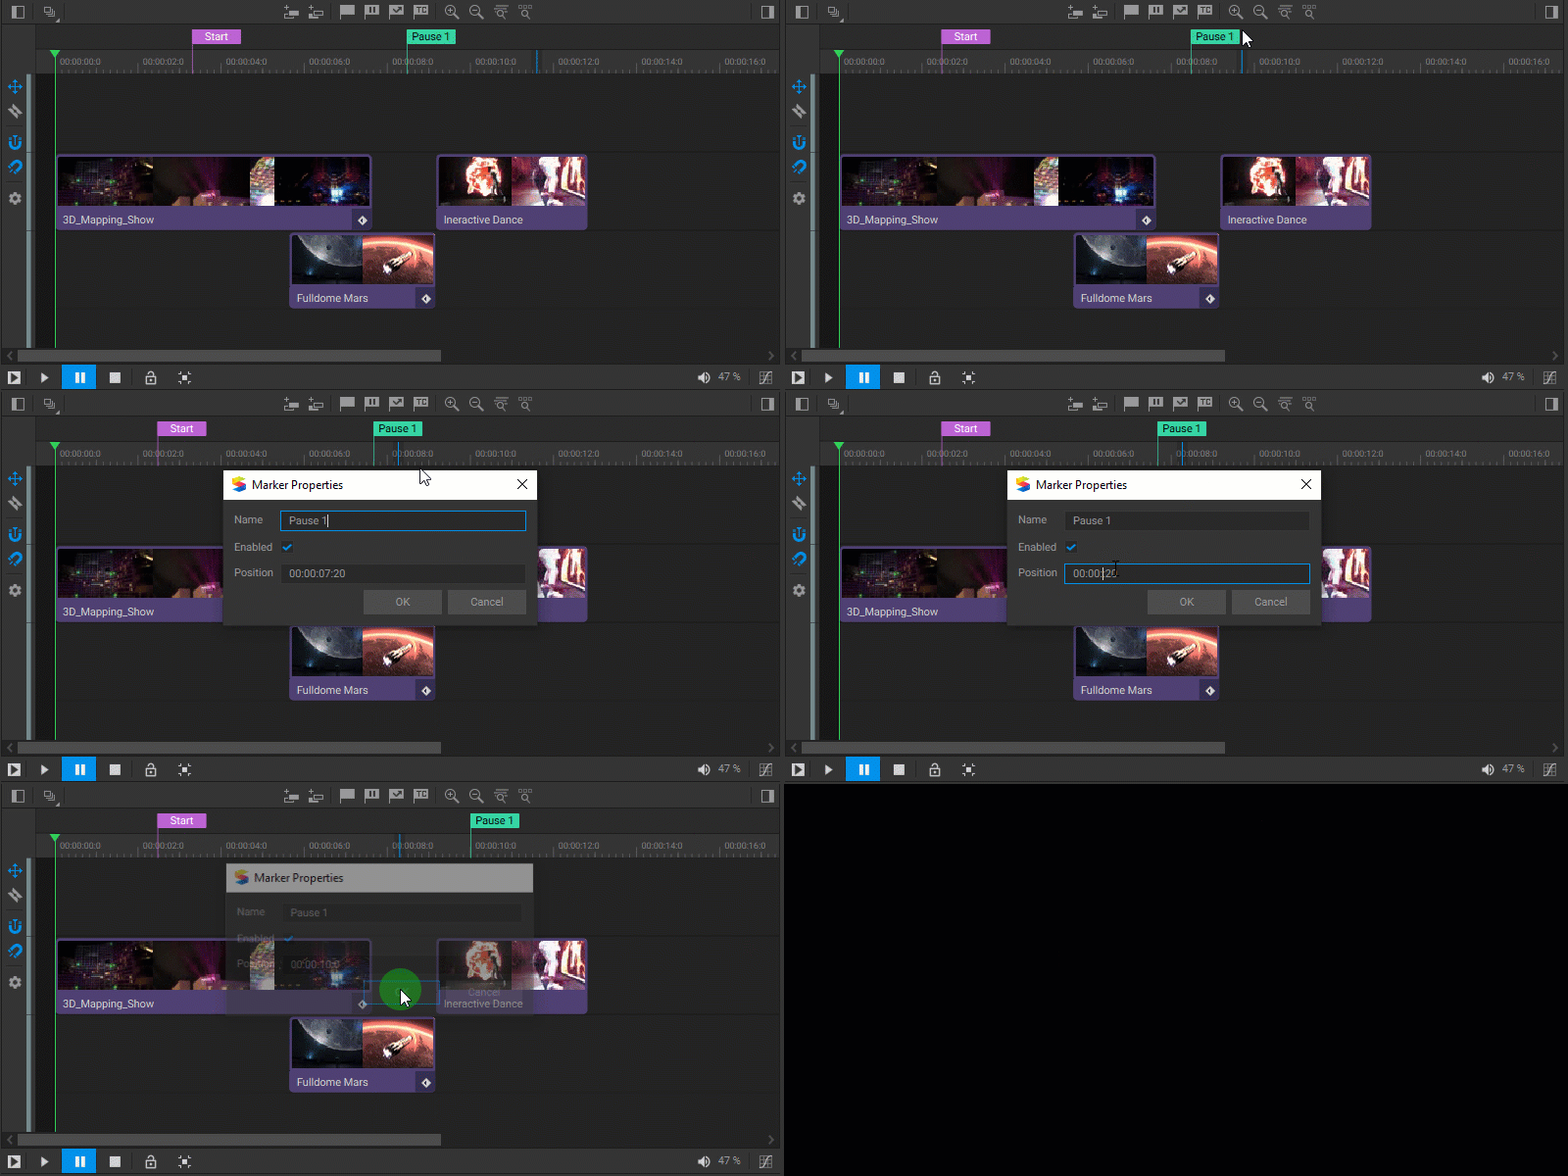
To move a marker, drag it on the time ruler or, for more precise positioning, right-click on the marker and select Edit from the dropdown menu. In the dialog window that appears, enter the desired value in the Position field.
Markers can be enabled or disabled. To disable a marker, right-click on the marker and deselect the Enabled checkbox in the dropdown menu.
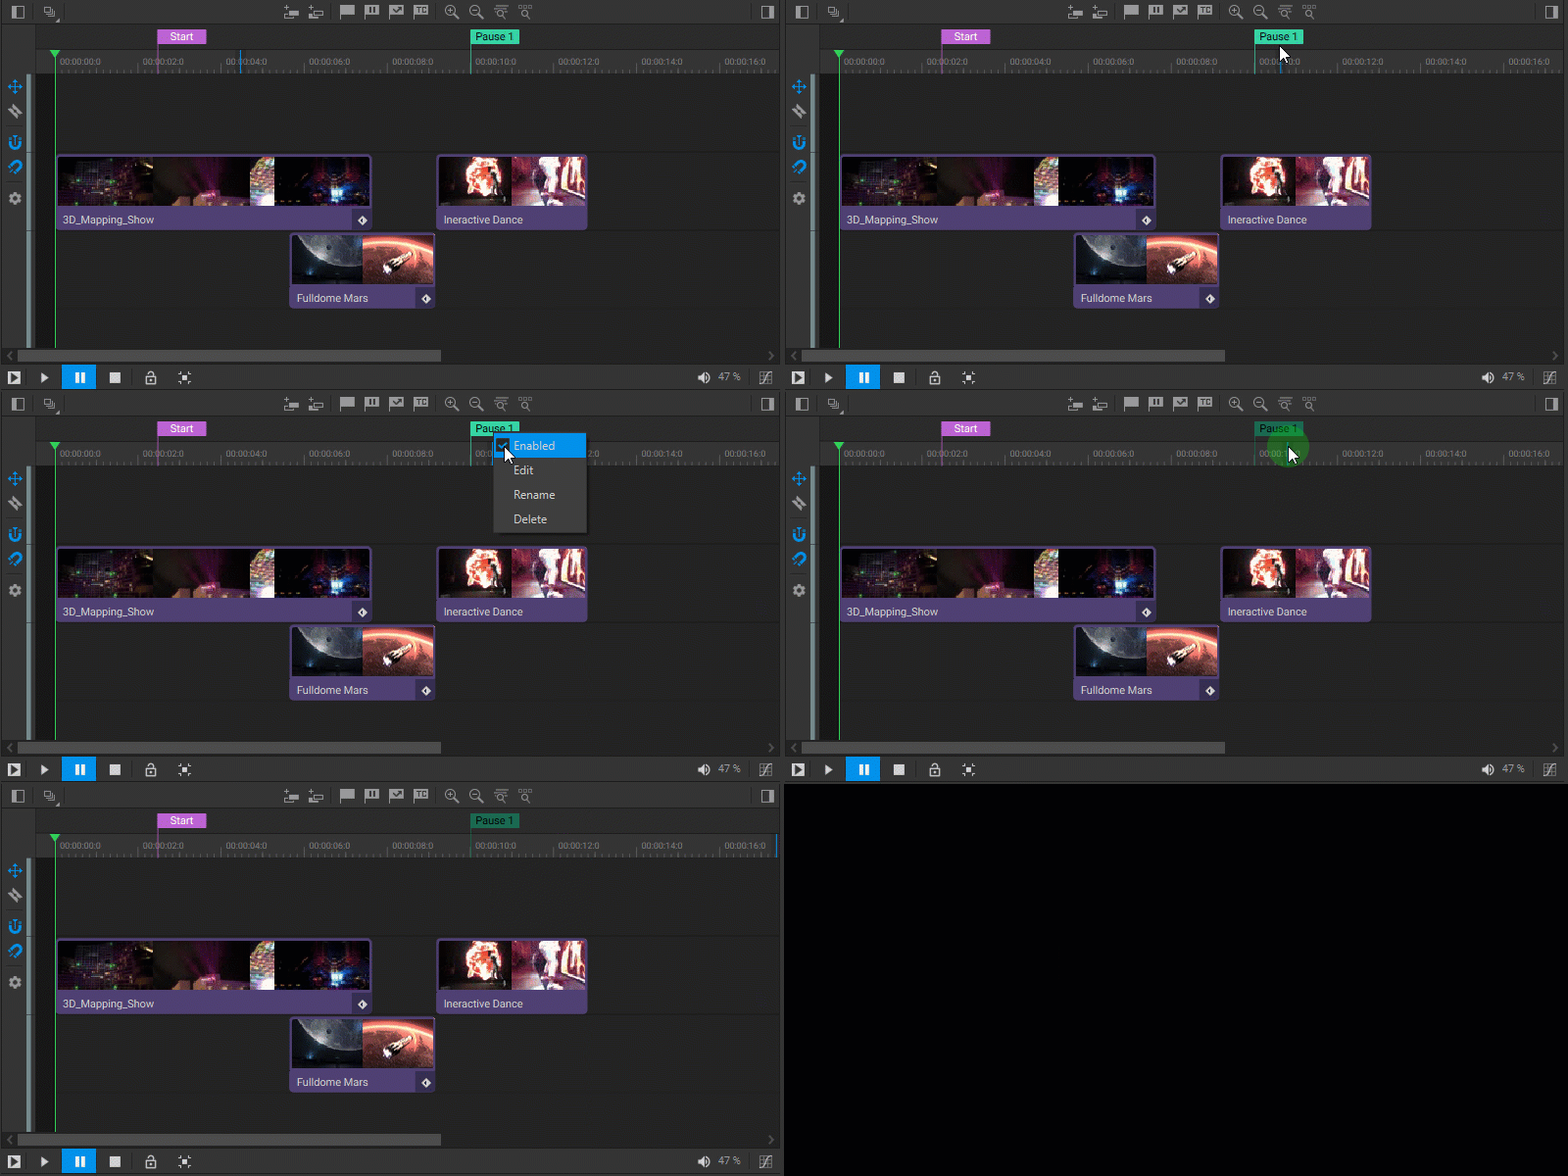
To delete a marker, right-click on the marker and select Delete from the dropdown menu.
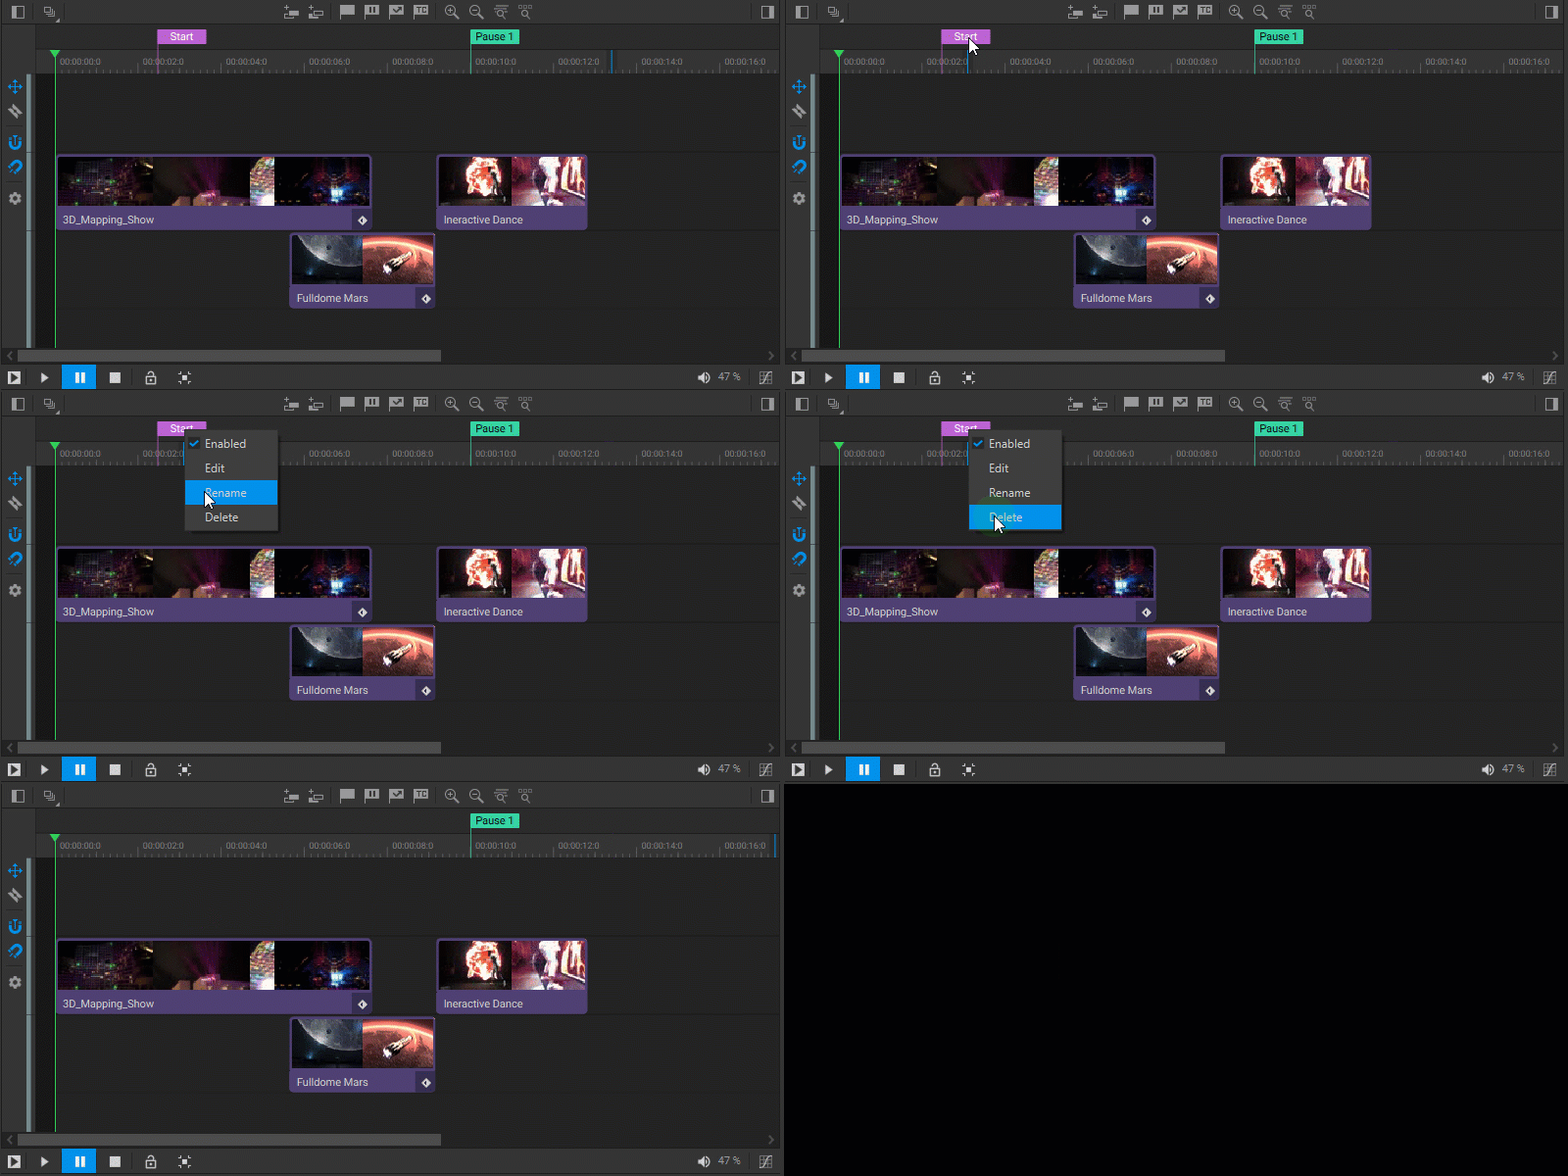
Setting up the Label Marker and the Pause Marker is simple and straightforward. However, using the Jump Marker and the Timecode Marker requires some further explanation.
Jump Marker
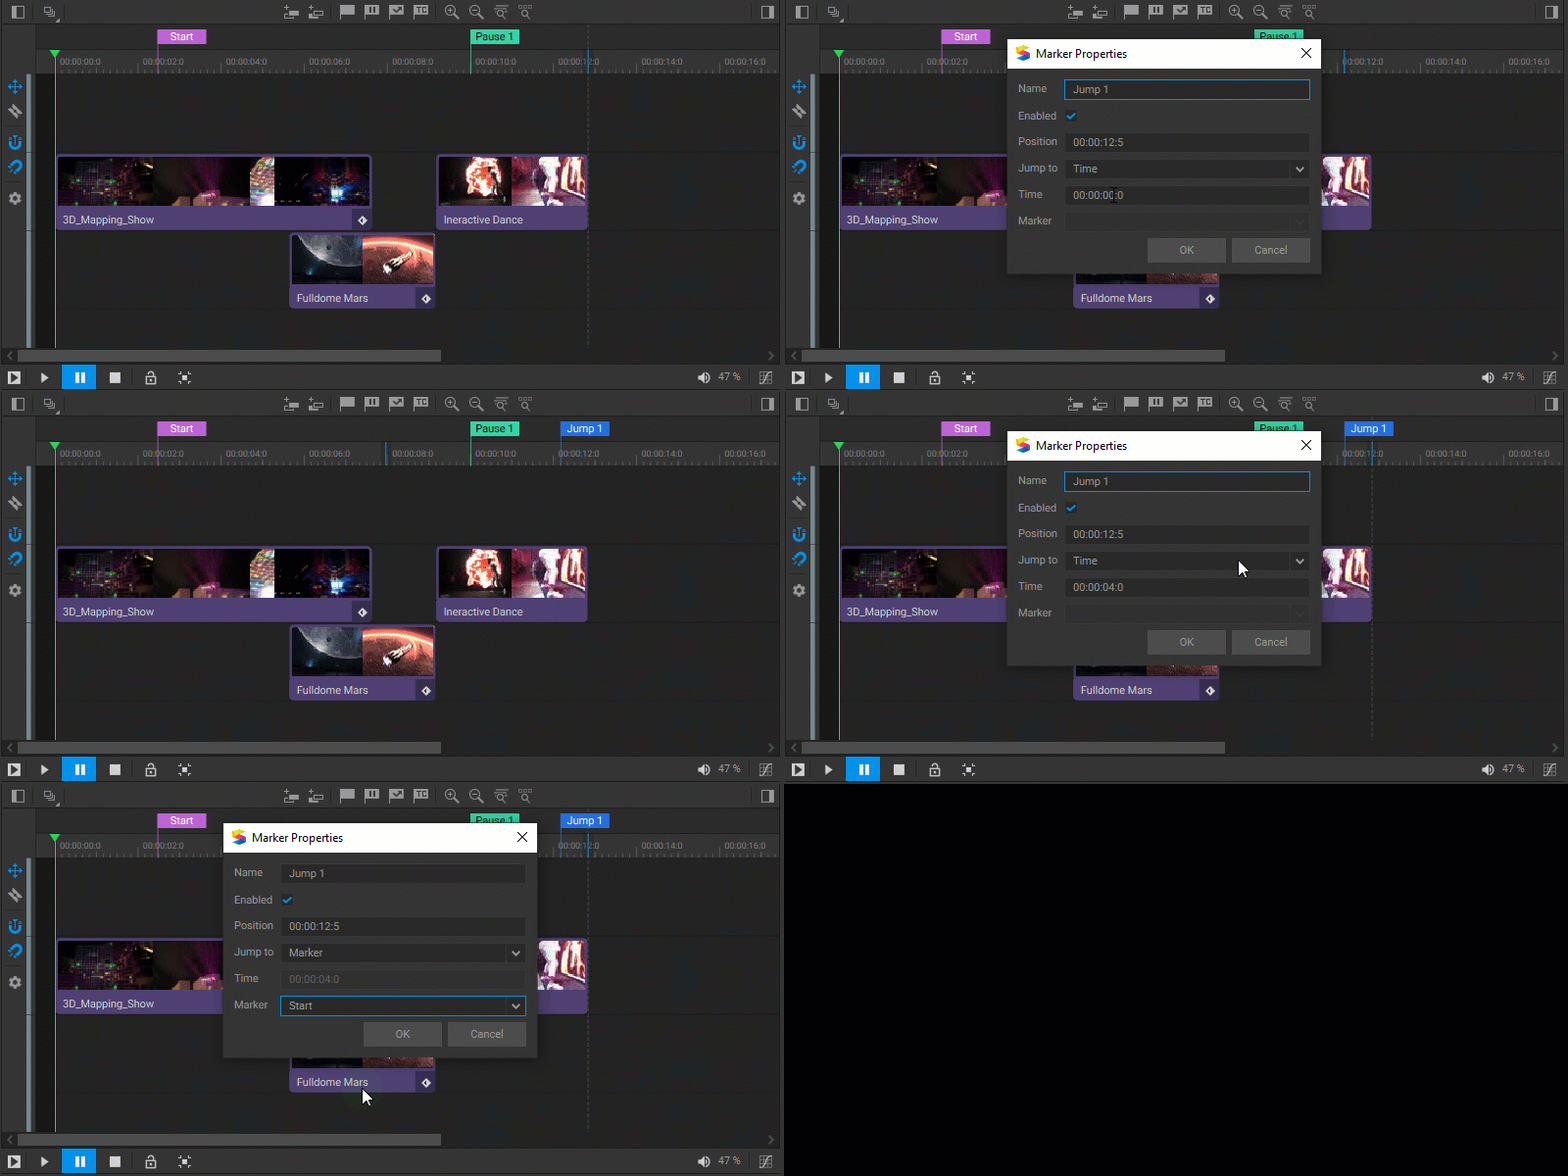
The Jump Marker allows you to move the playhead to a specific position on the timeline, either to a specific time or to another marker. To set the Jump Marker, do the following:
- Open the Marker Properties window. It appears automatically when you add the marker or can be accessed by right-clicking on the marker and selecting Edit from the dropdown menu.
- Select the Time or Marker option for the Jump To parameter.
- If you choose Time, enter the desired time in the Time field. If you choose Marker, select the desired marker name in the Marker dropdown.
Timecode Marker
The Timecode Marker marks a specific point on the timeline from which playback of the timeline starts when the incoming timecode value matches the time value of the marker. For the Timecode Marker to function, certain conditions must be met:
- The Media Player node must receive the timecode. In the node graph, connect the incoming timecode link to the input Timecode In pin of the Media Player node.
- The media player should be set to accept the timecode. In the general timecode settings of the media player, select the Accept (Timecode) checkbox and deselect the Follow (Timecode) checkbox. Note that when the Follow (Timecode) checkbox is selected, the timeline will automatically play back in exact accordance with the timecode.
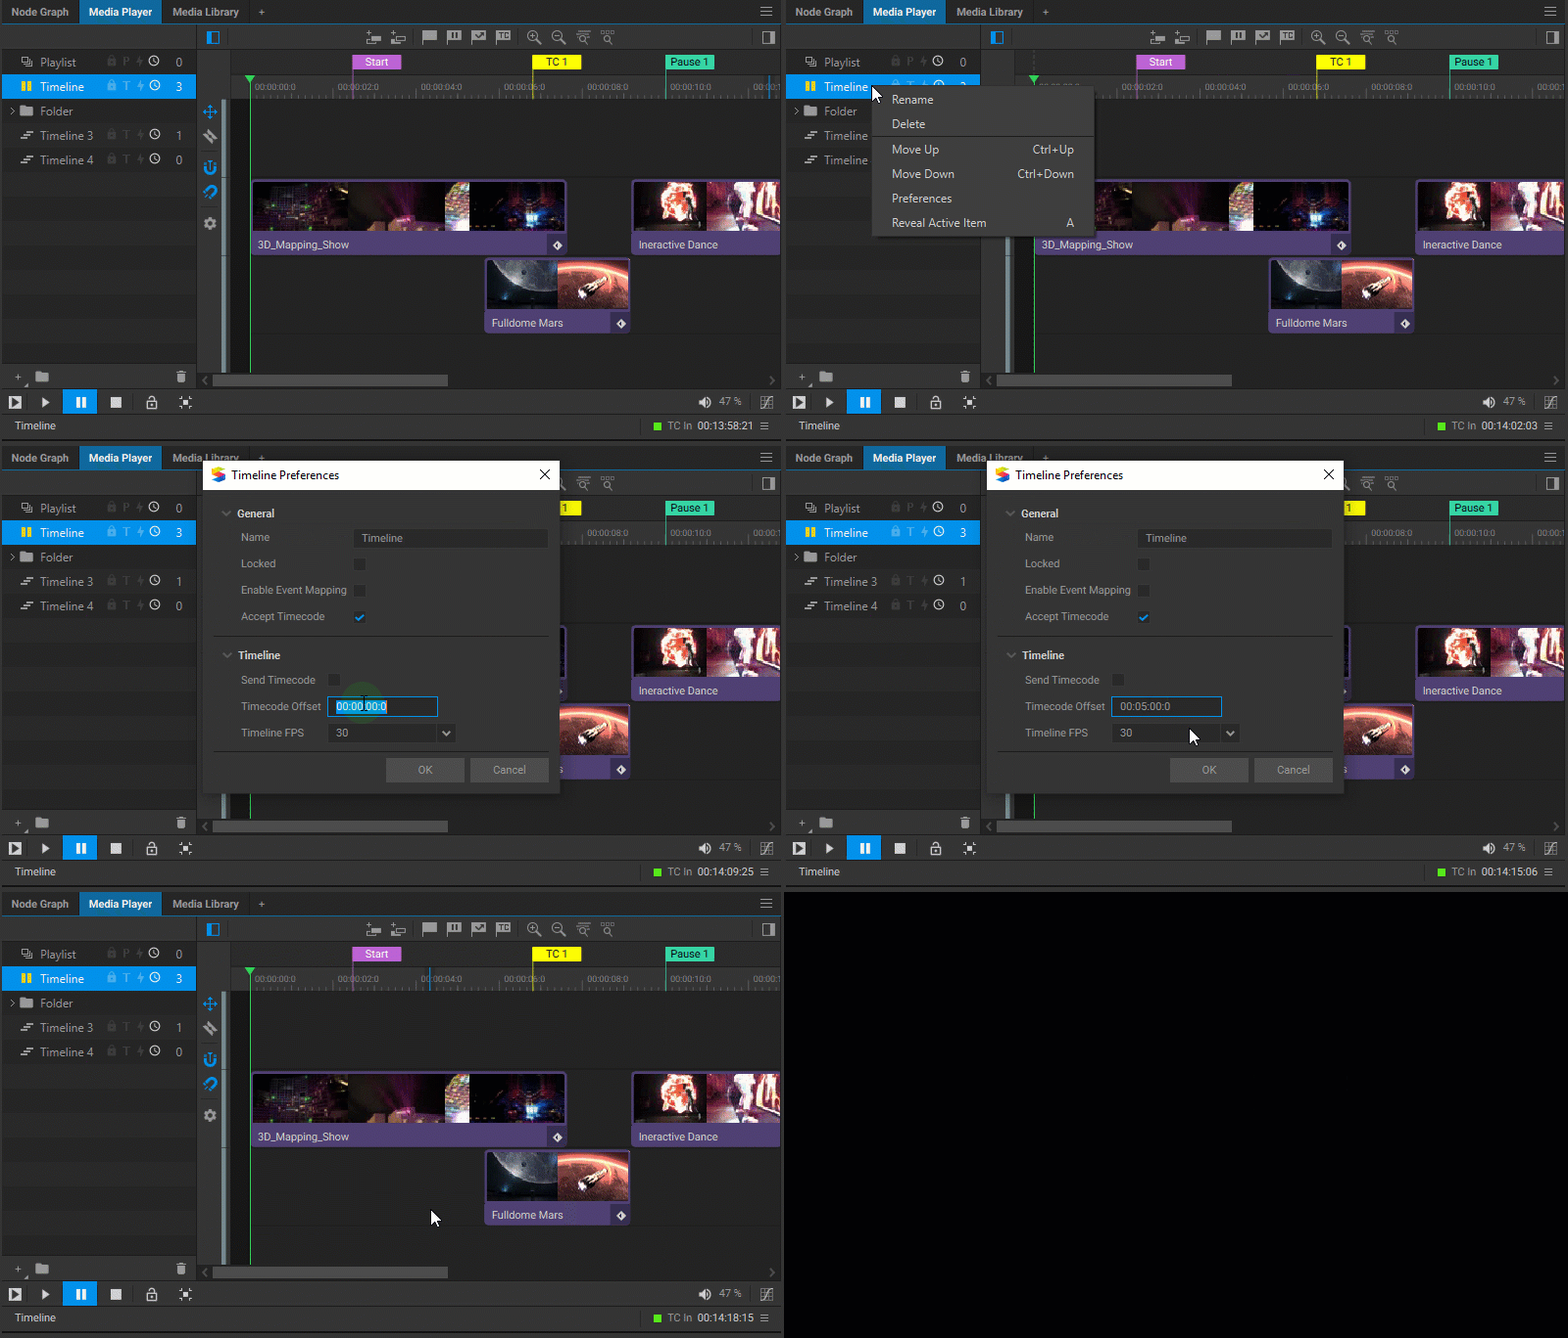
- The timeline should be set to listen for the timecode. Enable the Listening to the Timecode toggle next to the timeline name in the Playlist and Timeline List panel, or right-click on the timeline name and select Preferences from the dropdown menu. In the window that appears, select the Accept Timecode checkbox.
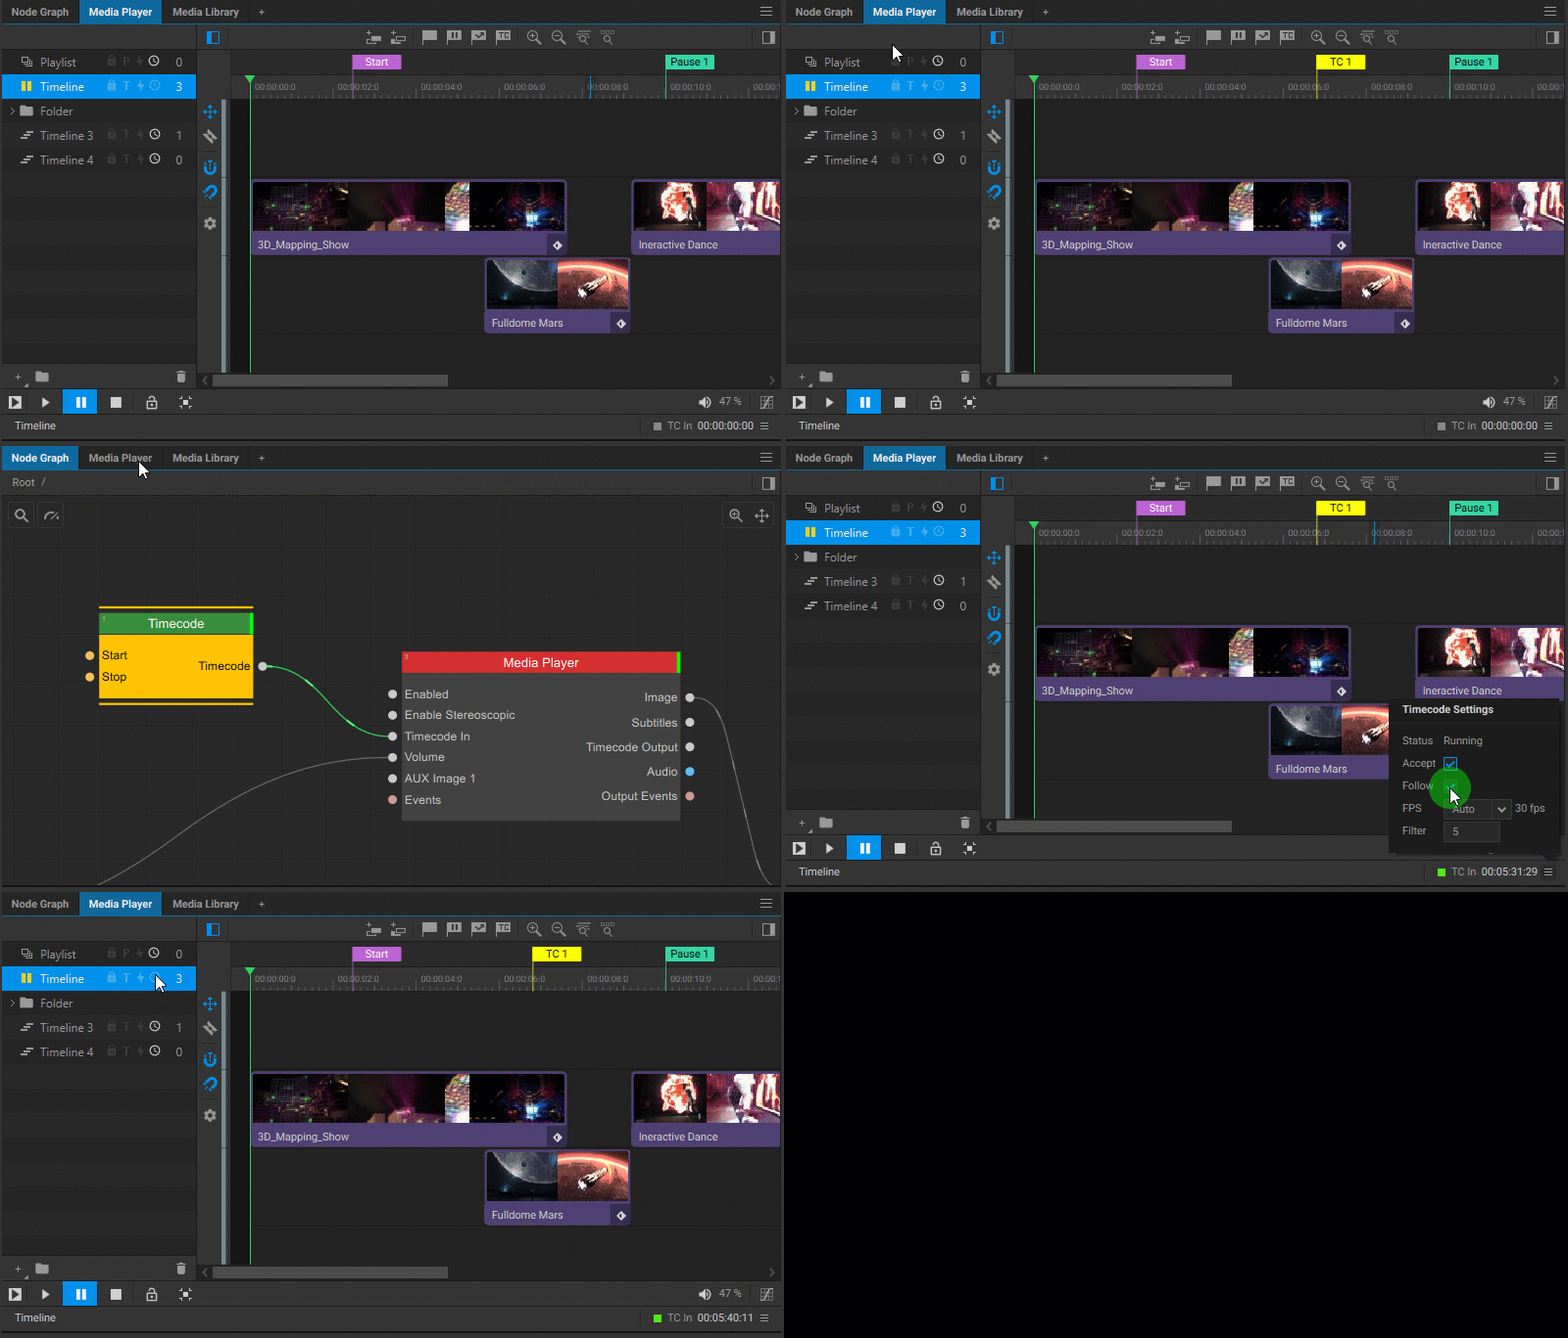
If playback of the timeline needs to start at the Timecode Marker, but at a different time than the timecode value, use the Timecode Offset option. Right-click on the timeline name and select Preferences from the dropdown menu. In the window that appears, enter the desired value into the Timecode Offset field. For example, if the Timecode Marker is set on the timeline at 5 minutes but playback needs to start when the timecode value reaches 15 minutes, set the timecode offset to 10 minutes.
Using Markers for Automation
Markers of any type, when added to the timeline, can be used for automation.
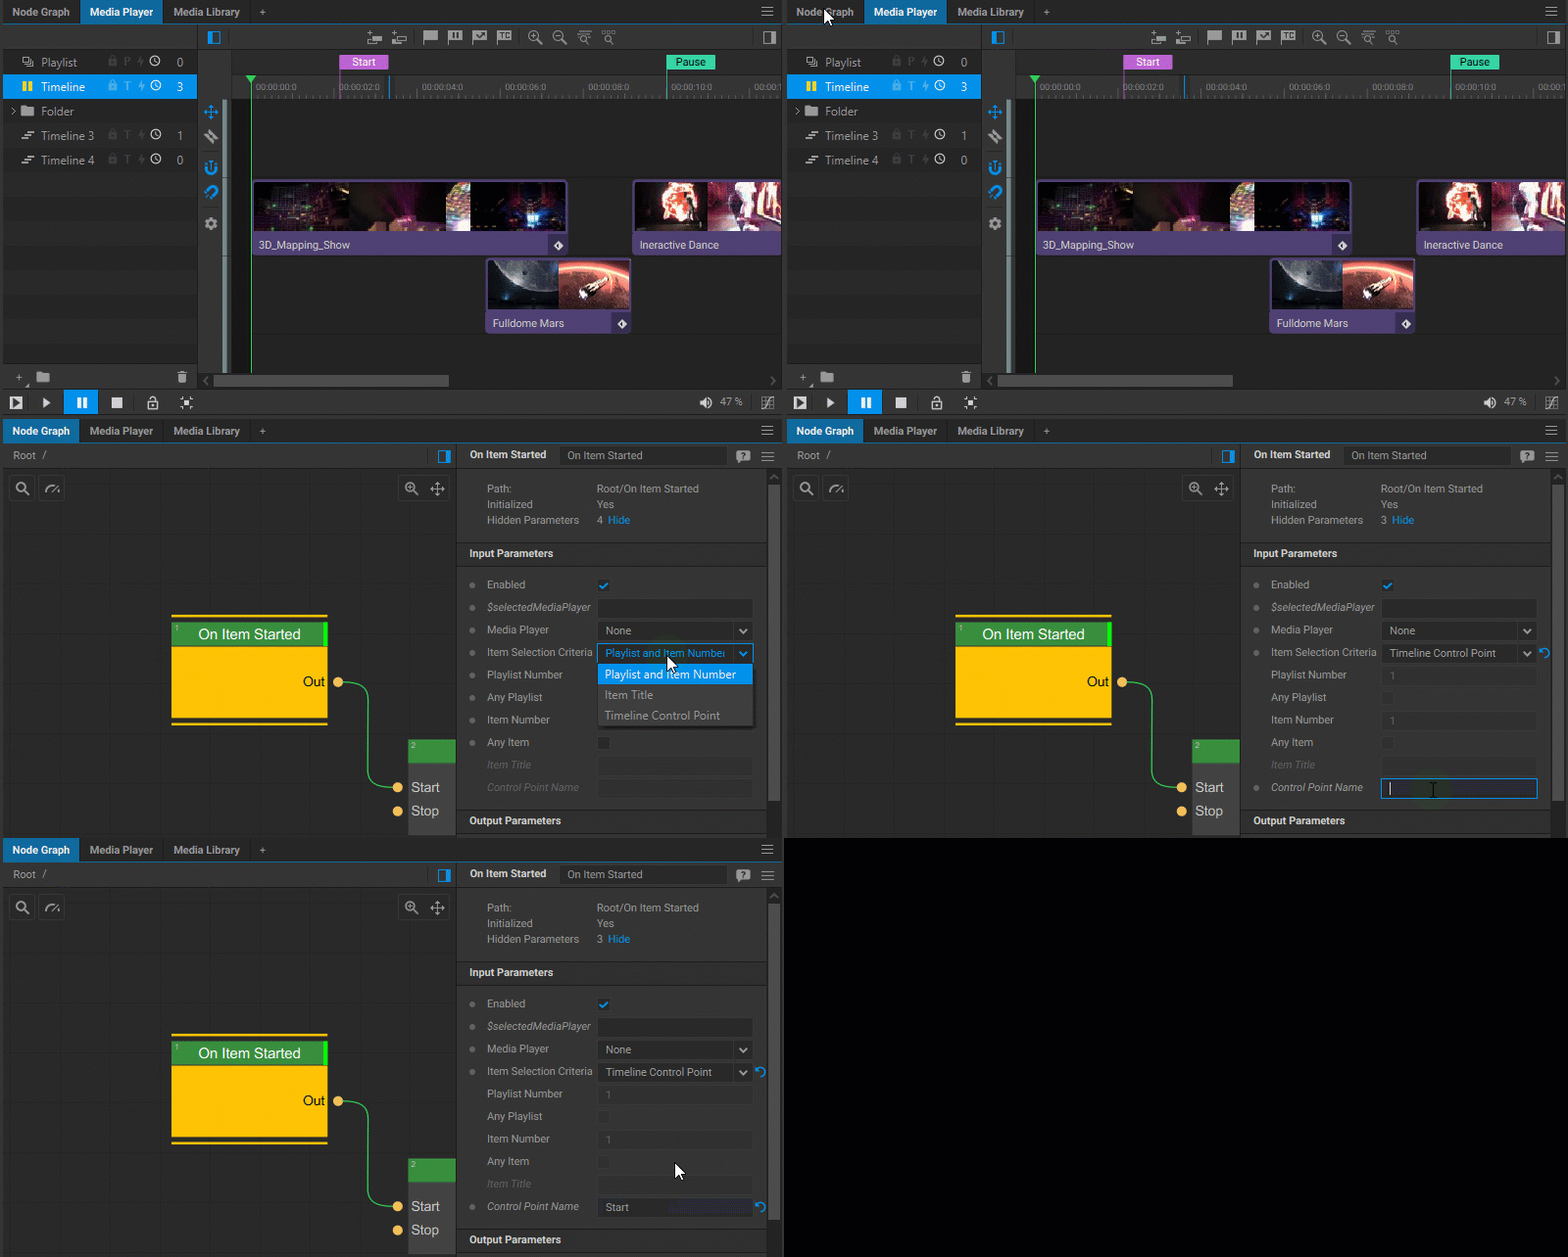
For example, the On Item Started node can be configured to listen for the event of a playhead reaching the specified marker, which will create a trigger that can be used to start some other processes. To achieve this, do the following:
- Select the On Item Started node in the node graph.
- In the settings for the node:
- Select the media player that you want to monitor for marker events in the Media Player parameter.
- Select Timeline Control Point for the Item Selection Criteria parameter.
- Enter the name of the marker in the Control Point Name field.
Similarly, this event can be used to synchronize the playback of a timeline with the playback of a playlist in some other media player. To achieve this, do the following:
- In the node graph, connect the Output Events pin of the source media player to the input Events pin of the target media player.
- Switch to the target media player, select the desired playlist, and right-click on the media item that you want to map to the event. In the dropdown menu, select Map Item to Event to enable the state in which the media item is waiting for an event to be mapped to.
- Switch to the source media player’s timeline, position the playhead right before the desired marker, and start playback. When the playhead passes the marker on the timeline, this event will be mapped to the media item in the playlist of the target media player.
