
Working in the 3D Scene
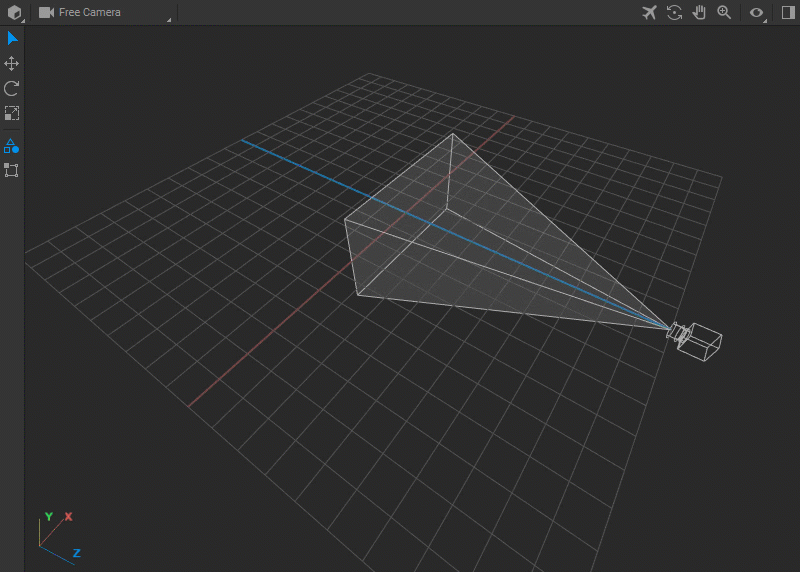
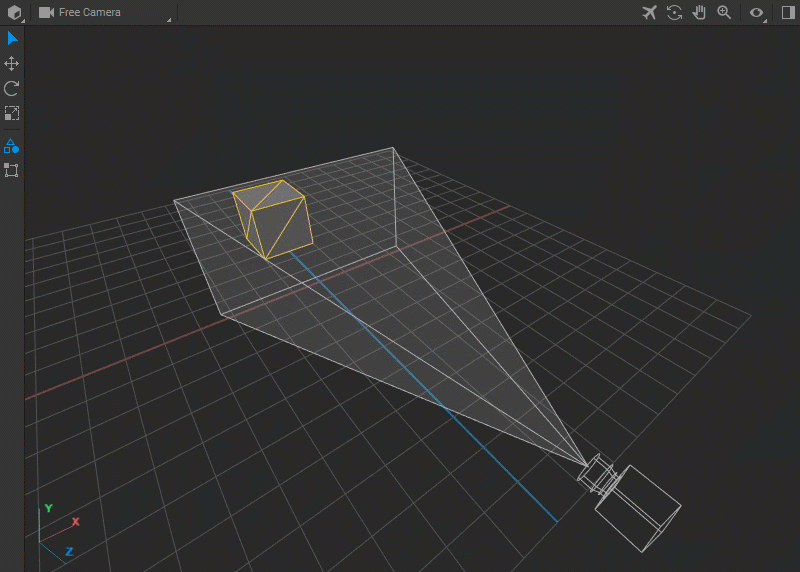
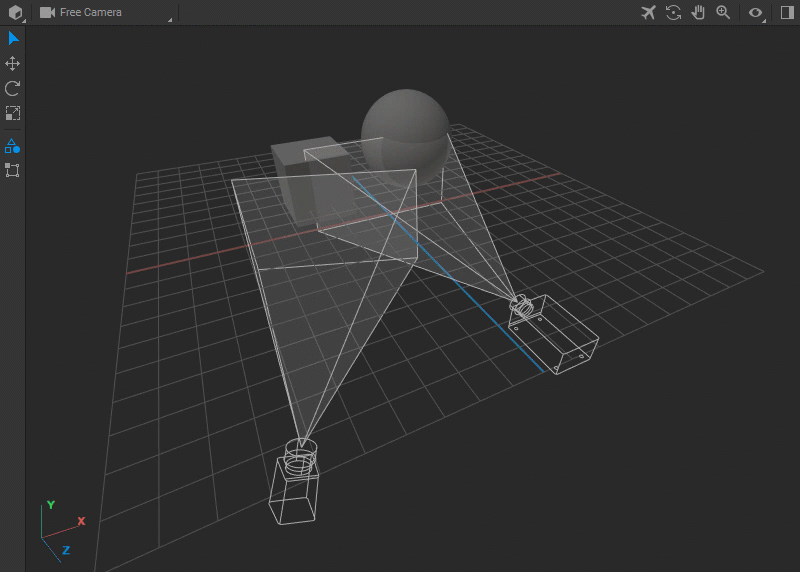
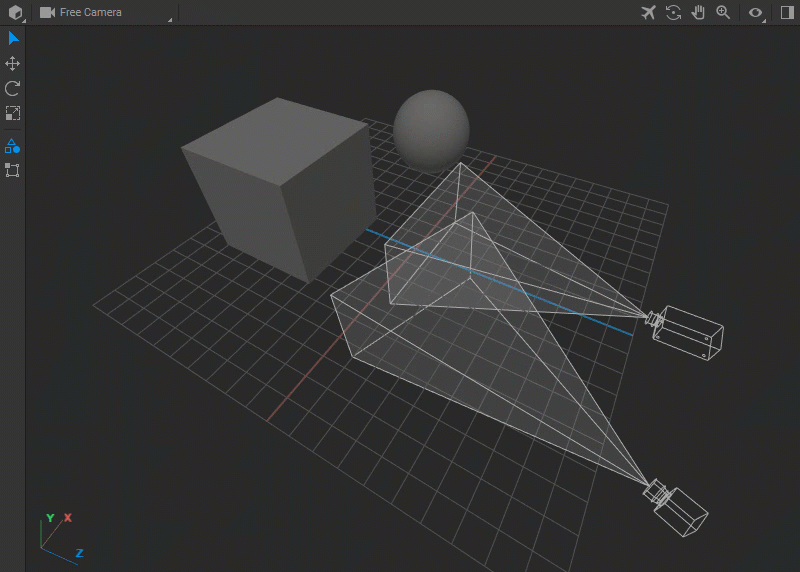
Navigating the Viewport
The Navigation Toolbar provides the following options:
- Fly Mode: To navigate through the scene with a first-person perspective, activate Fly mode by selecting the fly icon in the navigation toolbar. Use the
W,A,S, andDkeys to move the camera forward, left, backward, and right, respectively.QandEkeys move the camera up and down. To adjust the camera's orientation, hold the left mouse button and move the mouse. To zoom in or out, scroll the mouse wheel, moving the camera closer to or further away from objects.
- Orbit Mode: This mode allows the camera to revolve around a focal point of the scene. Activate this mode by clicking the orbit icon on the toolbar, using the
Shift+Oshortcut, or holdingAltand dragging the mouse.
- Pan Mode: To shift your viewpoint horizontally or vertically parallel to the viewing plane without changing the viewing angle, activate Pan mode by selecting the pan icon in the navigation toolbar, pressing
Shift+P, or holdingShift(or the mouse wheel) while moving the mouse.
- Zoom Mode: To move closer to or further away from objects in the scene, activate Zoom mode by selecting the zoom icon in the navigation toolbar, pressing
Shift+Z, or holdingCtrlwhile moving the mouse.
Holding Shift in any of these modes slows the movement speed to 1/10 of the default.
Pressing the + or - keys increases or decreases the movement speed.
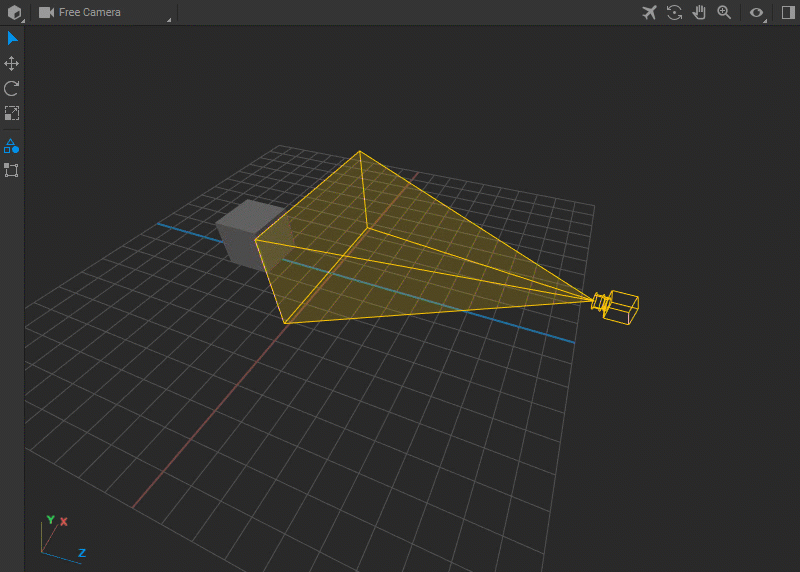
Selecting Objects
The Select tool is the primary means of interacting with objects in the 3D scene. To activate it, click on the Select icon in the toolbox or press Esc if you are in one of the navigation modes. Additionally, you can switch to Select mode by pressing the 1 key.
Once activated, click on any object in the viewport to select it. Selected objects are highlighted, making them easily distinguishable. To select multiple objects, hold down the Shift key while clicking on each object.
Another way to select an object is by clicking its name in the Object List pane. Alternatively, you can cycle through the objects in this list by holding Alt and pressing the Up and Down arrow keys.
Moving Objects
You can move objects within the 3D scene using the Move tool. Follow these steps:
- Activate the Move tool by clicking on its icon in the toolbox or by pressing the
2key. - Once the Move tool is selected, you can adjust an object's position by dragging the arrow gizmos that appear along the X, Y, and Z axes. Each arrow corresponds to a different axis, allowing you to move the object in that direction.
If multiple objects are selected, dragging any of the gizmos will alter the position of each object along that axis.
While an object is selected, dragging anywhere within the viewport moves it parallel to the viewing plane.
Additionally, you can move an object by changing the Position parameters' X, Y, and Z coordinates in the object's Settings panel.
Rotating Objects
To rotate objects within the 3D scene, use the Rotate tool:
- Activate the Rotate tool by clicking on its icon in the toolbox or by pressing the
3key. - Once the Rotate tool is selected, you can adjust an object's rotation by dragging the rotation gizmos that appear around the object. These gizmos allow you to rotate the object around the X, Y, and Z axes.
If multiple objects are selected, dragging any of the rotation gizmos will rotate all selected objects around that same axis.
While an object is selected, dragging anywhere within the viewport rotates it on the plane parallel to the viewing plane.
Additionally, you can rotate an object by changing the Rotation parameters' angles for X, Y, and Z coordinates in the object's Settings panel.
Scaling Objects
To scale objects within the 3D scene, use the Scale tool:
Activate the Scale tool by clicking on its icon in the toolbox or by pressing the 4 key.
Once the Scale tool is selected, you can adjust an object's scale by dragging the scale gizmos that appear along the X, Y, and Z axes.
If multiple objects are selected, dragging any of the scale gizmos will scale all selected objects along that axis.
While an object is selected, dragging anywhere within the viewport changes its size while maintaining its proportions.
Additionally, you can scale an object by changing the Scale parameters' values for X, Y, and Z coordinates in the object's Settings panel.
Difference between Scale and Size Parameters
The Scale parameter is a key transformation tool that adjusts the relative dimensions of an object along the X, Y, and Z axes. It allows for non-uniform scaling, altering the object's proportions and shape. As a transformation, the Scale parameter can produce different results depending on the order of applied transformations (Scale, Rotate, Translate).
The Size parameter sets the absolute dimensions of the object in the 3D scene, specifying the exact size along the X, Y, and Z axes. Adjusting the Size parameter directly changes the dimensions without affecting the object's transformation matrix.