Automatic Calibration Basics
Overview
The automatic calibration (or auto-alignment) is recommended for multi-projector setups to visually combine several projected images into a single seamless image. This technique is recommended for non-planar screens like domes or cylindrical panoramas. It can also be effectively used on planar and rectangular screens to speed up image warping and the blending process as well as to achieve more precise results in geometry and brightness.
In Screenbrerry both manual and automatic calibrations can be applied either separately or combined together.
Creating a Node Graph for Automatic Calibration
To create a node graph for automatic calibration:
- In the Node Graph widget, add the Canvas node.
- Add the Canvas Editor widget to your workspace and ensure that the Displays option is chosen in the View Mode dropdown menu.
- In the Canvas Editor, press the Create Display Array button. In the dialog box that appears, enter the number of Rows and Columns to generate a display grid corresponding to the number of projectors* in your setup, select CalibratorPatch as the Patch Type, and press OK. Consequently, a node tree consisting of the Calibrator node, connected to the CalibratorPatch nodes which in turn are connected to the Canvas node via Display nodes, is generated in the node graph.
- Add the Media Player node (or any other media source node) to the node graph and connect its Image parameter to the Source input parameter of the Calibrator node.
- Add the Node Graph to the node graph, then:
- Connect its Camera output parameter to the Camera input parameter of the Calibrator node.
- Connect its Image output parameter to the Camera Image input parameter of the Calibrator node.
* The number and layout of displays in a display array should align with the settings and topology of the GPU driver settings.
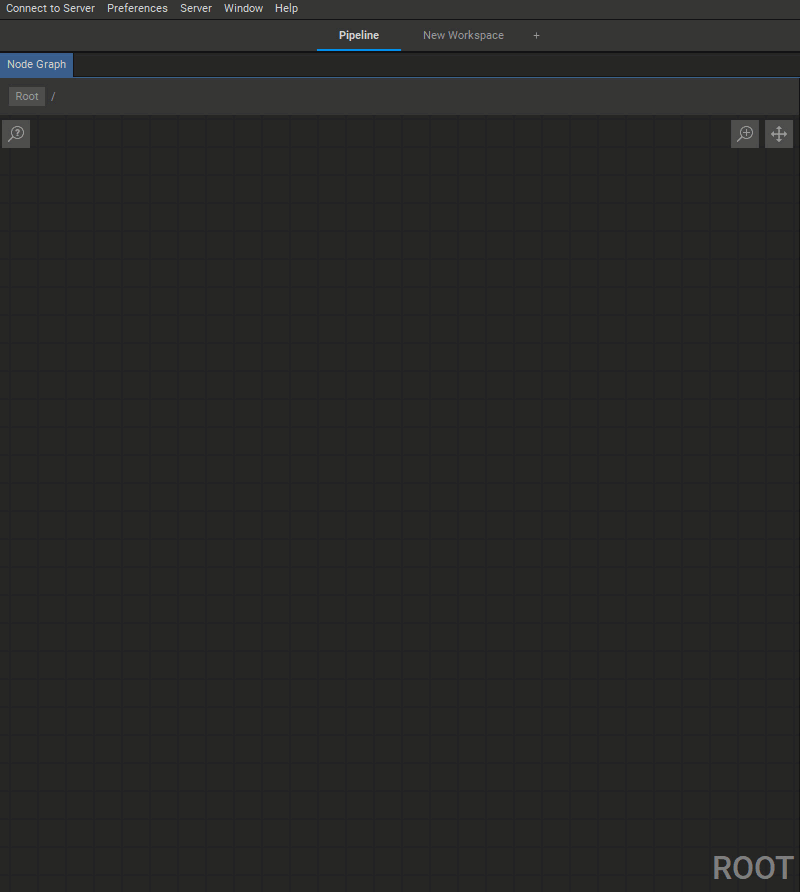 Creating the Calibration node graph for a typical 4-projector set-up