Node Graph Navigation and Monitoring
Arranging Nodes Automatically
To align the nodes in the Node Graph, right-click on the nodes and select Auto-Layout Nodes from the dropdown menu (or press the L key). If no nodes have been selected, using the Auto-Layout Nodes function will align the entire node tree.
Fit To View For Nodes
To scale a view of one or more selected nodes to fit the Node Graph window, right-click on the nodes and select Fit to View from the dropdown menu (or press the A key). If no nodes have been selected, using the Fit to View function will bring the entire node tree into view.
Changing Node Size
To resize a node, select it and drag any one of its corner handles (which become visible on mouseover).
Zooming and Panning in the Node Graph
Тo zoom in and out a specific area of the Node Graph, move the mouse cursor to the location and use the mouse scroll wheel. Alternatively, click the button ![]() in the top right corner and move the mouse to change the magnification.
in the top right corner and move the mouse to change the magnification.
To pan a view, do one of the following:
- Hold the mouse scroll wheel button or hold the
Altkey while moving the mouse. - Click the button
 in the top right corner and move the mouse.
Using the Navigator Panel
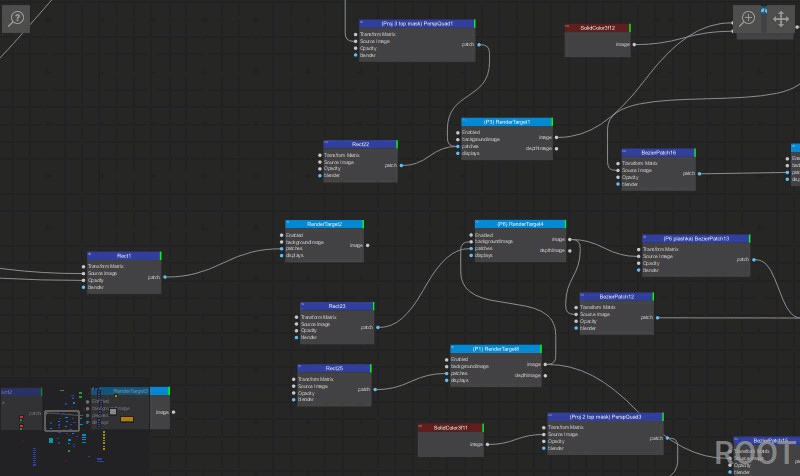
The Navigator panеl (located in the bottom left corner of the Node Graph window) is a thumbnail display of a node graph. The gray frame in the Navigator panеl is the proxy view area which corresponds to the currently viewable area in the window.
Pan the node graph view quickly by dragging the gray frame in the Navigator panеl.
Zoom in and out of the node graph by using the mouse scroll wheel while the cursor is over the Navigator panеl.
Right-clicking on the Navigator panel toggles between two display modes, standard and enlarged.
To show/hide the Navigator panel, right-click an empty area in the Node Graph window and enable/disable the Minimap checkbox (or press Ctrl + M).
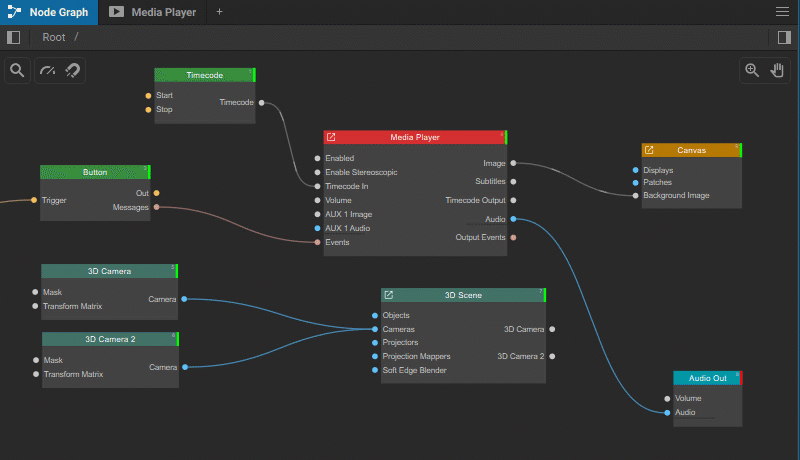
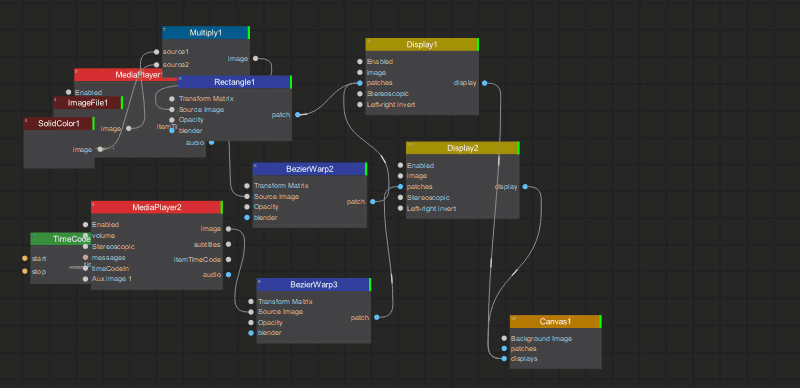
Nodes Color Coding
Color coding is used to indicate various types of nodes.
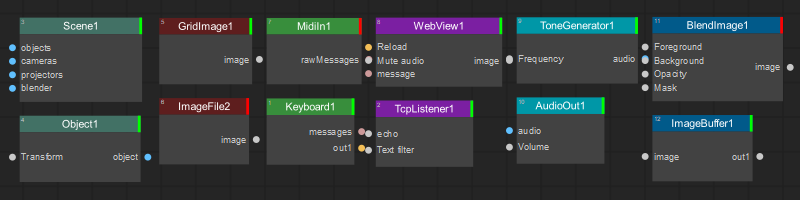
The following color scheme is set by default and can be modified in Preferences > Nodes Color Settings.
- Copy-Paste Method:
- Select the chosen media items in the Media Library, another Media Player playlist, or a timeline.
- Copy these items by right-clicking and choosing Copy from the dropdown menu, or by using the
Ctrl+Ckeyboard shortcut. - Select the starting grid cell for the sequence of copied media items and paste the items there. This can be done by right-clicking and choosing Paste from the dropdown menu or by using the
Ctrl+Vshortcut.
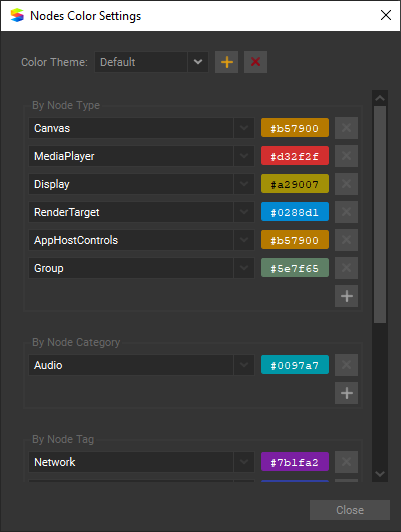
Color coding is based on the Node Type, Category, and Tag.
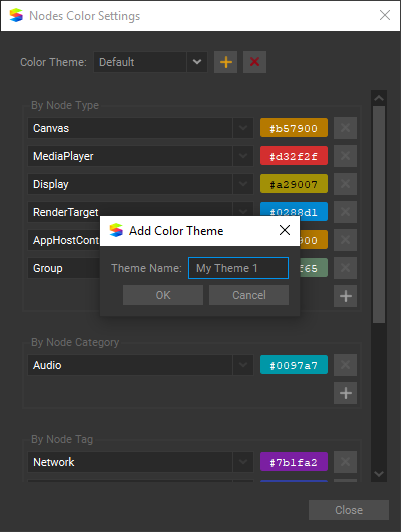
To create a new custom Color Theme, press the button ![]() , and assign different Hex color values to the various types, categories, and tags.
, and assign different Hex color values to the various types, categories, and tags.
Type color settings have priority over Сategory color settings, and Сategory color settings have priority over Tag color settings when the color of a node is assigned. When no color is set in any of these groups, the node color remains gray.
To switch between node color schemes, select their profiles in the Color Theme drop-down list.

A selected Color Theme can be deleted by pressing the button ![]() .
.
Searching the Nodes
To search for specific nodes added to the project, click the button ![]() (located in the top left corner of the Node Graph window) or press
(located in the top left corner of the Node Graph window) or press Ctrl + F, and type any part of the node name in the opened search field. Any matching nodes are displayed in the list below. Click on the node name in the list to select it in the node graph.
If more than one node matches the search criteria, pressing F3 will switch the selection to the next node in the results list.
Using Tooltips for Monitoring Parameters and Data Transfer
When you hover over a node's parameter name, a pin, or a link between nodes in the node graph, an information tooltip appears, displaying key properties, including real-time data exchange when applicable. This functionality is particularly useful during setup, enabling quick access to relevant information without opening the node's Settings panel.
You can also quickly preview a video and monitor audio levels directly within the node graph:
- Video Preview: Hold the Alt key while hovering over an image link to view the real-time video being transferred.
- Audio Level Meter: Hold the Alt key while hovering over an audio link to monitor audio levels.